You Can Build It With Fiberglass
Spring 2017

GET STARTED
FREE PRINT & DIGITAL EDITIONS
Spring 2017
Using WEST SYSTEM Epoxy Resin and fiberglass products, I have created numerous helmets, props, and pieces of armor for costuming and cosplay. Cosplay means to dress up as a character from a book, movie, or video game. Employing unorthodox and oft times experimental methods, I have kept costs low and my creativity heightened.
Just about anything you dream up can be built with fiberglass. The only real challenge is to get a close initial shape. After that, you can add or remove material with relative ease. As it is impossible to hang fiberglass in the air, you just need something to put those initial layers on.
Over the course of my various projects, I have used a multitude of techniques to get started. I have created patterns using clay, foam, cardboard, plastic, metal, wood, and sand. Release agents I have used include wax, plastic wrap, waxed paper, and paint. Anything that will let you pry that cured fiberglass shell off your pattern can be used. Or, you can simply cut and grind the pattern out from the inside of the cured shell.
If one plans on producing more than one piece, then a mold can be made using silicone, but this increases costs and is unnecessary for a one-off creation.
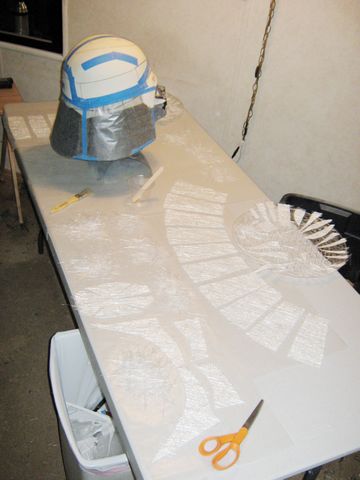
WEST SYSTEM Epoxy is ideal for this kind of work. I use it exclusively in all my cosplay projects, and have on occasion applied it to carbon fiber and Kevlar®. Mostly I use fiberglass mat due to the randomly oriented fibers. Fiberglass cloth has its uses also, but it does not work as well as mat for the type of things I usually build, and you’ll see why later in the article.
Editor’s note: For more information on using fiberglass mat with epoxy, see “Chopped Strand Mat & Epoxy” in Epoxyworks 21.
When crafting something from scratch be cautious about who you listen to. I cannot count the times that I have been told “That won’t work.” or “You can’t do it that way.” or “You have to make a mold.” These people take the fun out of the endeavor. I have seen people give up on something they wanted to do because they listened to the wrong person.
We build things from scratch because we enjoy it. The whole purpose is to stretch your imagination and let those creative juices flow. Don’t be afraid to try a new idea. Experiment, test out crazy notions, and think beyond the obvious.
Occasionally an idea will not work out the way you intended, or maybe not at all. Sometimes those little setbacks or failures lead to an even better idea. My dad used to say that some of his best ideas wound up in the scrap pile. But, he always came up with something.
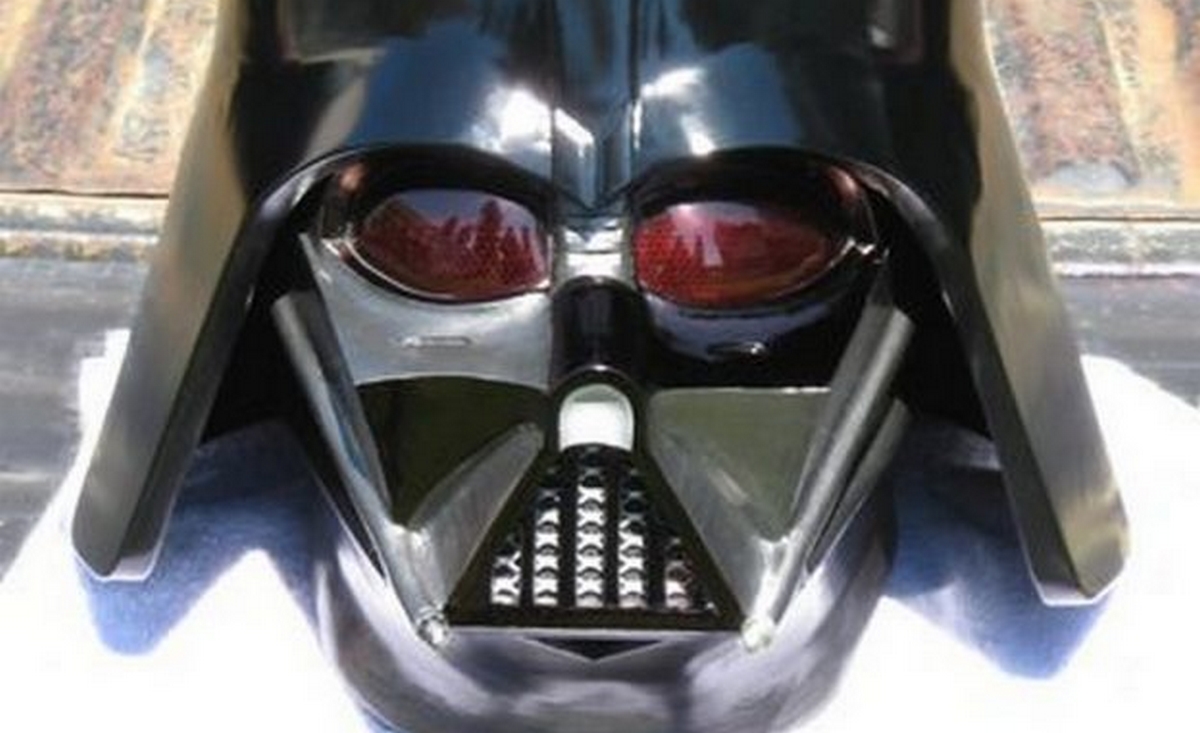
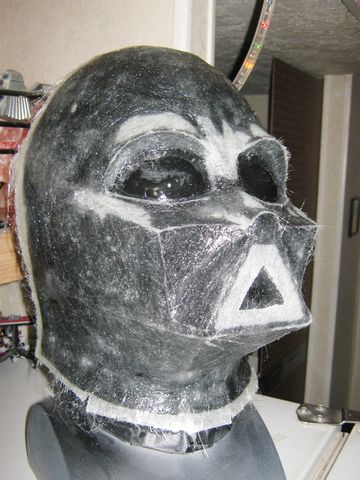
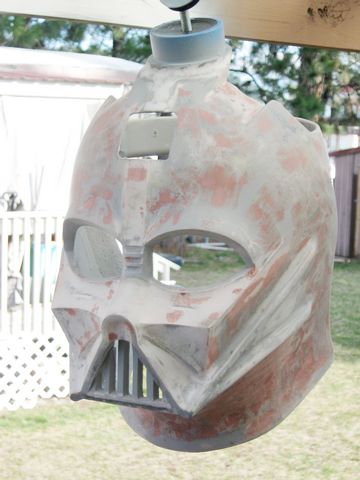
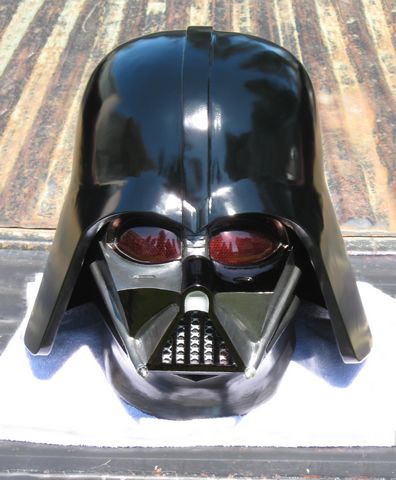
My first freehand fiberglass project was my Star Wars: Episode IV A New Hope Darth Vader cosplay helmet. It taxed my creativity to the limits, but turned out better than I had expected. Don’t worry about how you will build everything, just start with something. One step at a time.
My next helmet was Odin’s helmet from the Marvel movie Thor. Quite a bit more challenging than Vader, but I got to exercise a little artistic license and add a few of my own touches.
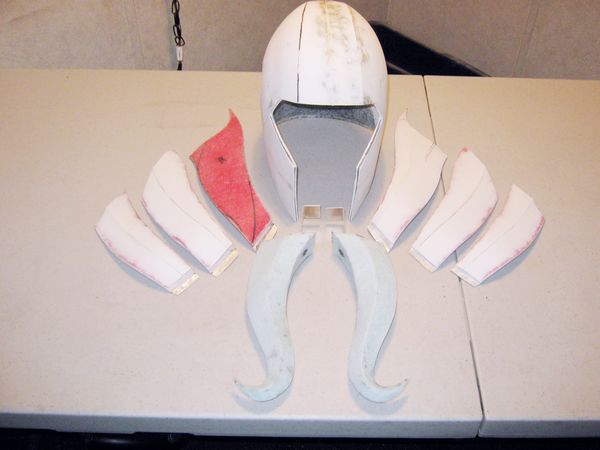
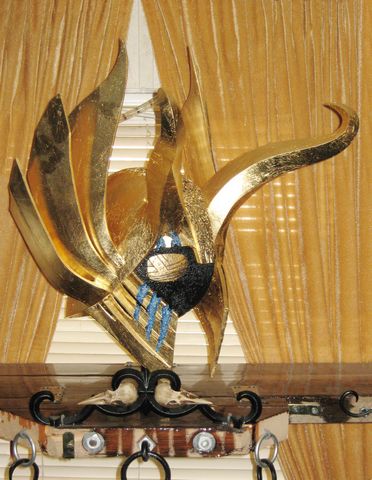
Currently, I am working on a helmet of my own design, one that will complete my vision of a medieval armored Joker. This has been the most fun project I have attempted. I am putting much more detail into this helmet than any of my previous ones, and the challenge of figuring out how to make it all come together has been quite intriguing.
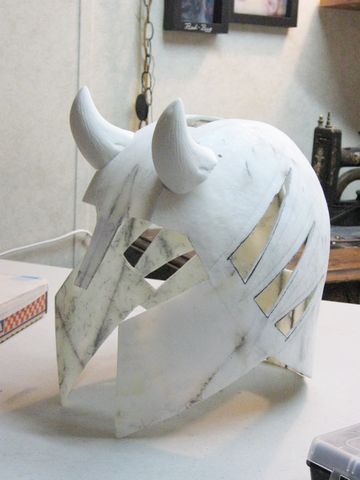
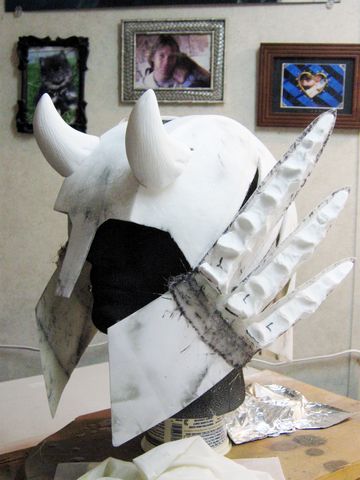
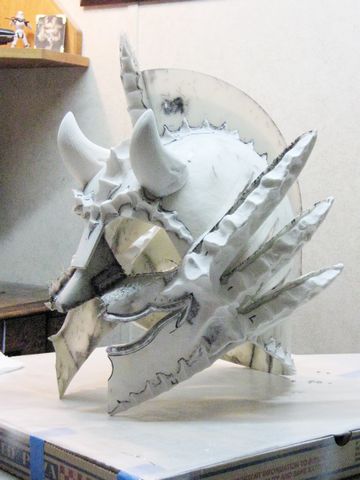
So, if there is something you want to build, take the leap. You can build it with fiberglass. Believe in yourself and take it slowly. Head on down to your local WEST SYSTEM dealer and pick up some 105 Epoxy Resin and 206 Slow Hardener, a package of fiberglass mat, and a few tools.
Check out my tips and tutorials on my Facebook page “CosplayGlass.” Your skills will improve with time and you will soon find yourself creating things you would never have imagined.


 Listen Now
  Add to Playlist