Listen Now
  Add to Playlist

By Alan Bergen
Before jumping into building a strip kayak, I wanted to find out all I could about the process. To begin, I read the book Kayakcraft: Fine Woodstrip Kayak Construction by Ted Moores cover-to-cover and referred to it frequently during construction.
After reading Kayakcraft, I selected Bear Mountain Boats’ 16′ 5″ Resolute touring kayak from their online catalog. I chose this boat based on my size and weight, and its excellent stability. The next step was deciding whether to build it from scratch or from a kit.
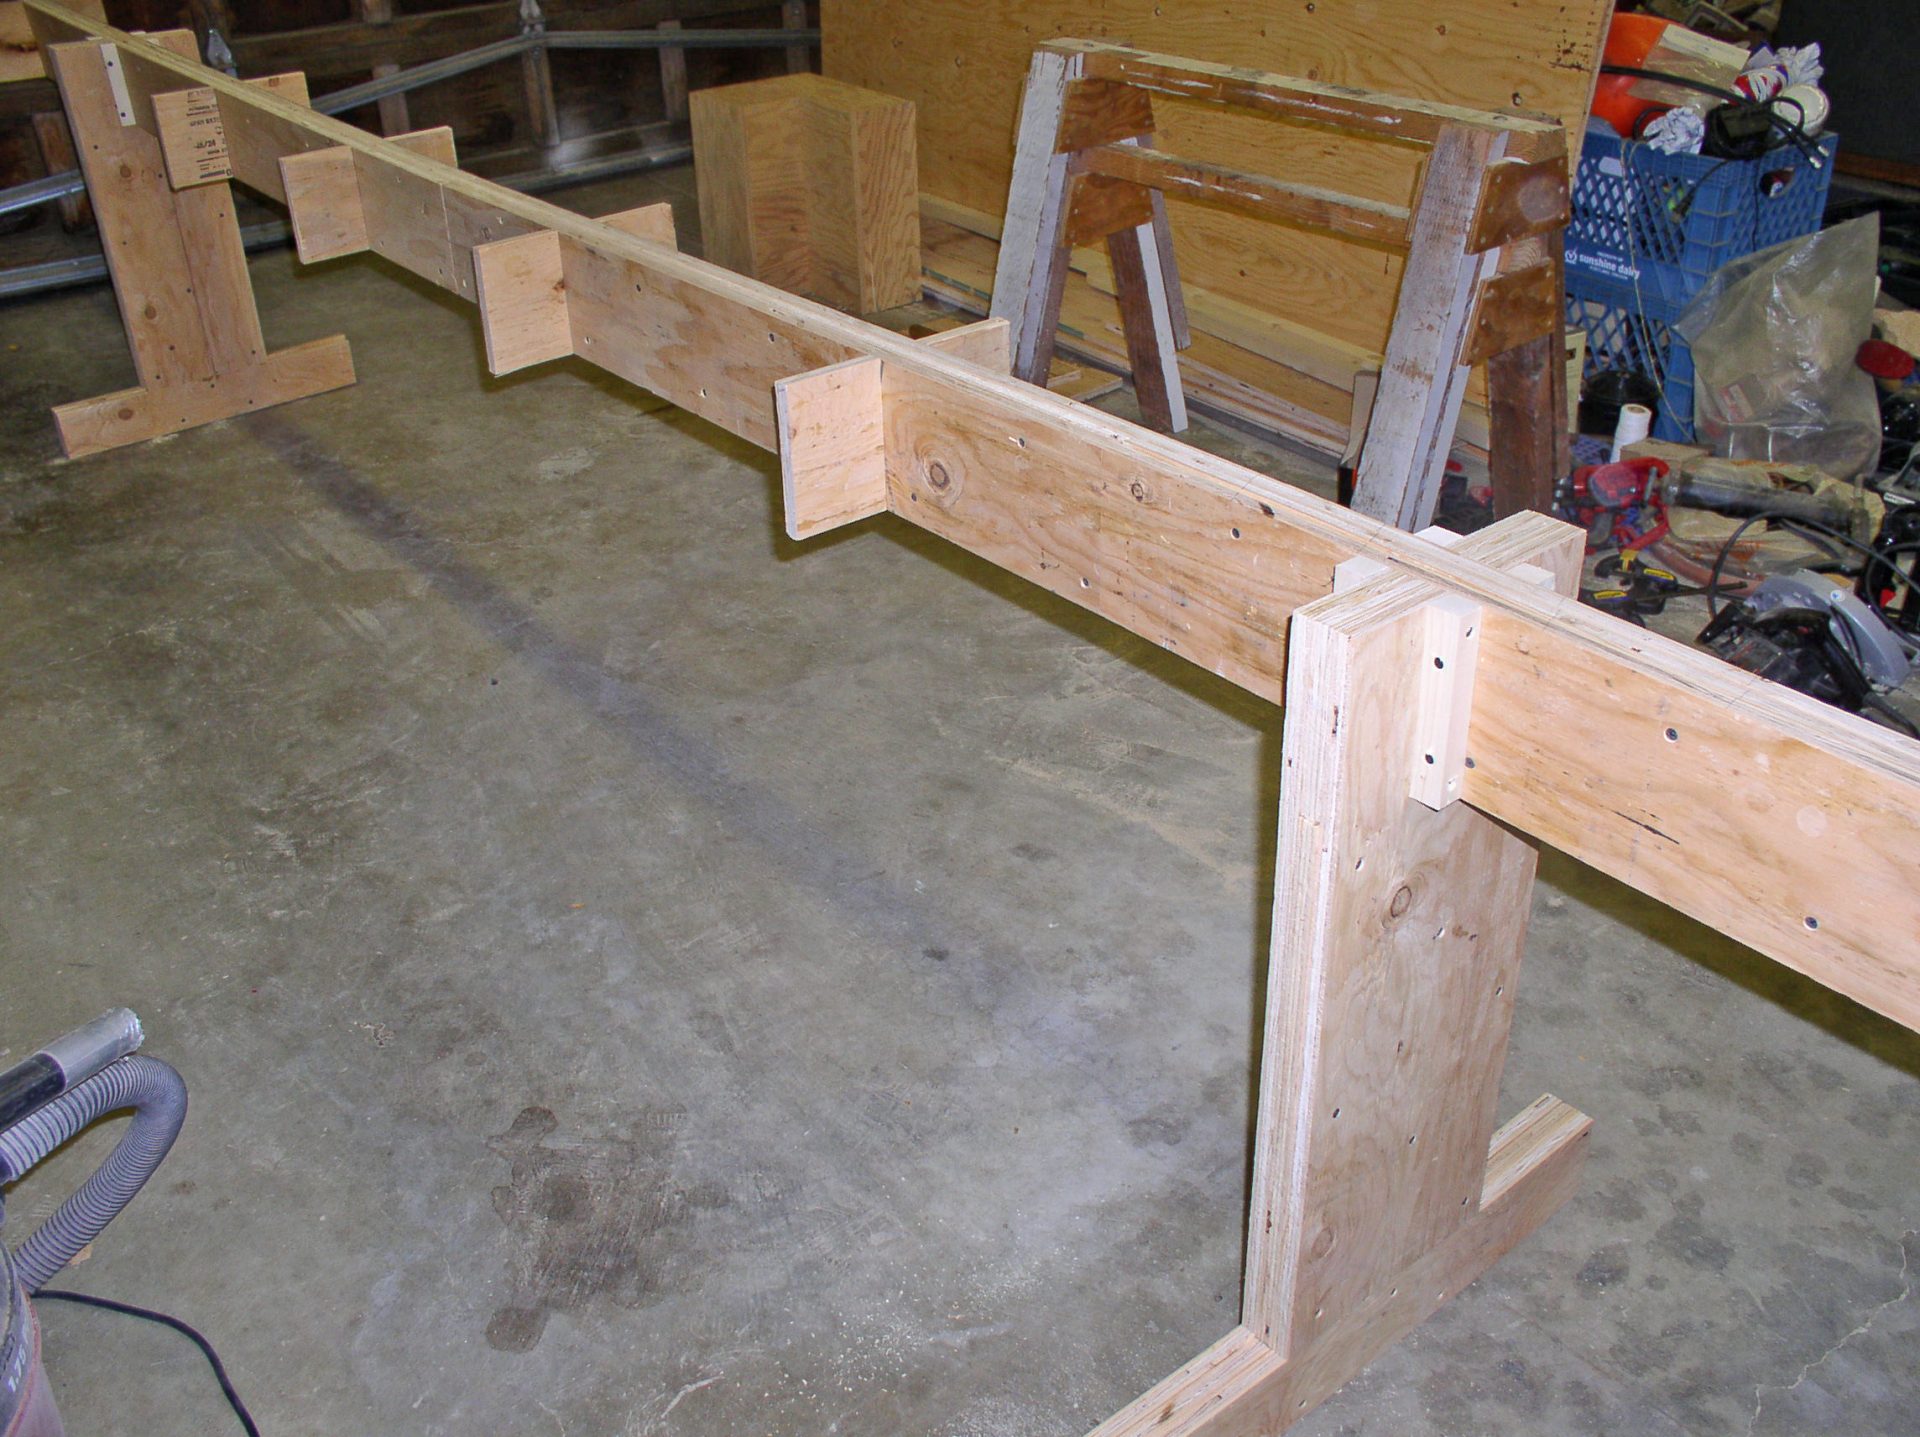
Building from a kit means everything is provided except for the strongback, which is a long, low table used as the foundation for the molds that define the shape of the kayak. People who don’t have my kind of woodworking and fiberglassing experience can also build a kayak (or canoe), but I’d recommend they begin with a kit boat.
I have a lot of experience as an amateur woodworker, and I have worked on my sailboat with fiberglass and WEST SYSTEM® Epoxy. I was confident I could build a strip kayak without a kit, So, I chose to build from full-size plans. Soon the fun began.
Getting Started
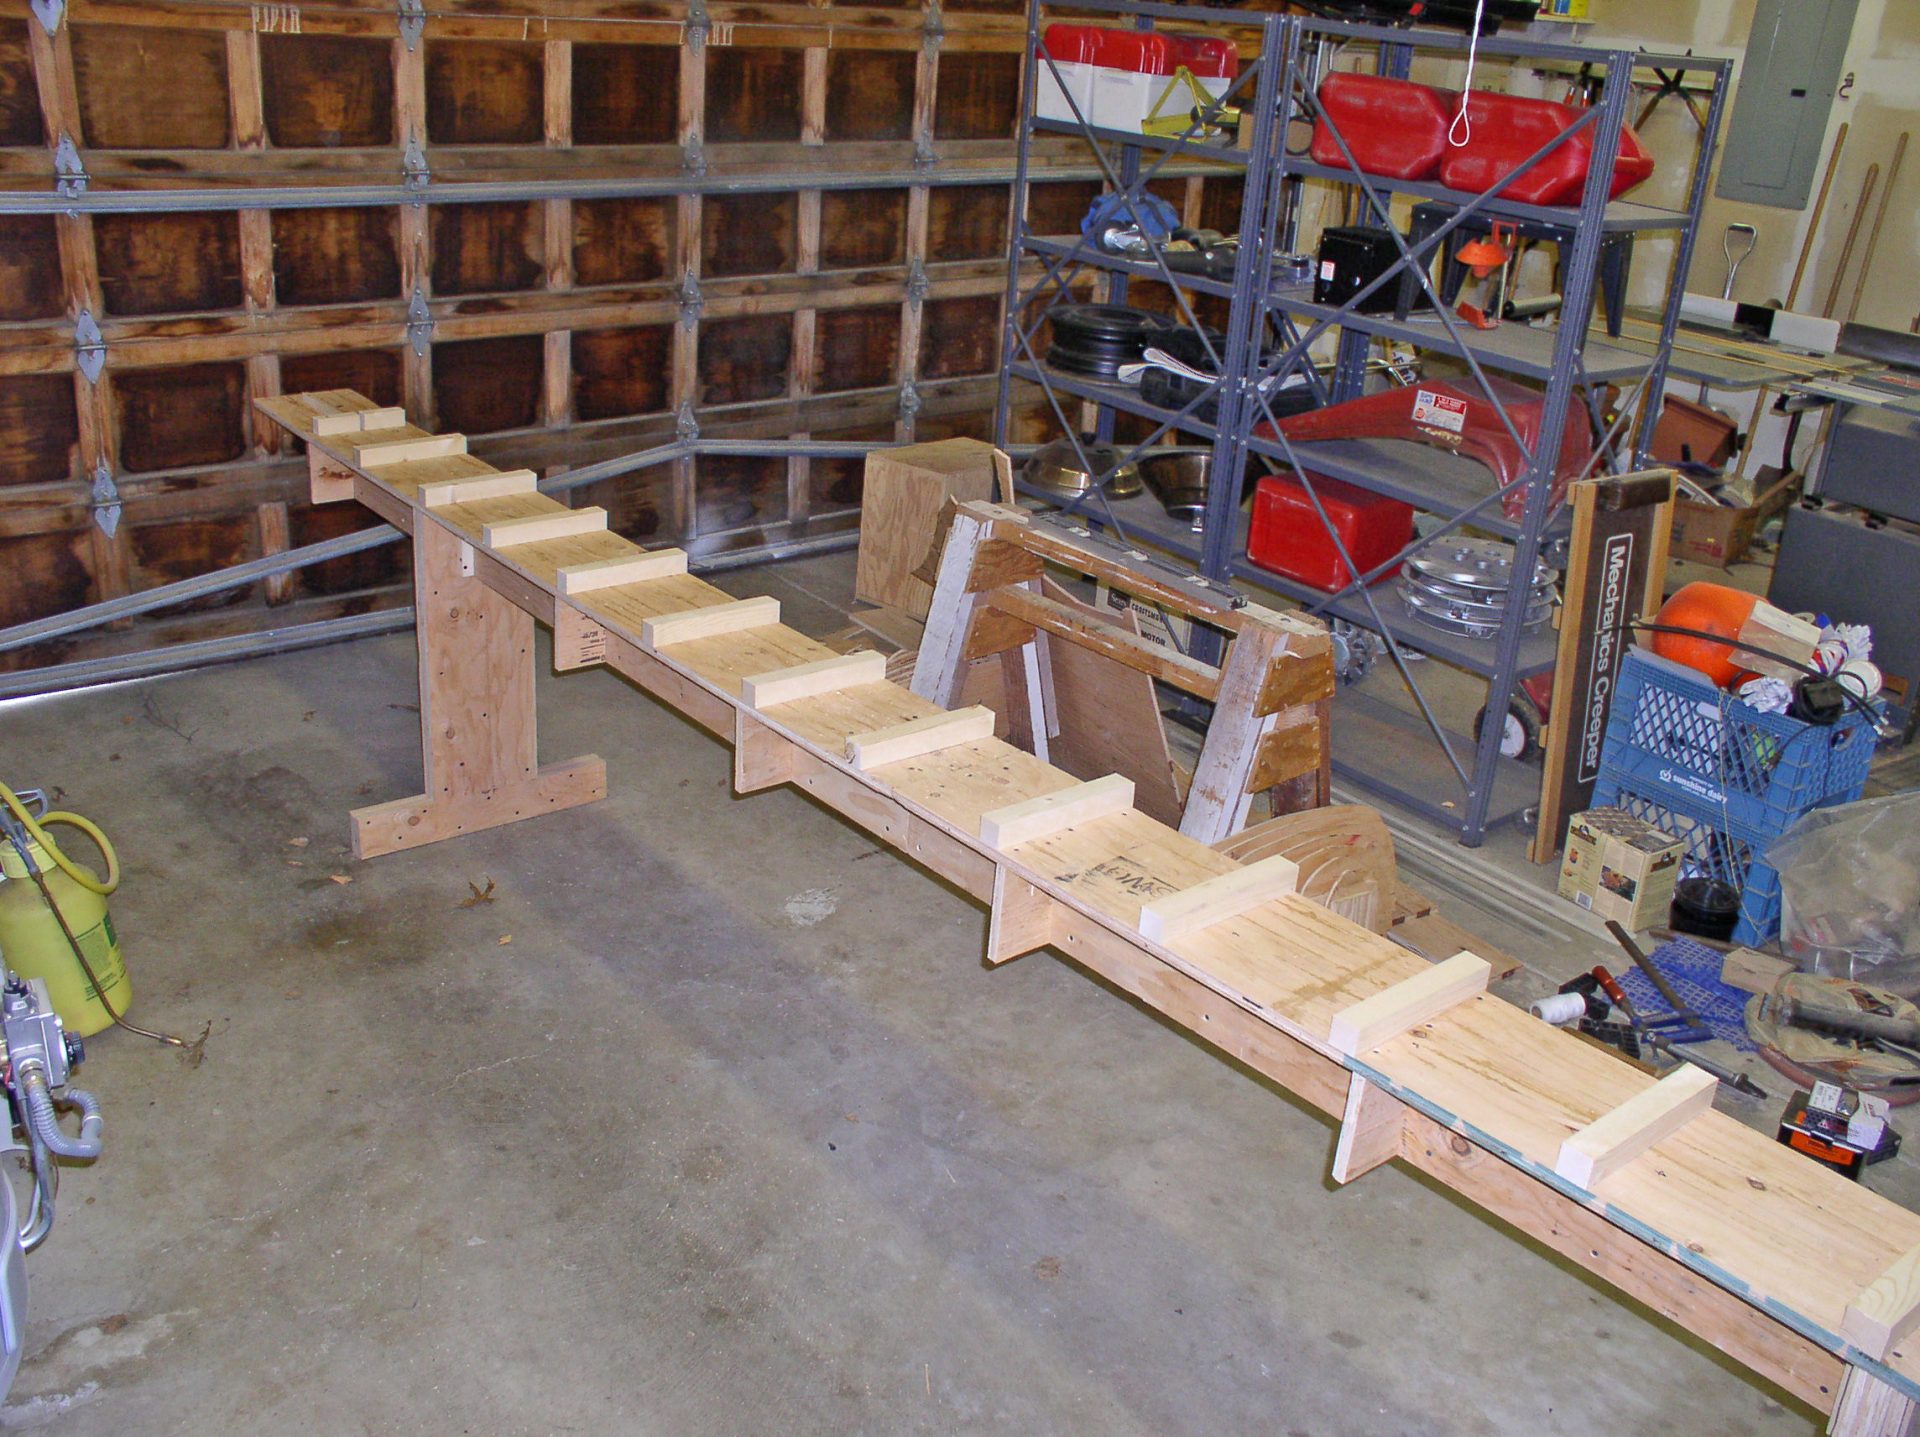
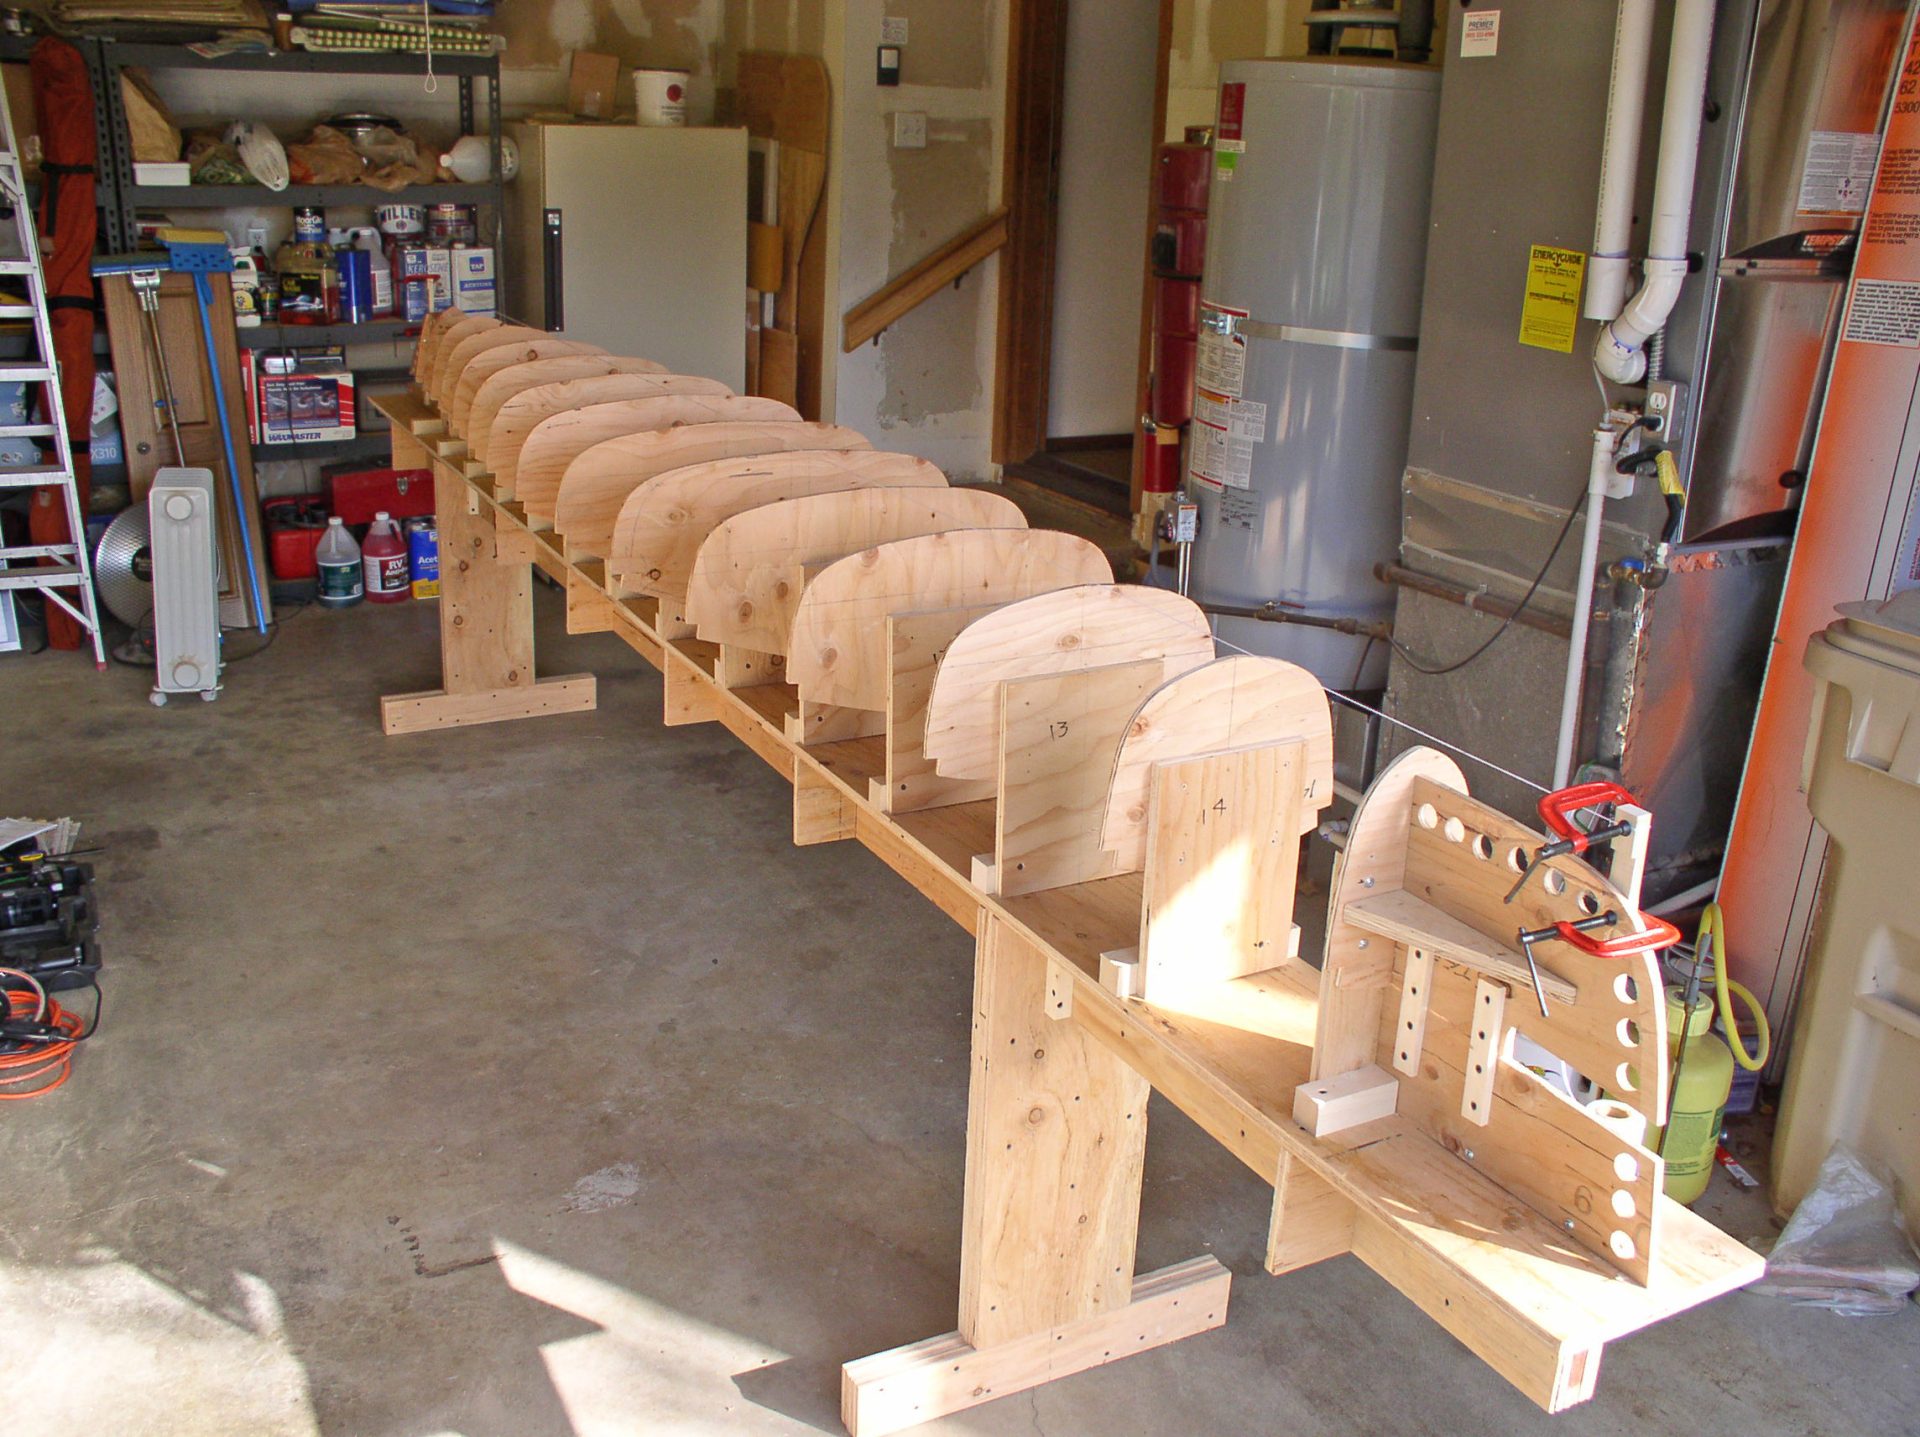
I started by building the strongback (Fig. 1 & 2). I took my time because inaccuracies here would be transferred to the finished boat.
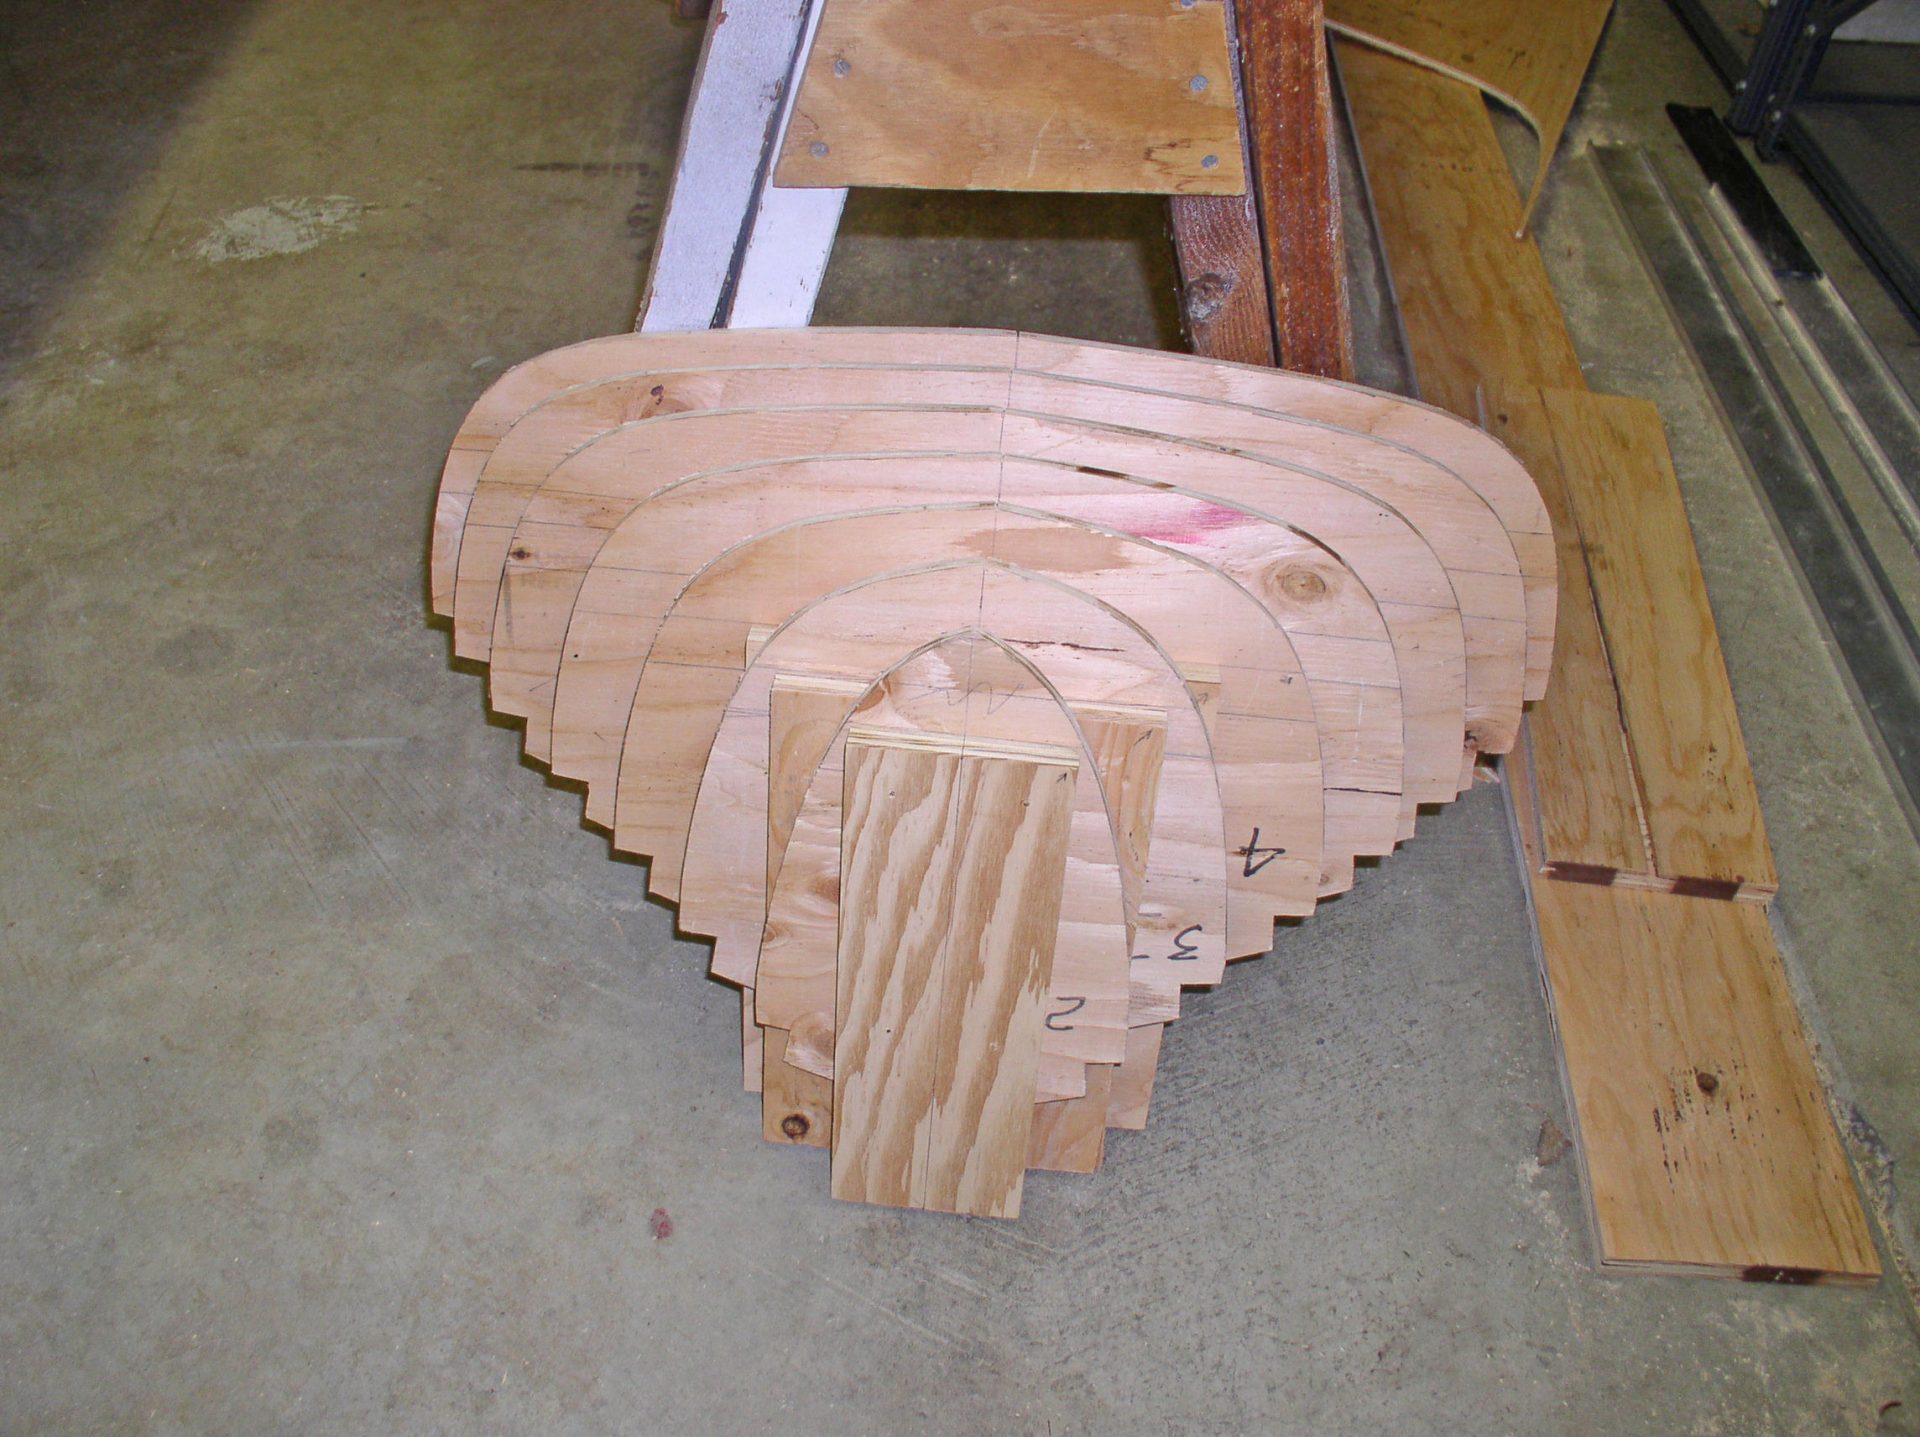
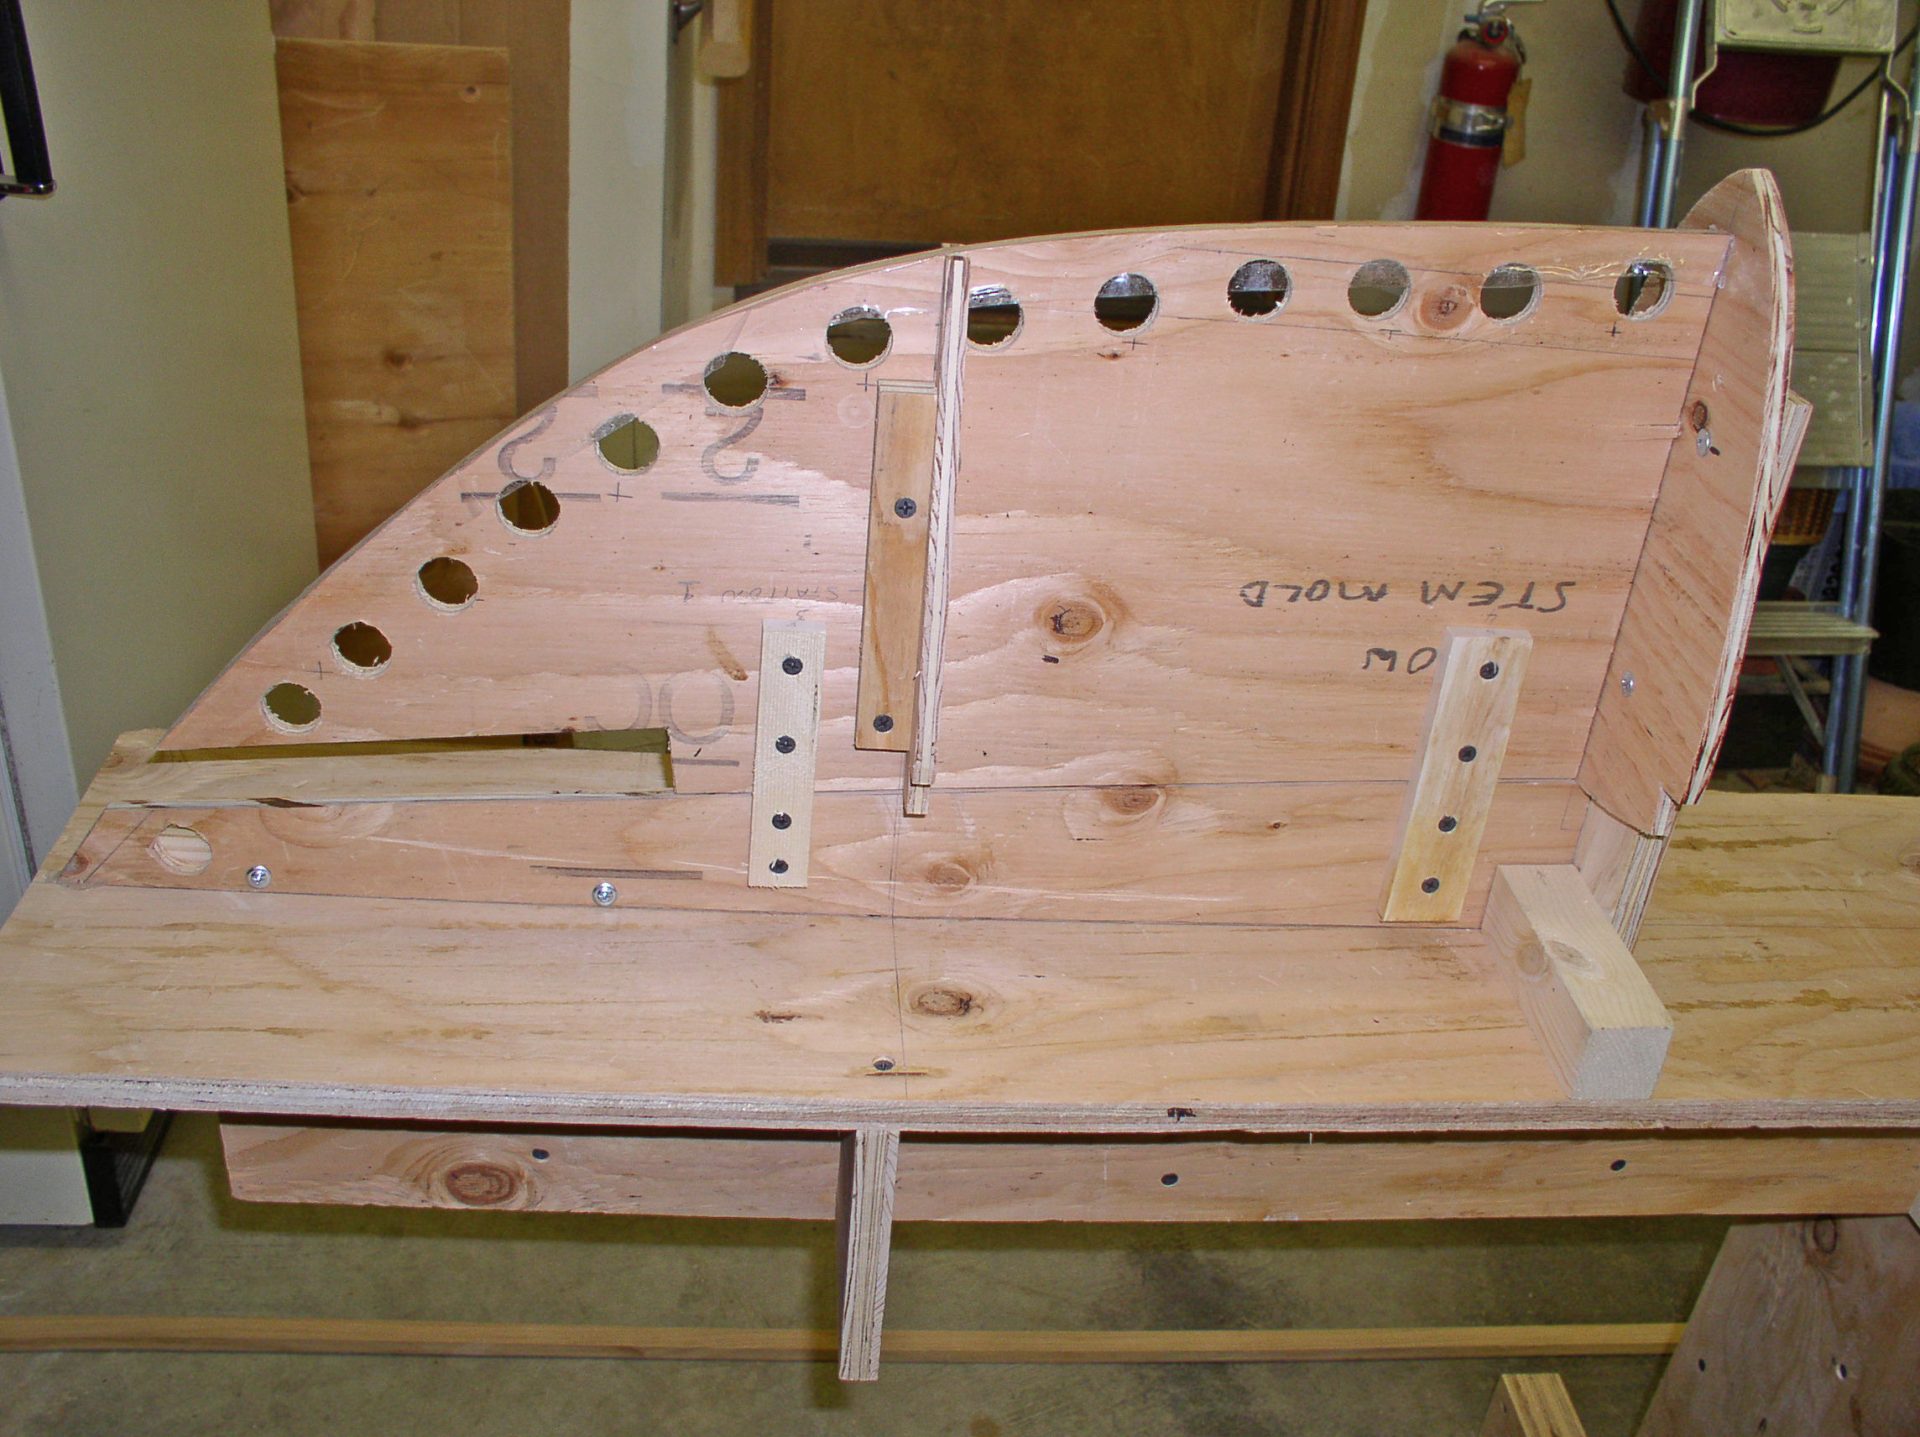
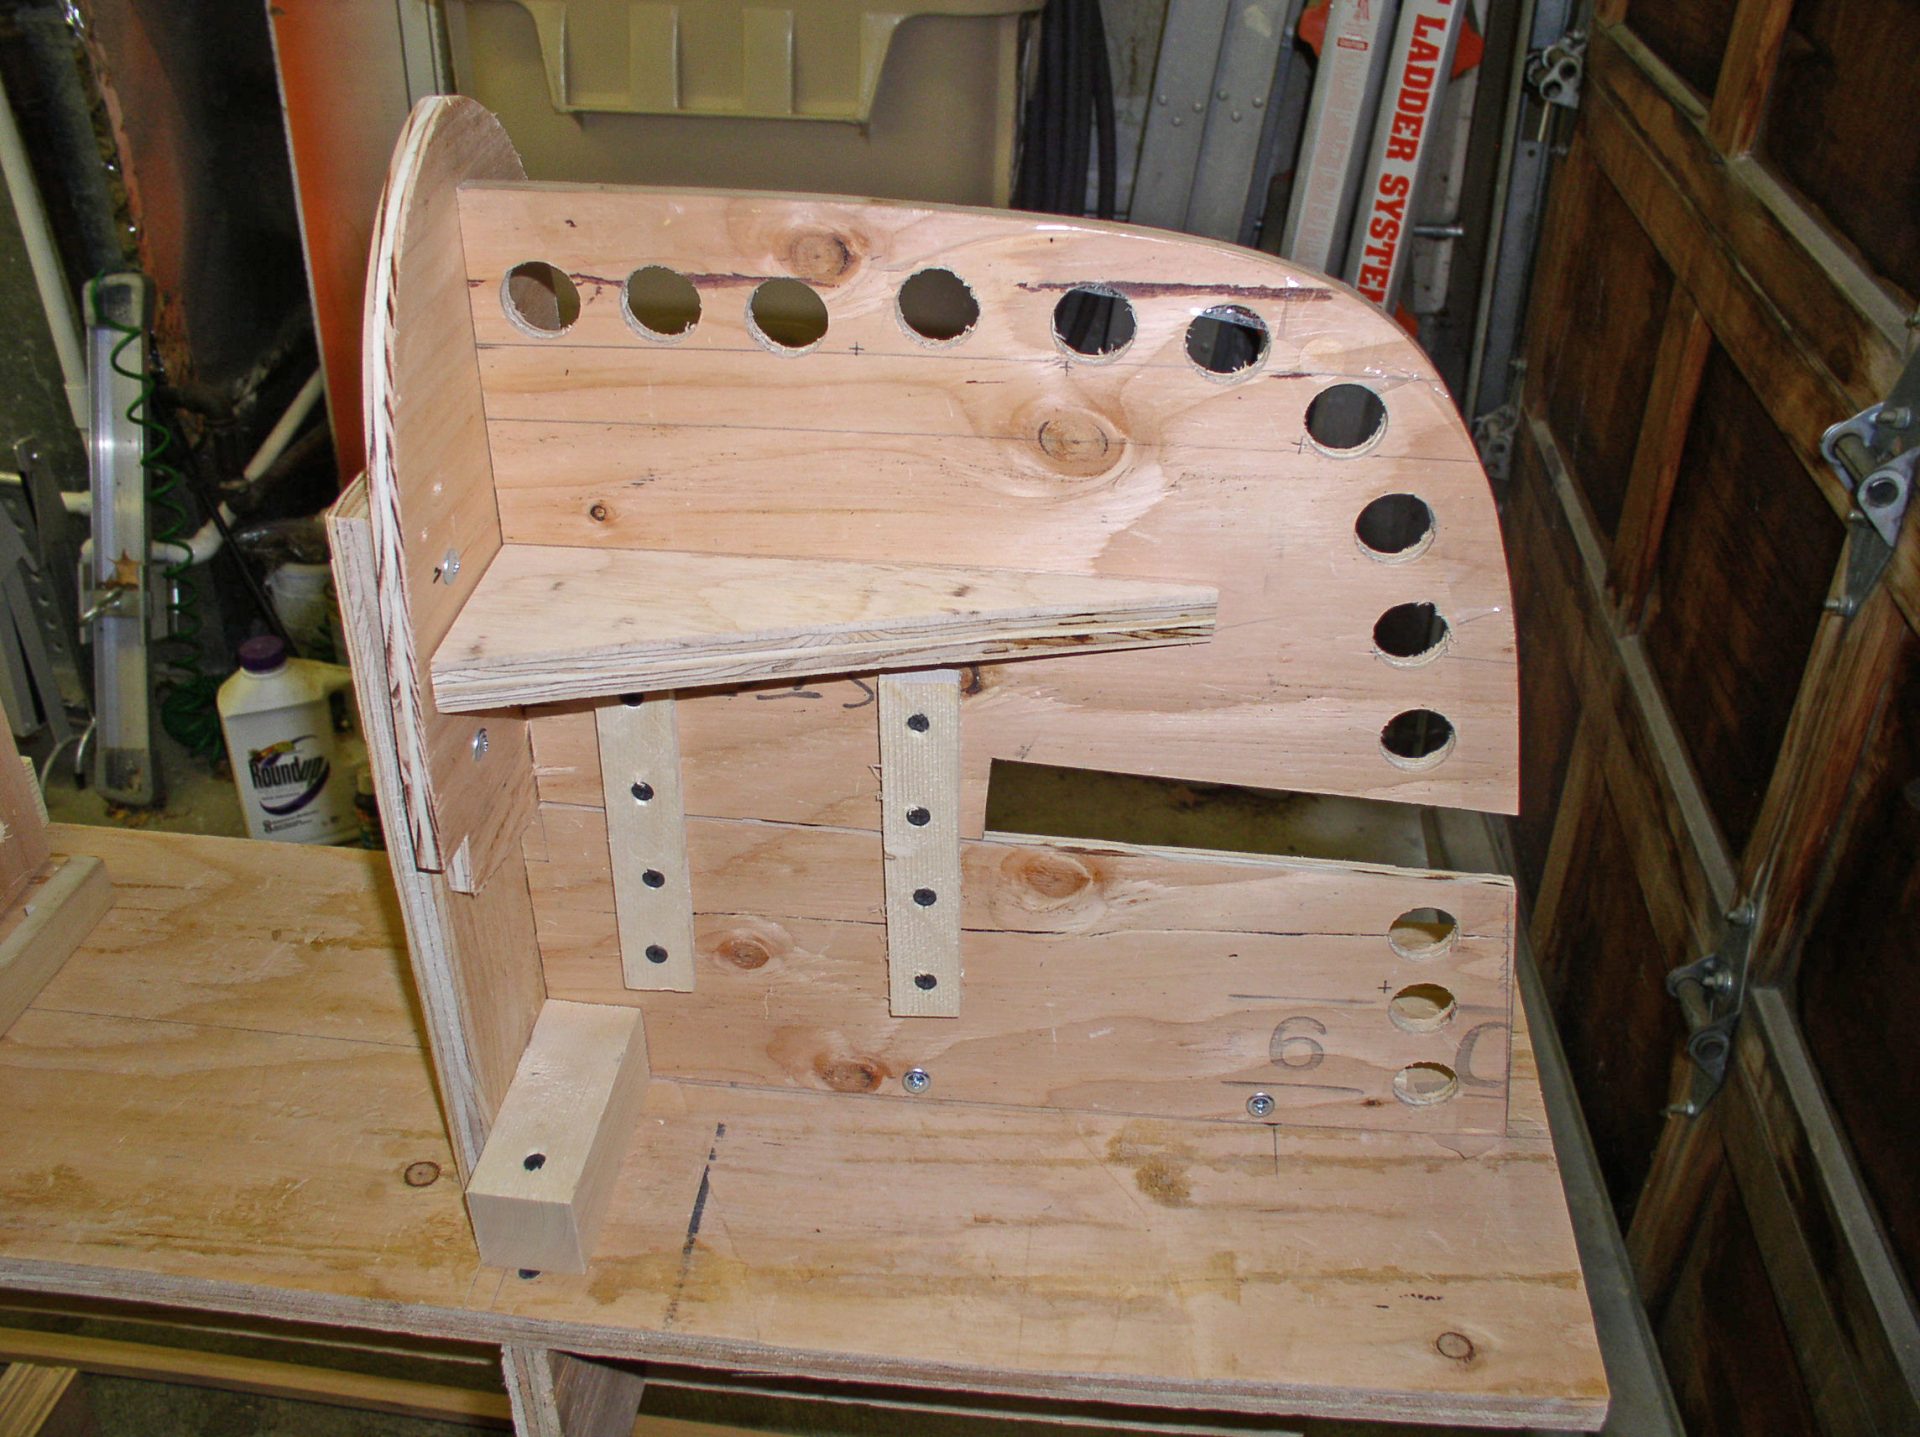
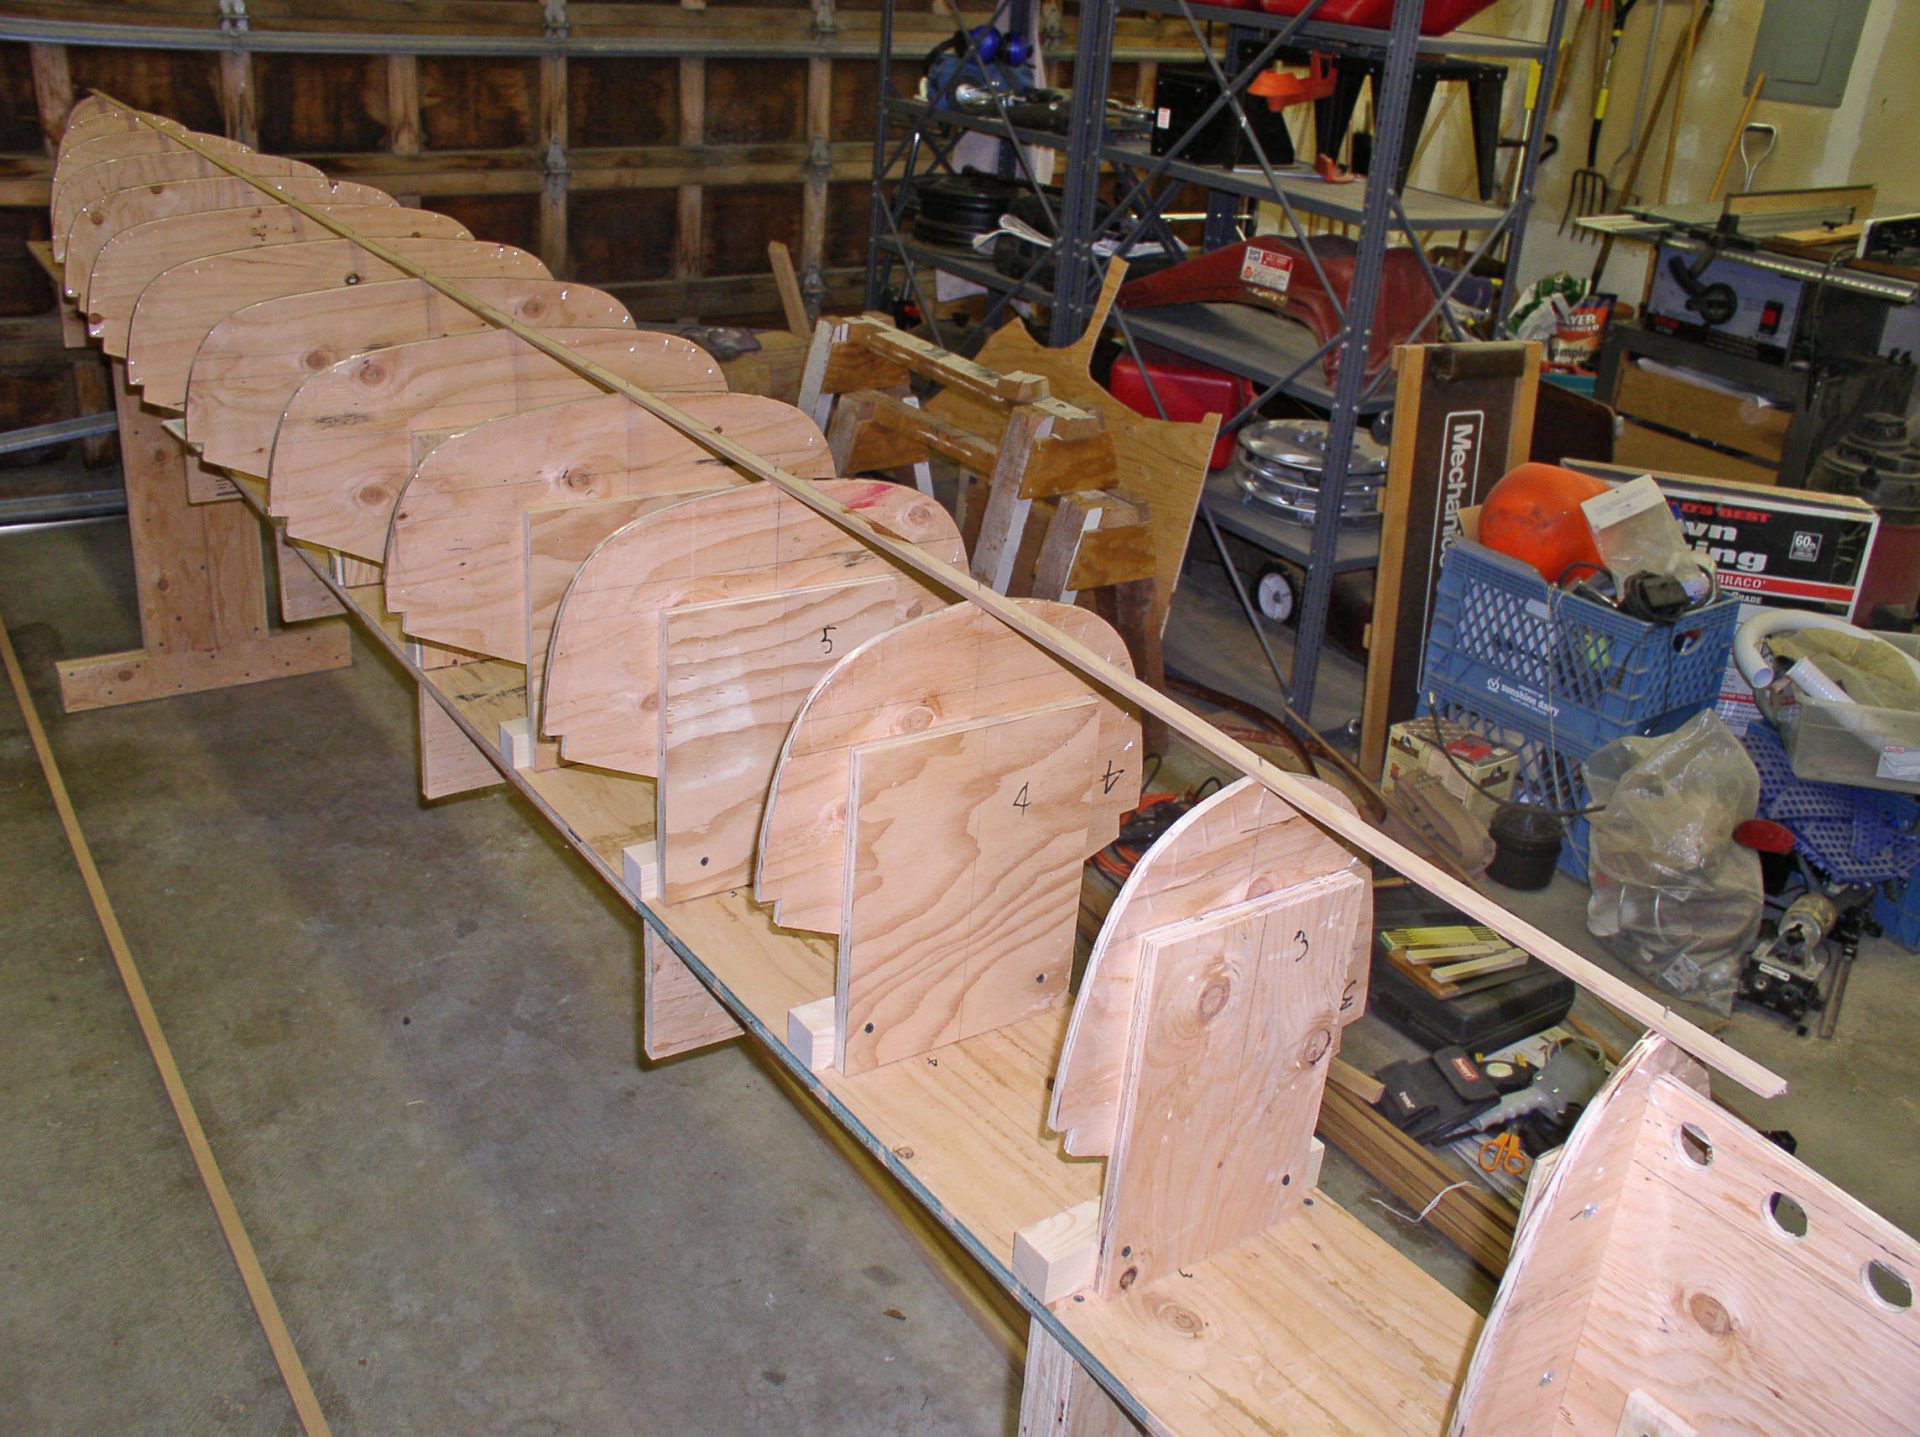
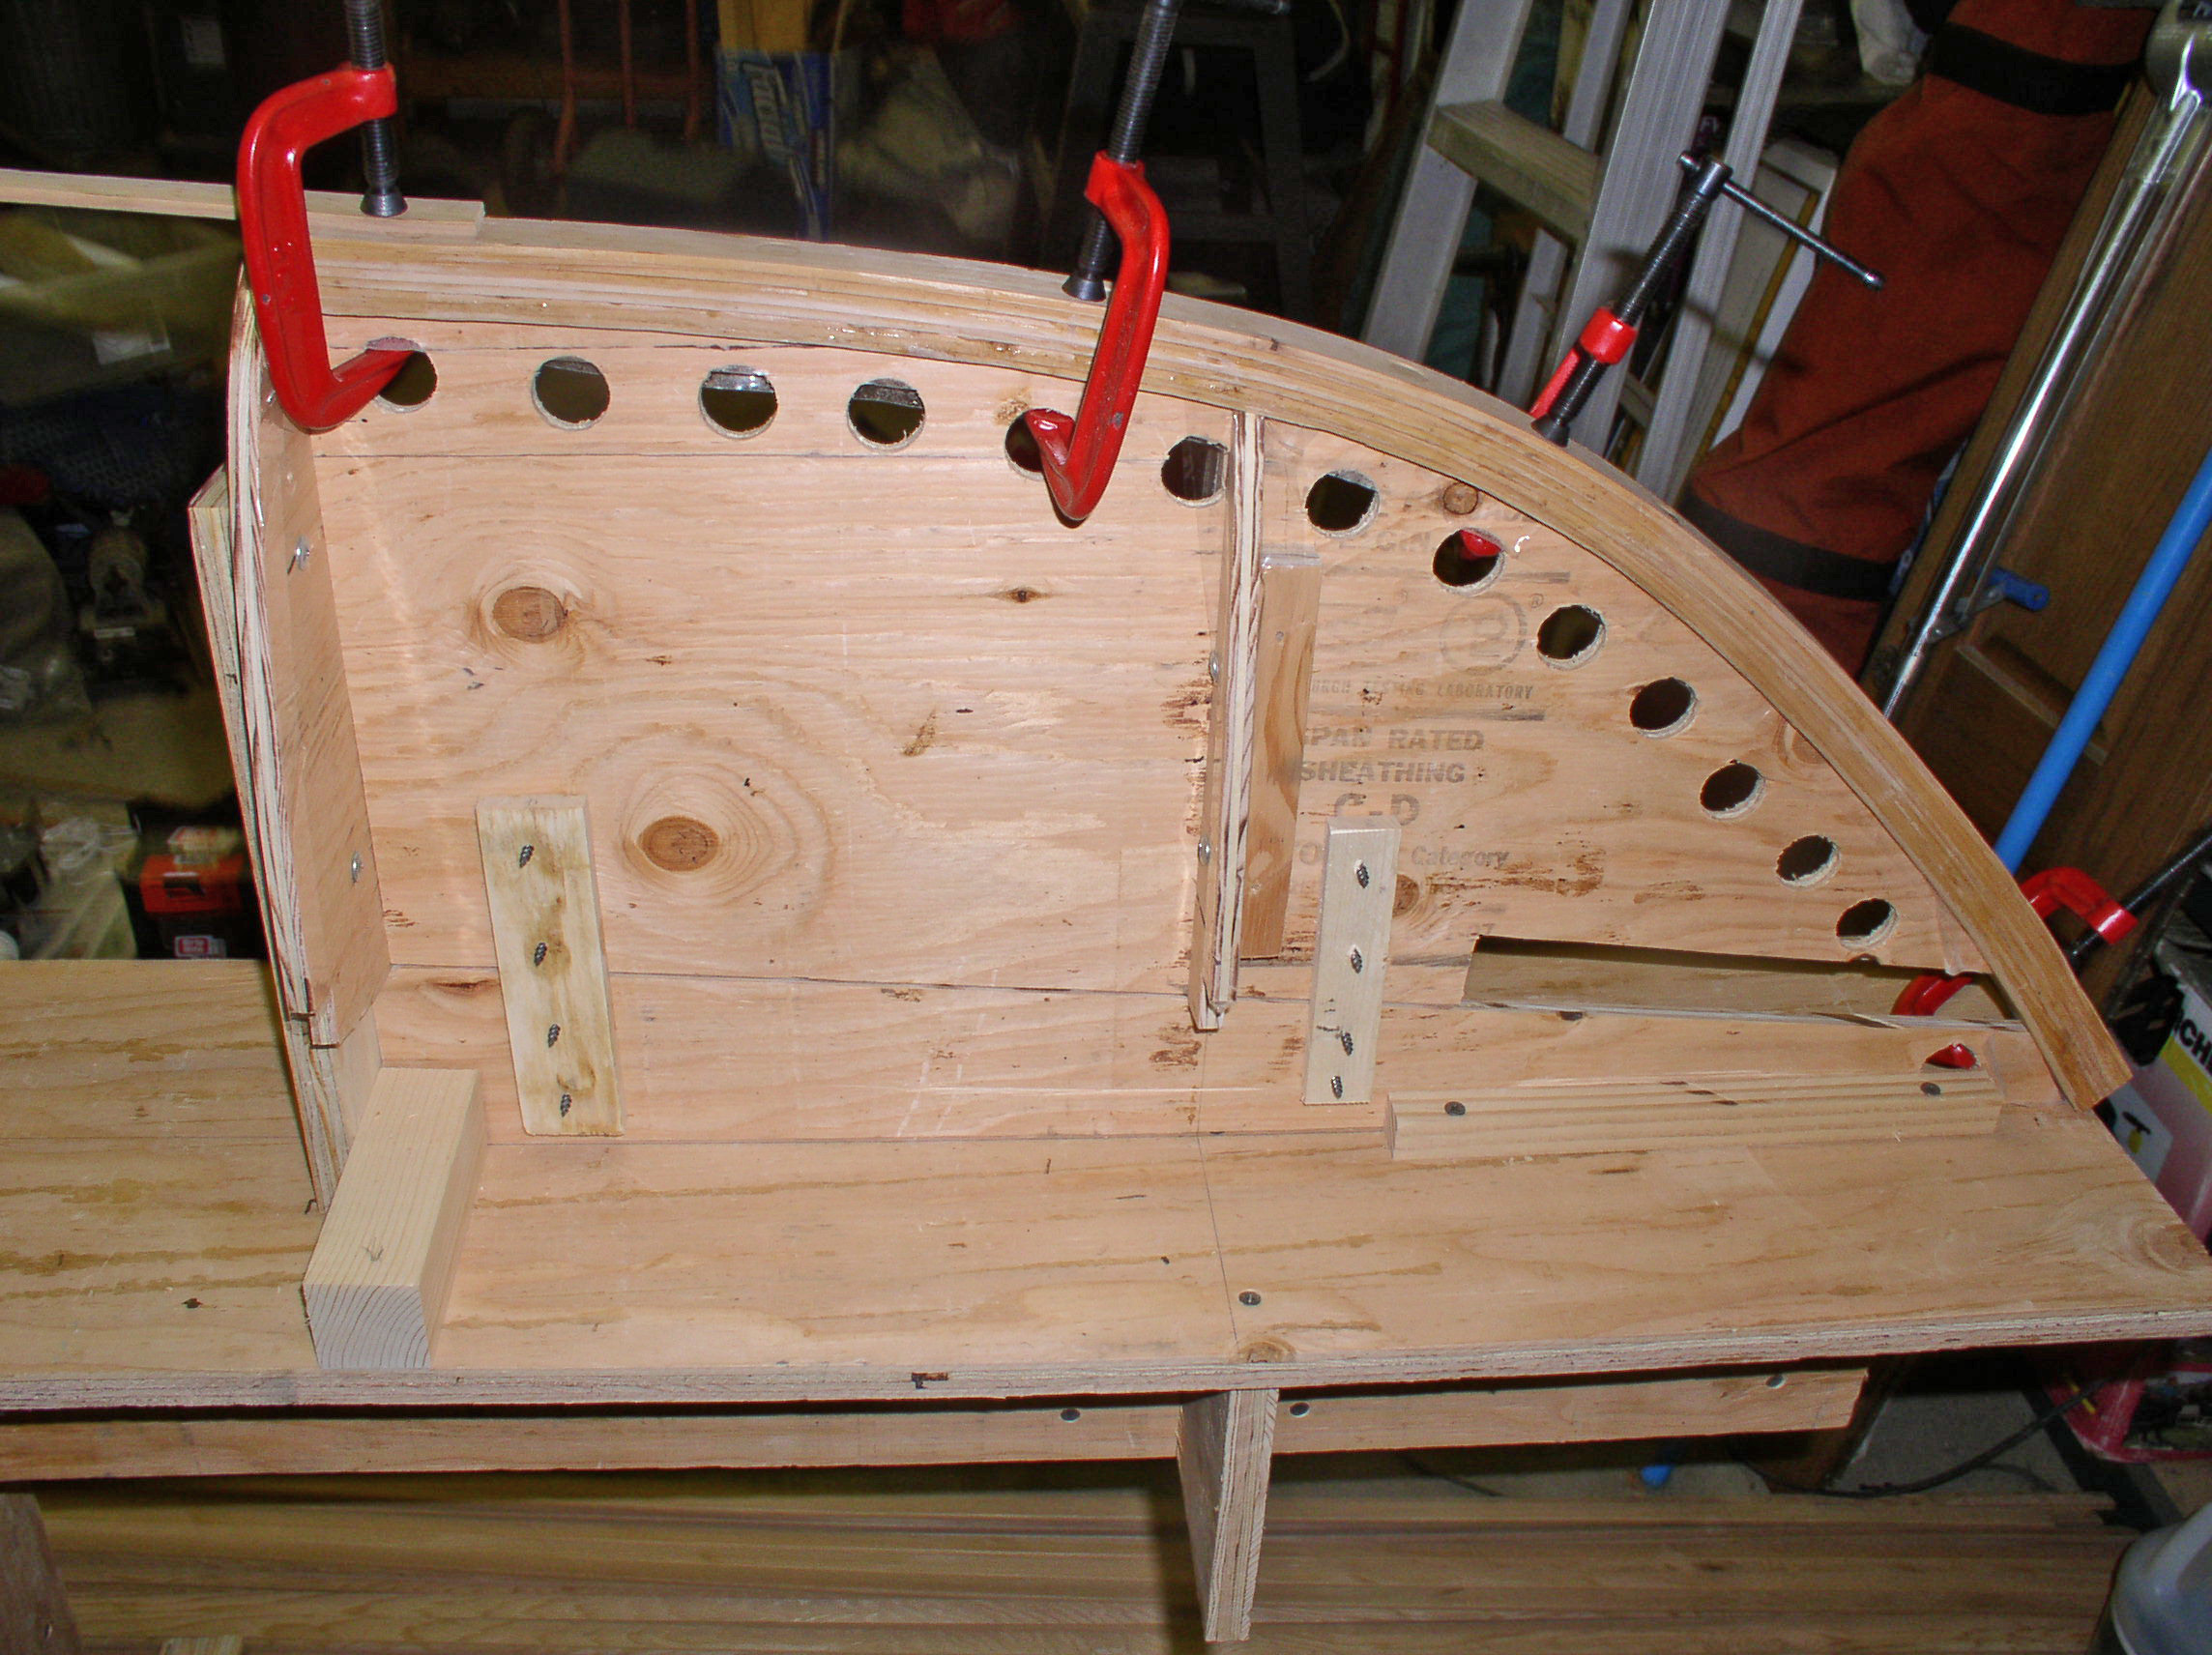
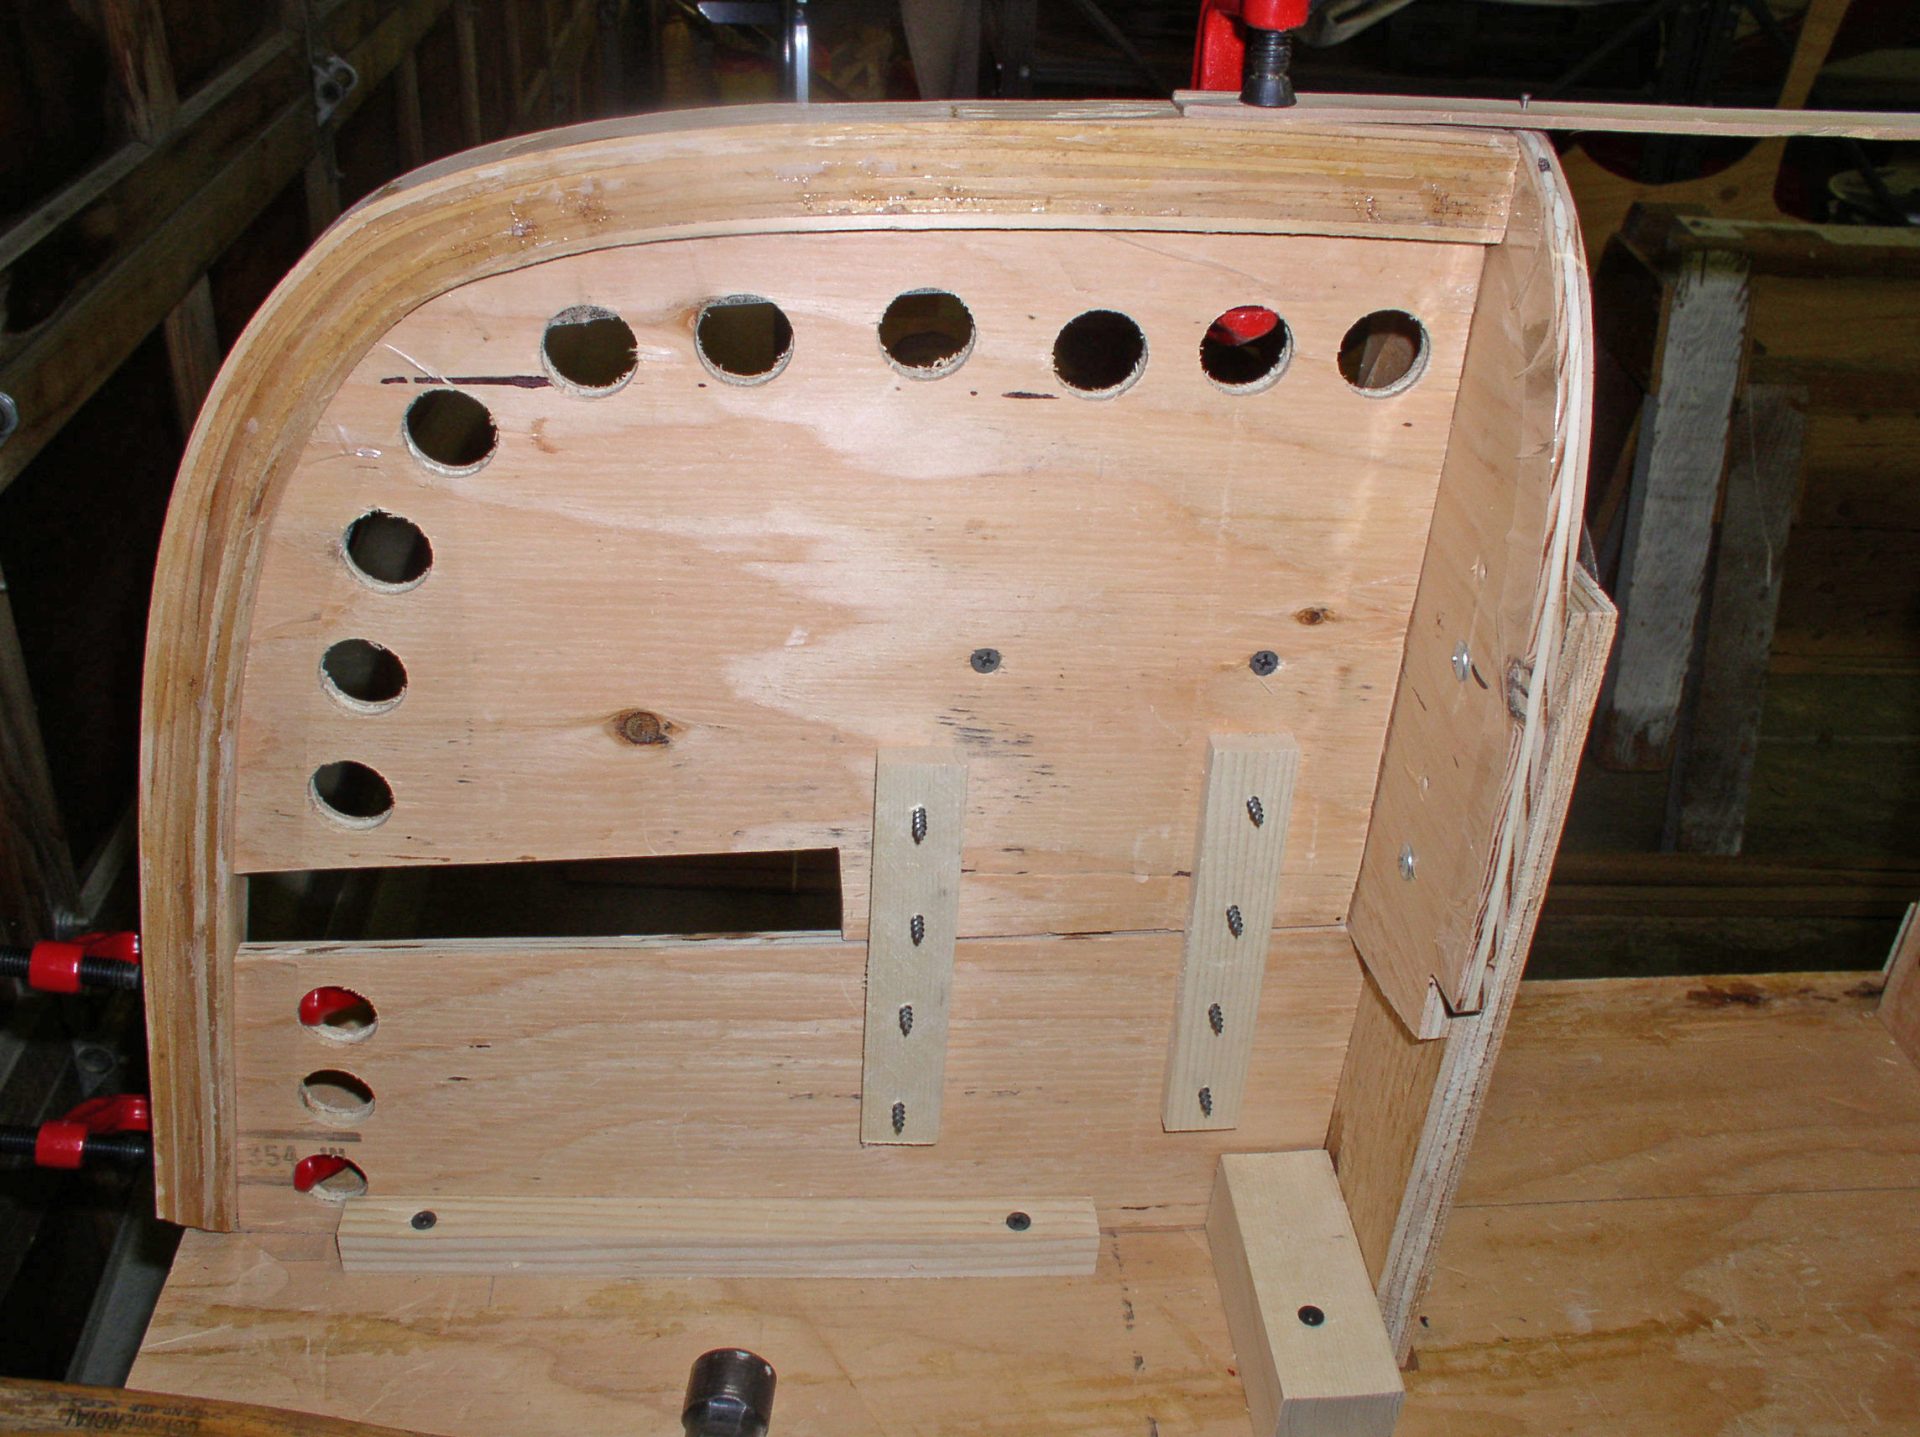
The next step was building the molds. I transferred the full-size plans to plywood, cut them out with a saber saw, and attached them to the strongback (Fig. 3-7). Using a string, I checked to make sure all the molds were in line. I used a batten to adjust the height of the molds so that they were in vertical alignment (Fig. 8).
Building the Hull
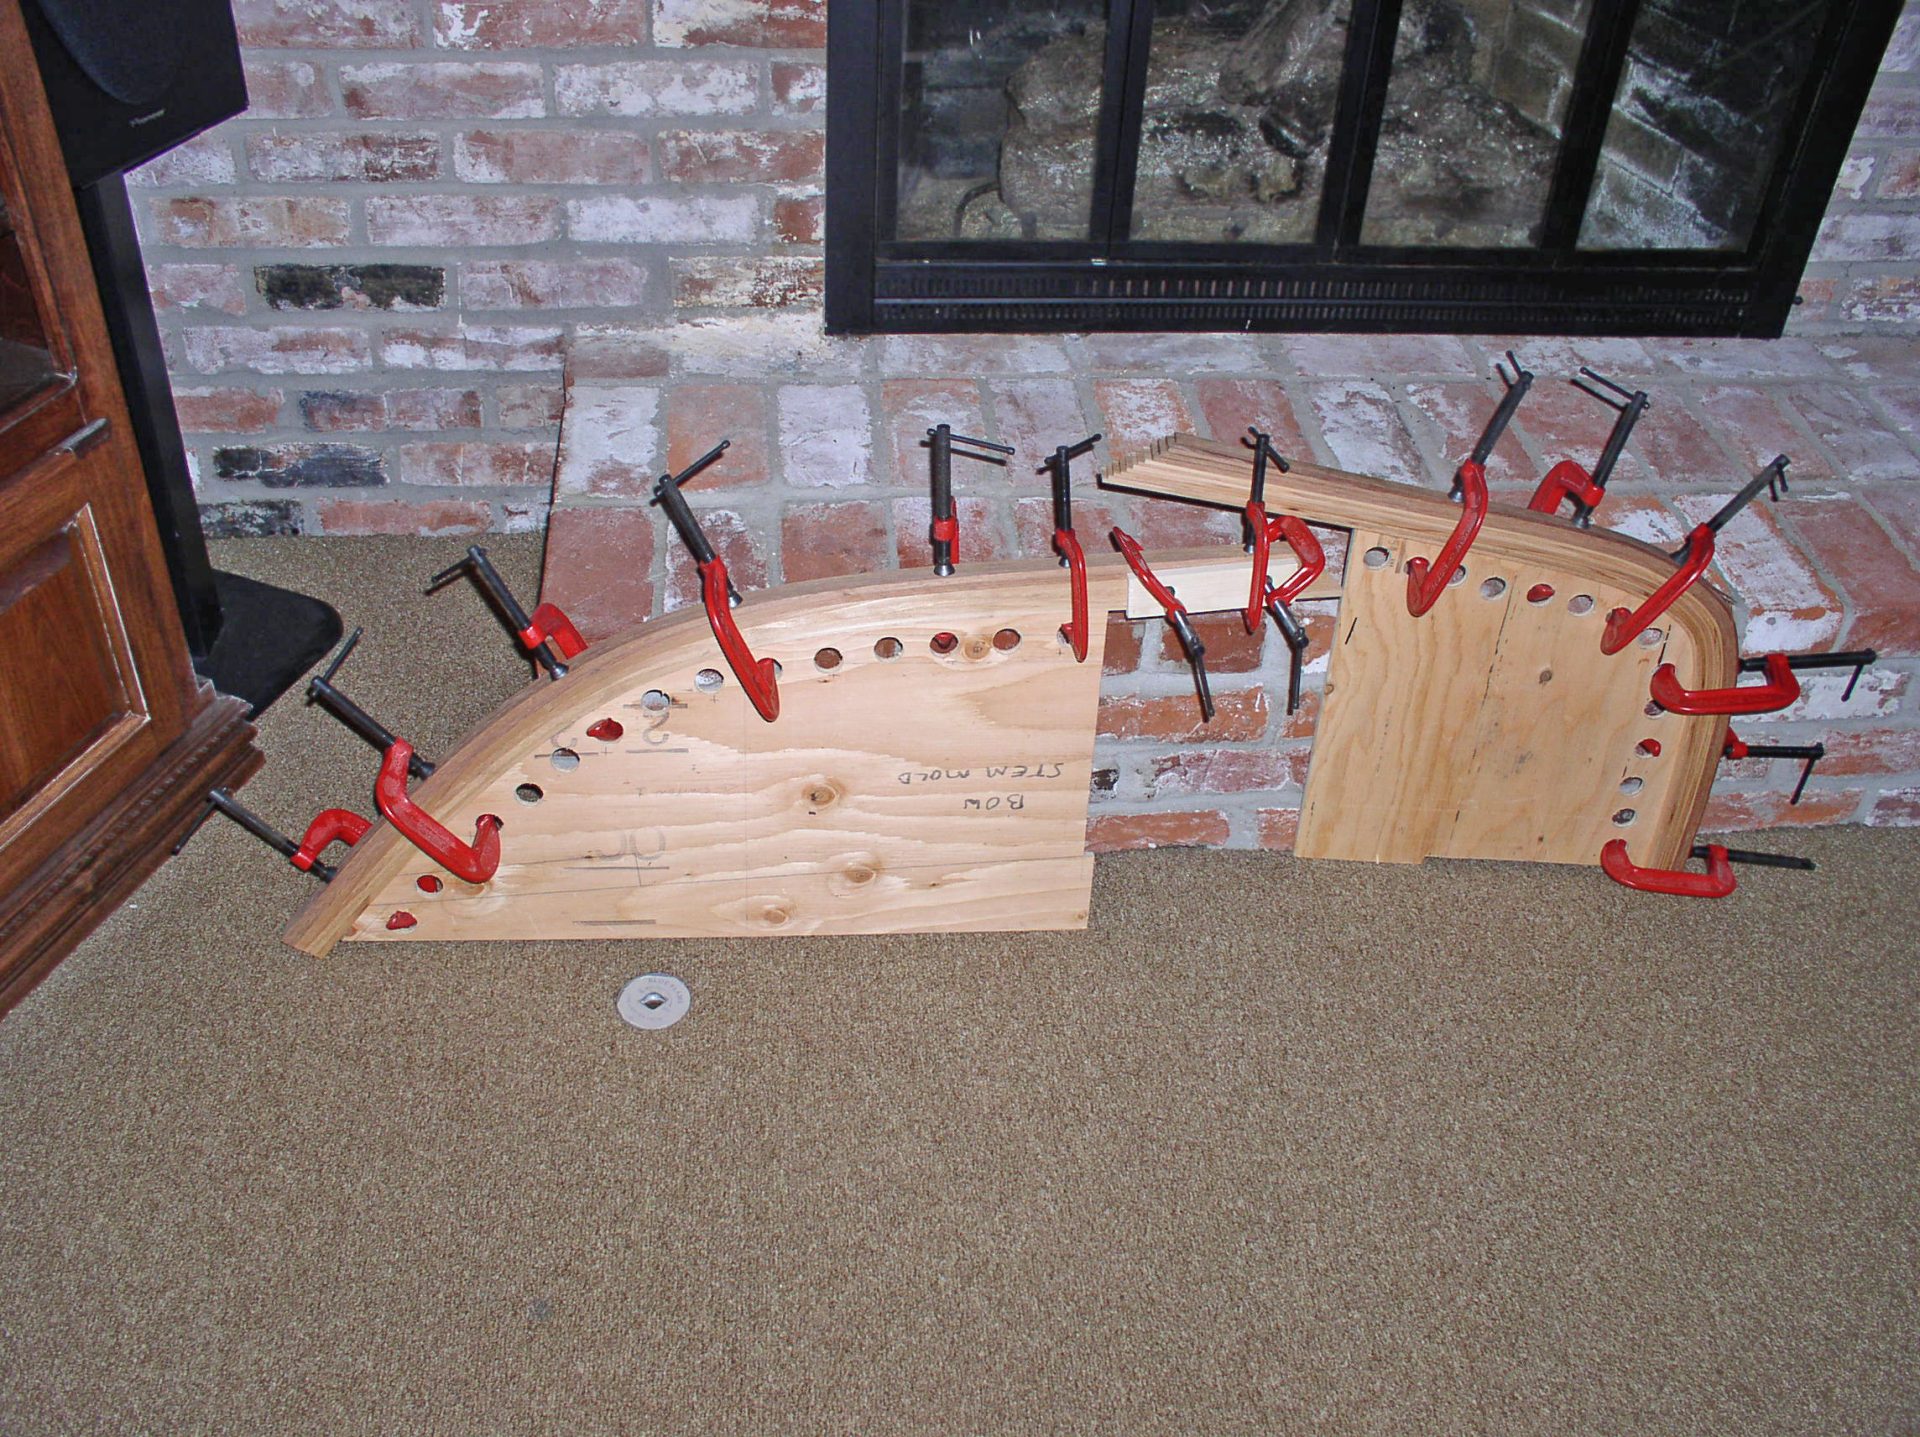
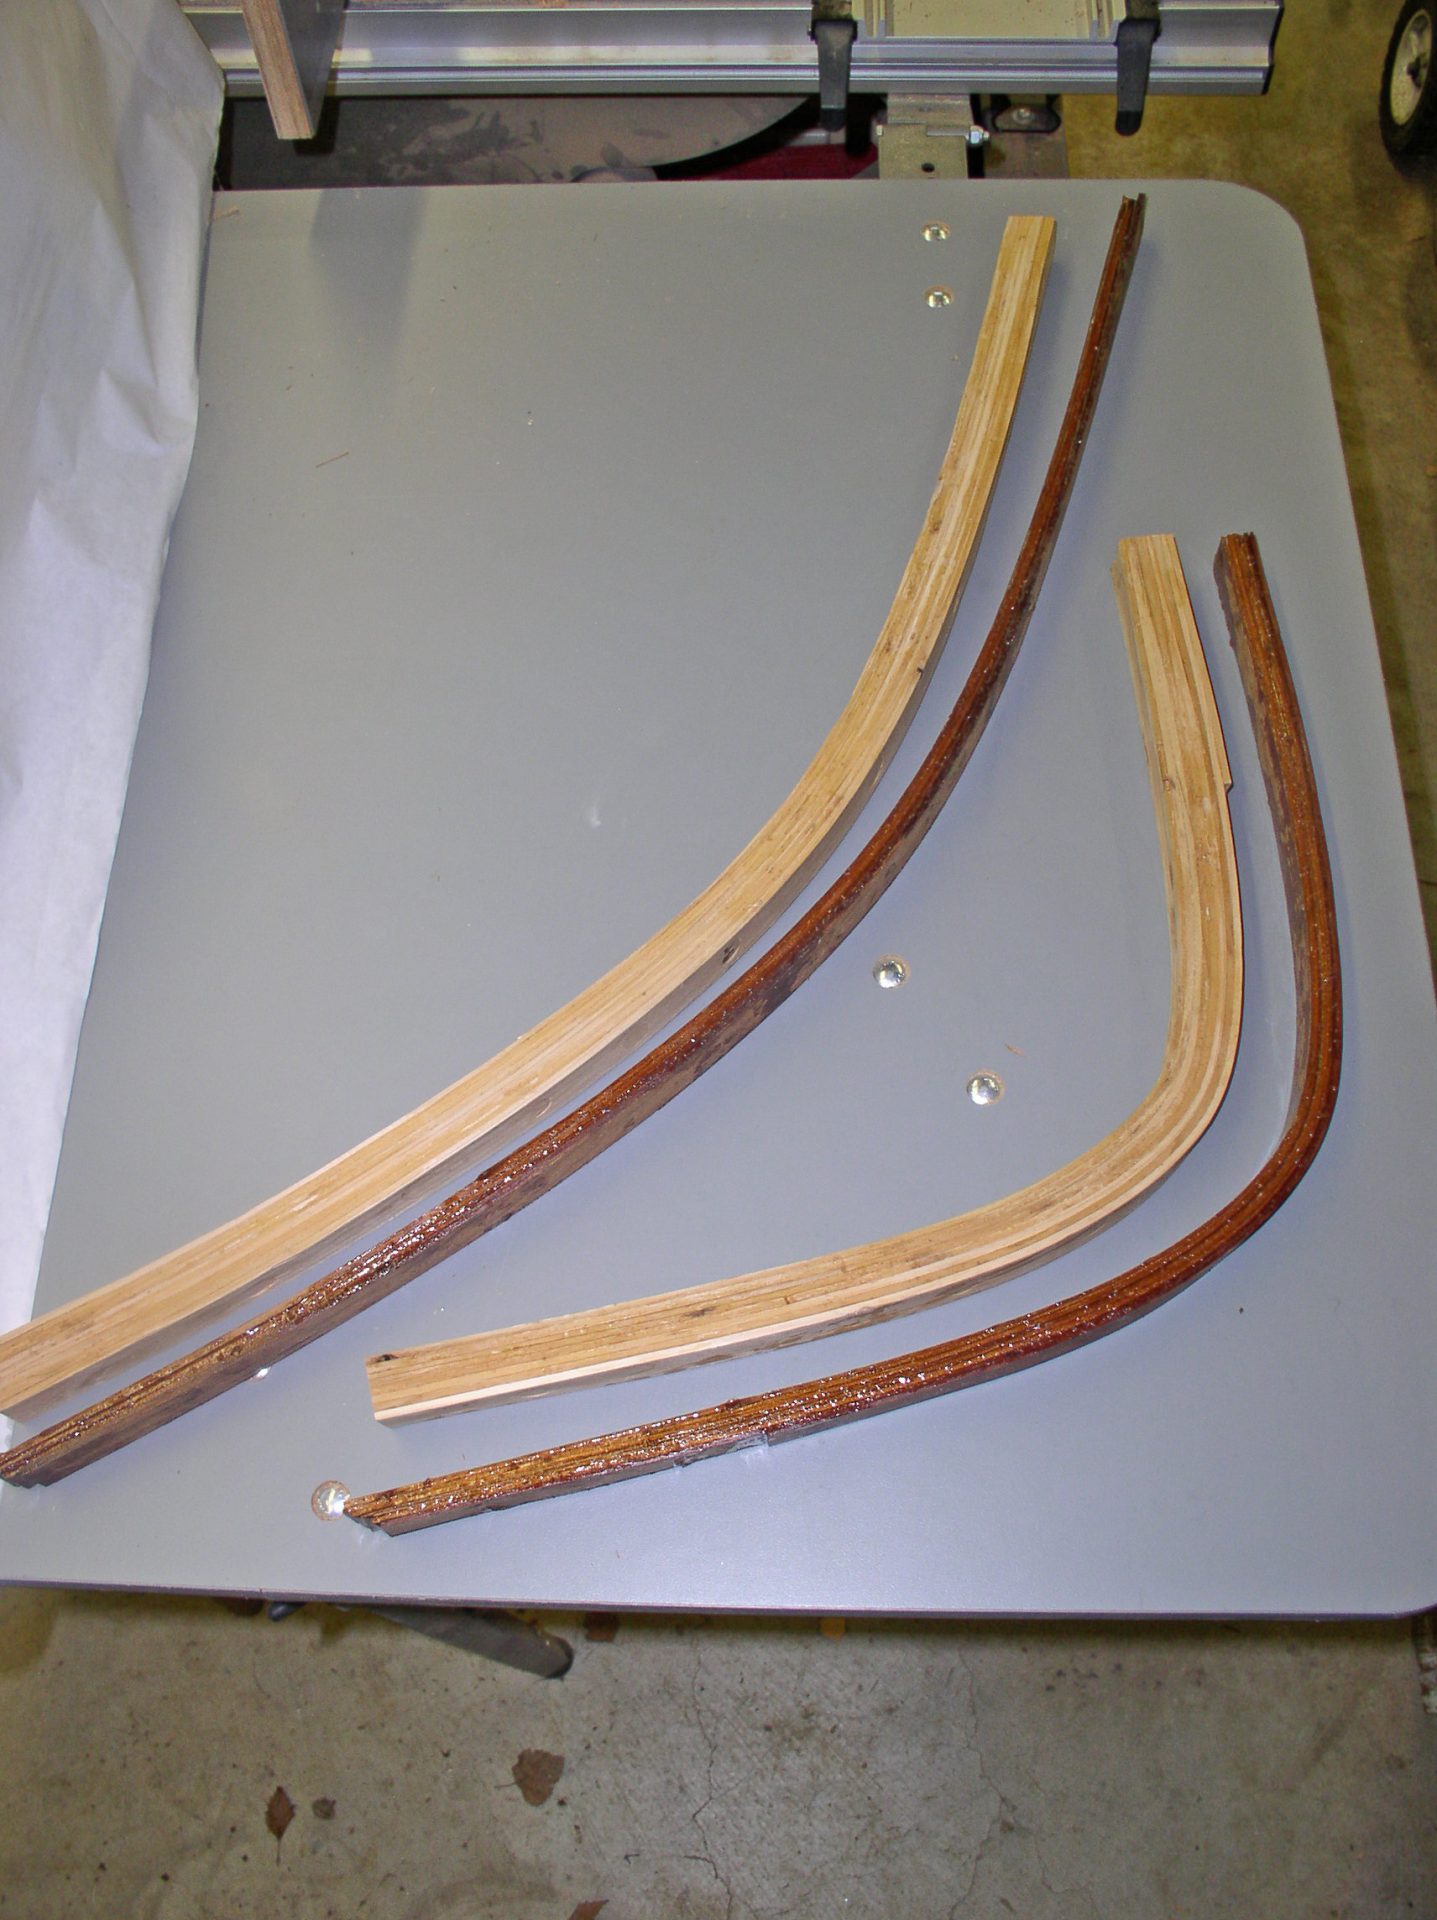
The hull was built first, upside-down. Since I was building my kayak without a kit, I had to purchase 1″ x 6″ x 18′ cedar boards, cut them into 1/4″ strips and used a router on the edges—bead on one edge, cove on the other. The internal stems were made out of cedar, bent around the stem molds, and then laminated with epoxy (Fig. 9-11). I chose cedar because it’s lightweight. The external stems were bent around the internal stems. I used Jatoba (Brazilian cherry) for these, which is very hard and inflexible. This, I cut into 1/32″ strips, and laminated the pieces together. For speed, I could have nailed each strip to the molds, but I only did that with the first strip.
I squeezed wood glue onto the cove edge of the first plank and used scrap pieces of cedar to hold the next plank in place (Fig. 12). The planking would have gone faster if I’d used nails in each plank, but the nail holes would have shown through the fiberglass and epoxy. Instead, I held each plank in place using a c-clamp at each mold. I could only attached one strip at a time to each side of the hull, and then wait for the wood glue to set before removing the clamps and gluing on the next strip.
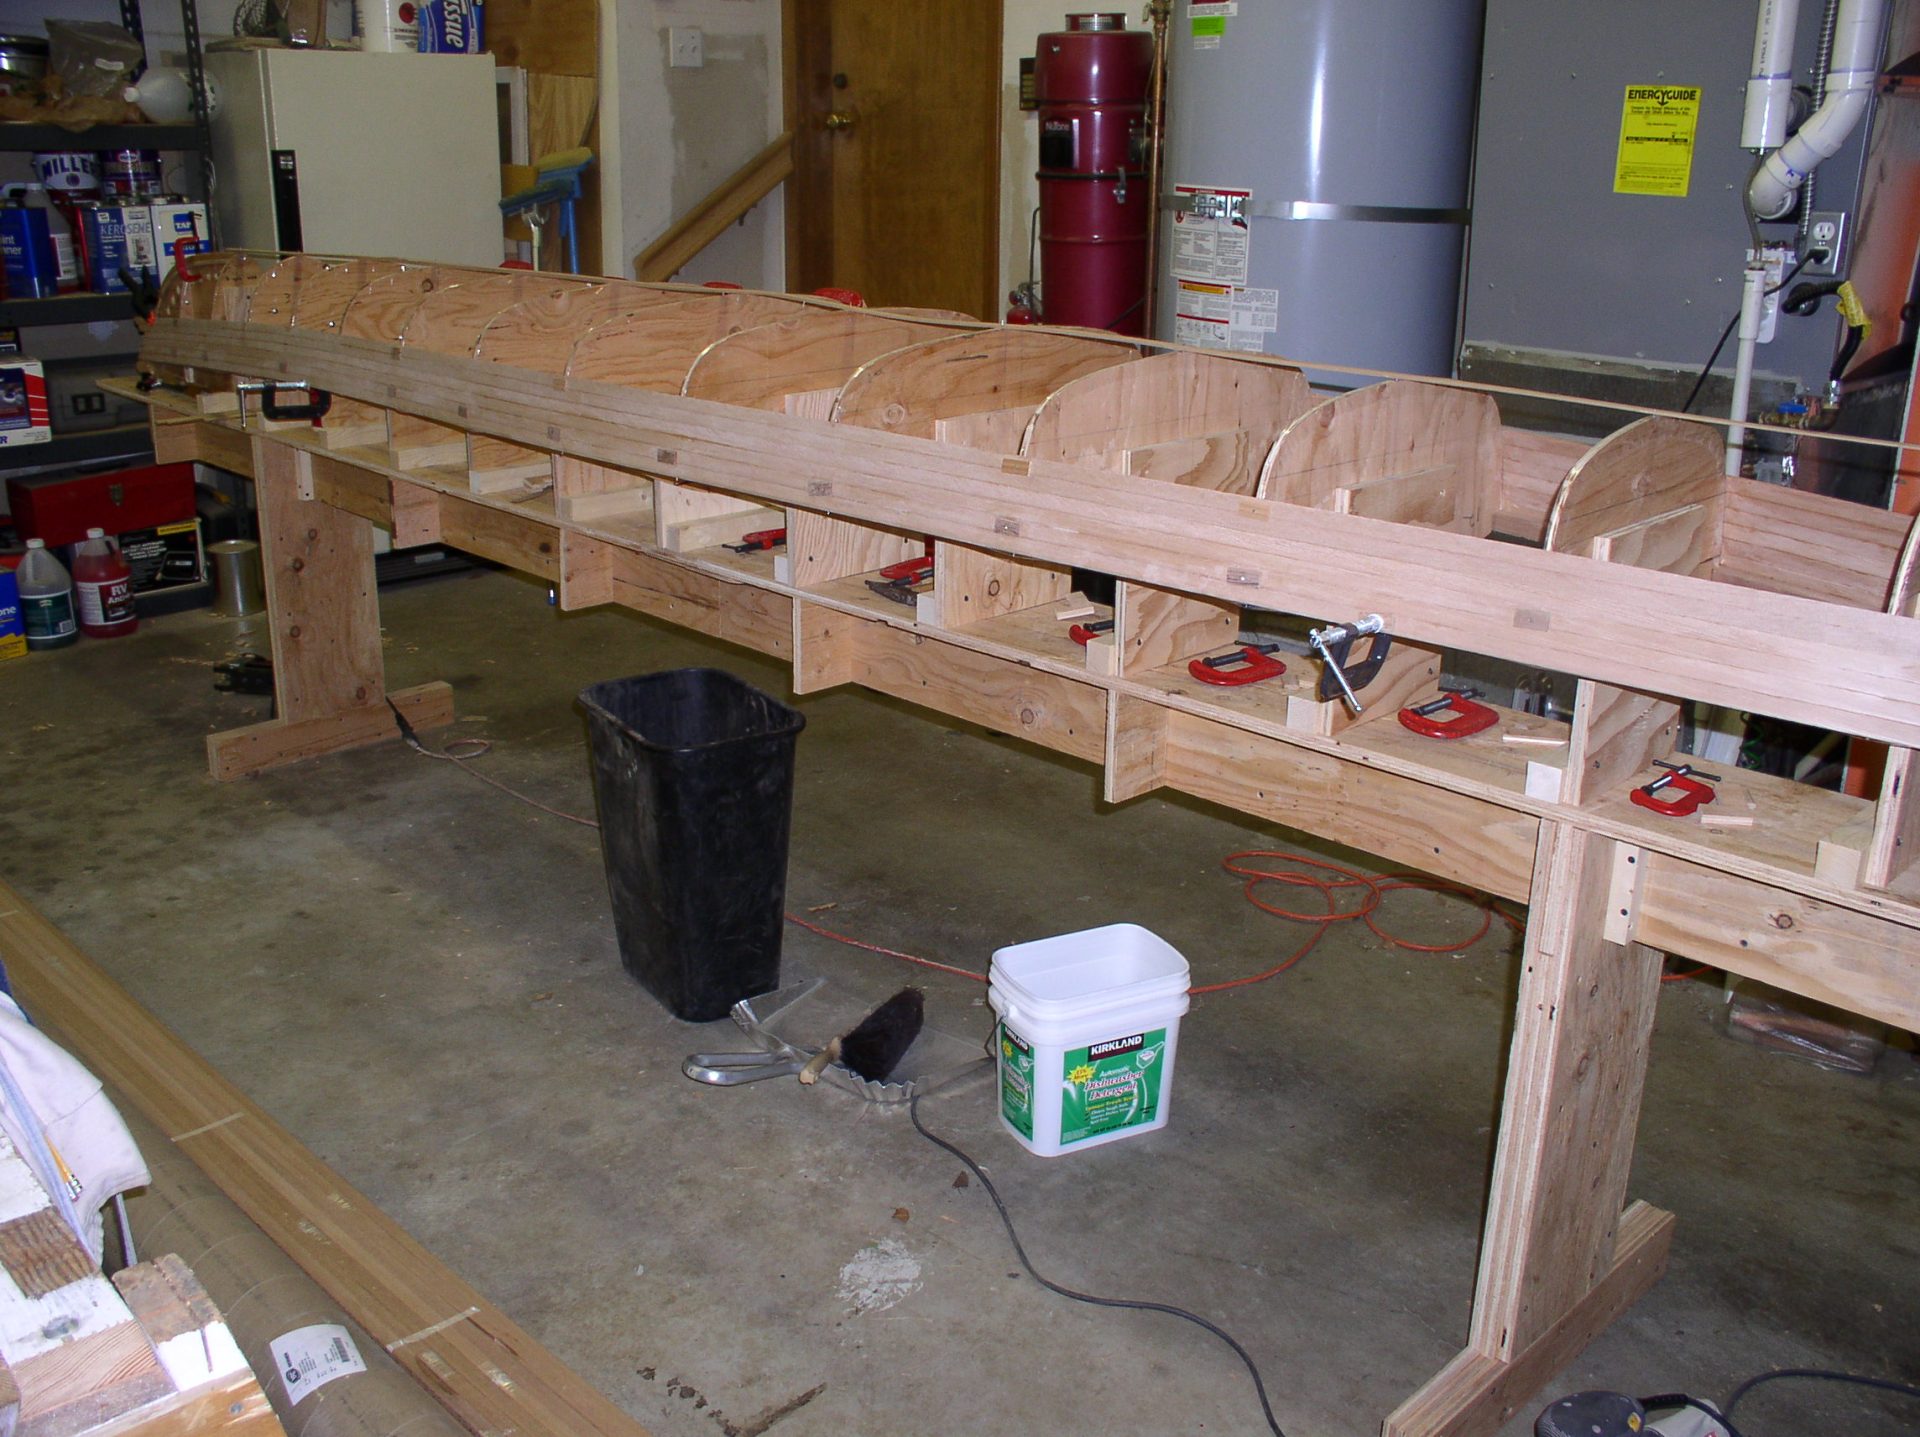
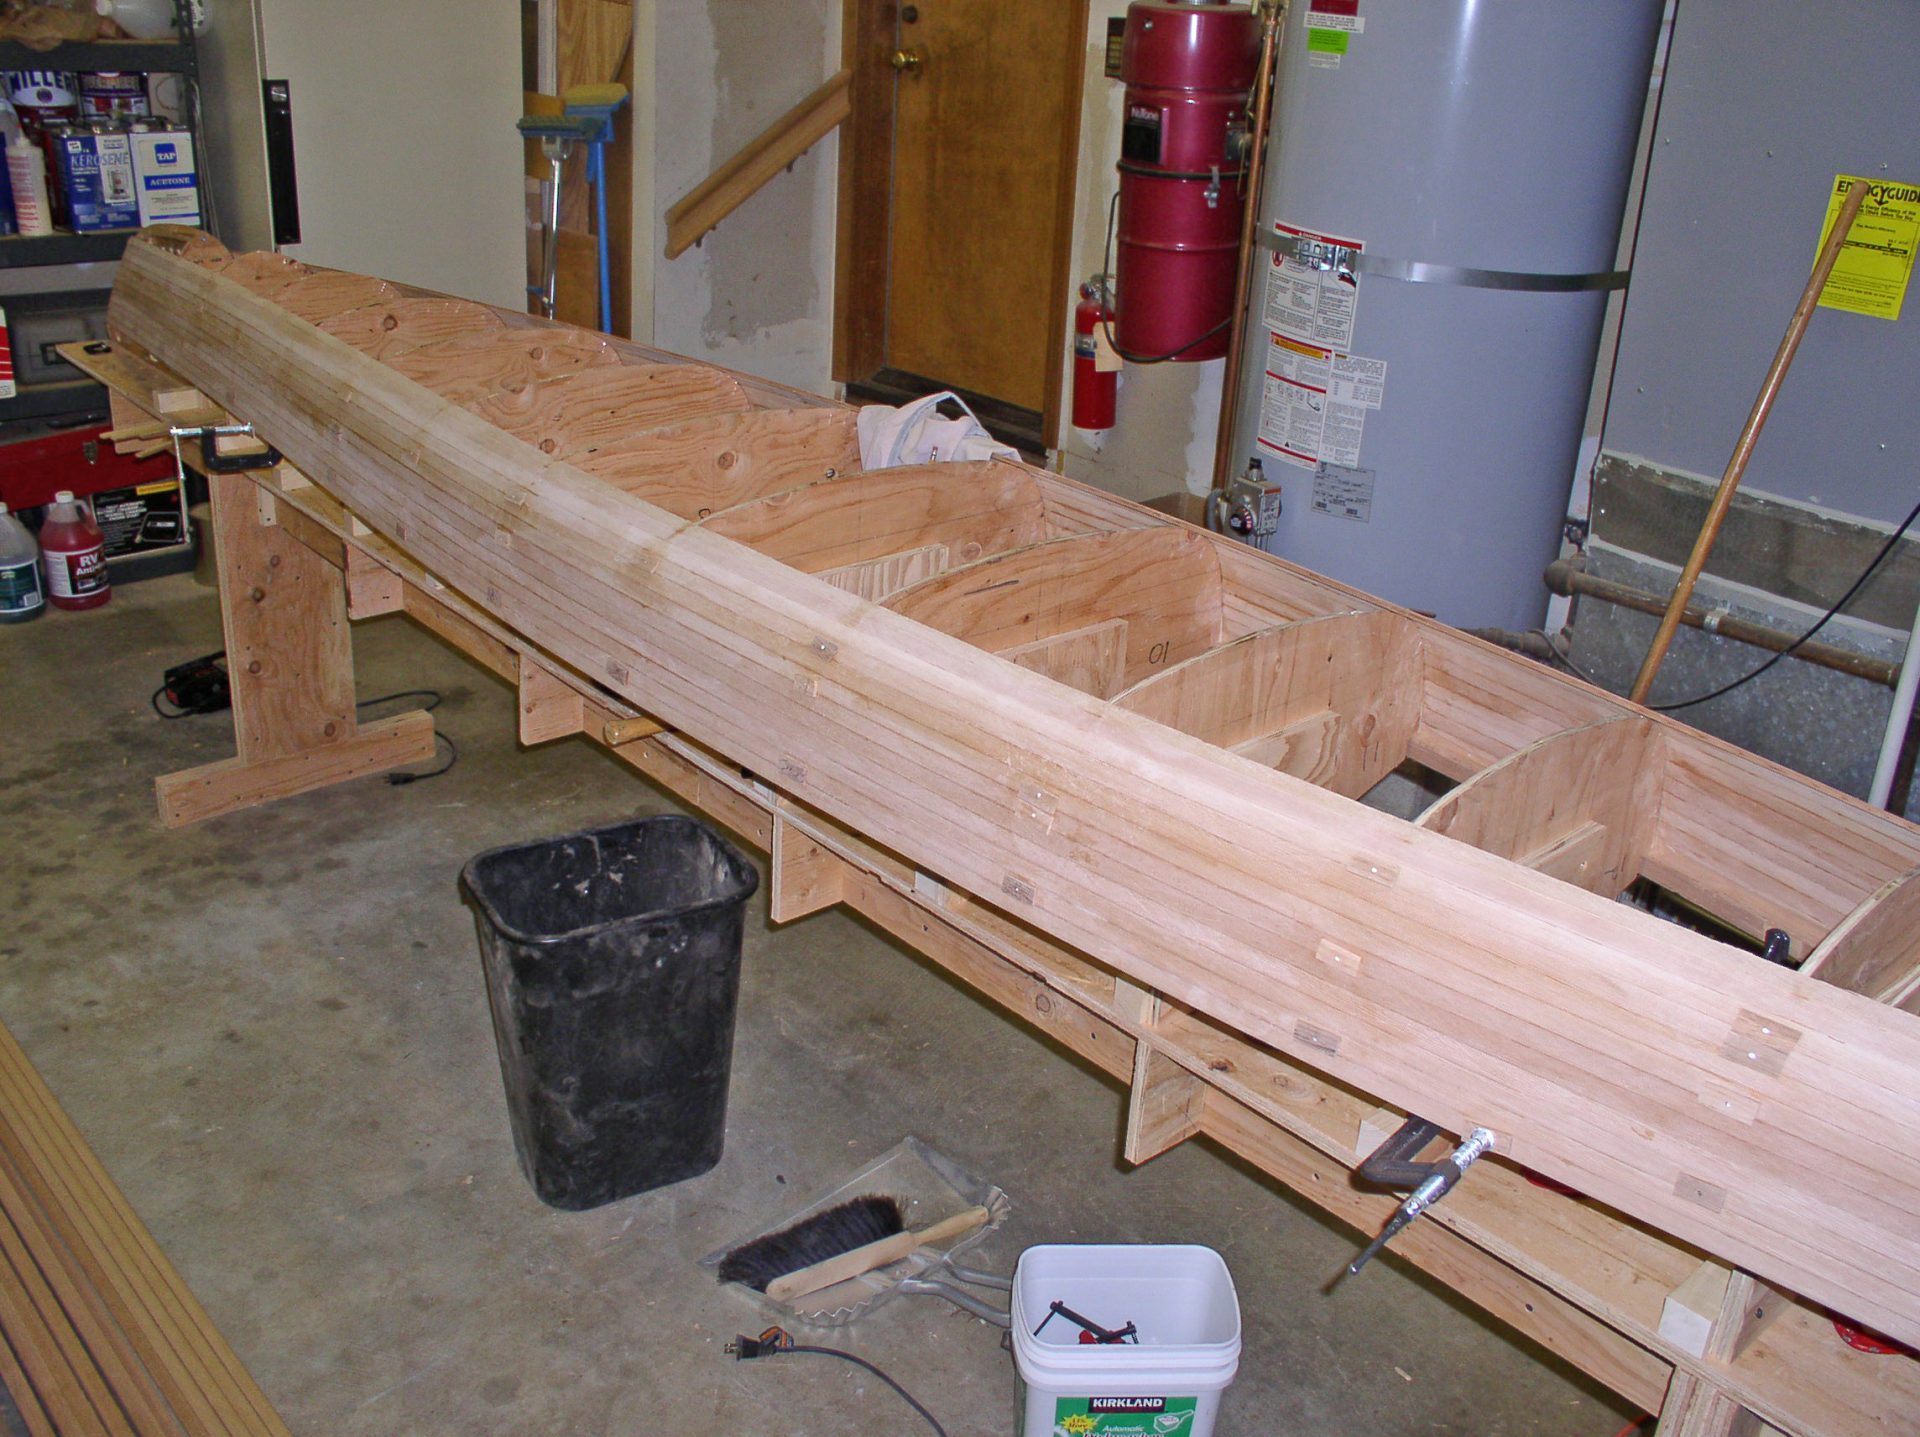
It’s important to note that after gluing a strip, any wood glue that squeezes out must be washed away with a wet rag or the epoxy won’t penetrate the wood at those locations when you add the fiberglass. With all the strips glued into place, I attached the external stems and trimmed them to shape.
Using WEST SYSTEM 105 Resin® and 207 Special Clear Hardener® (Fig. 13 & 14), I applied 742 6 oz. fiberglass cloth.
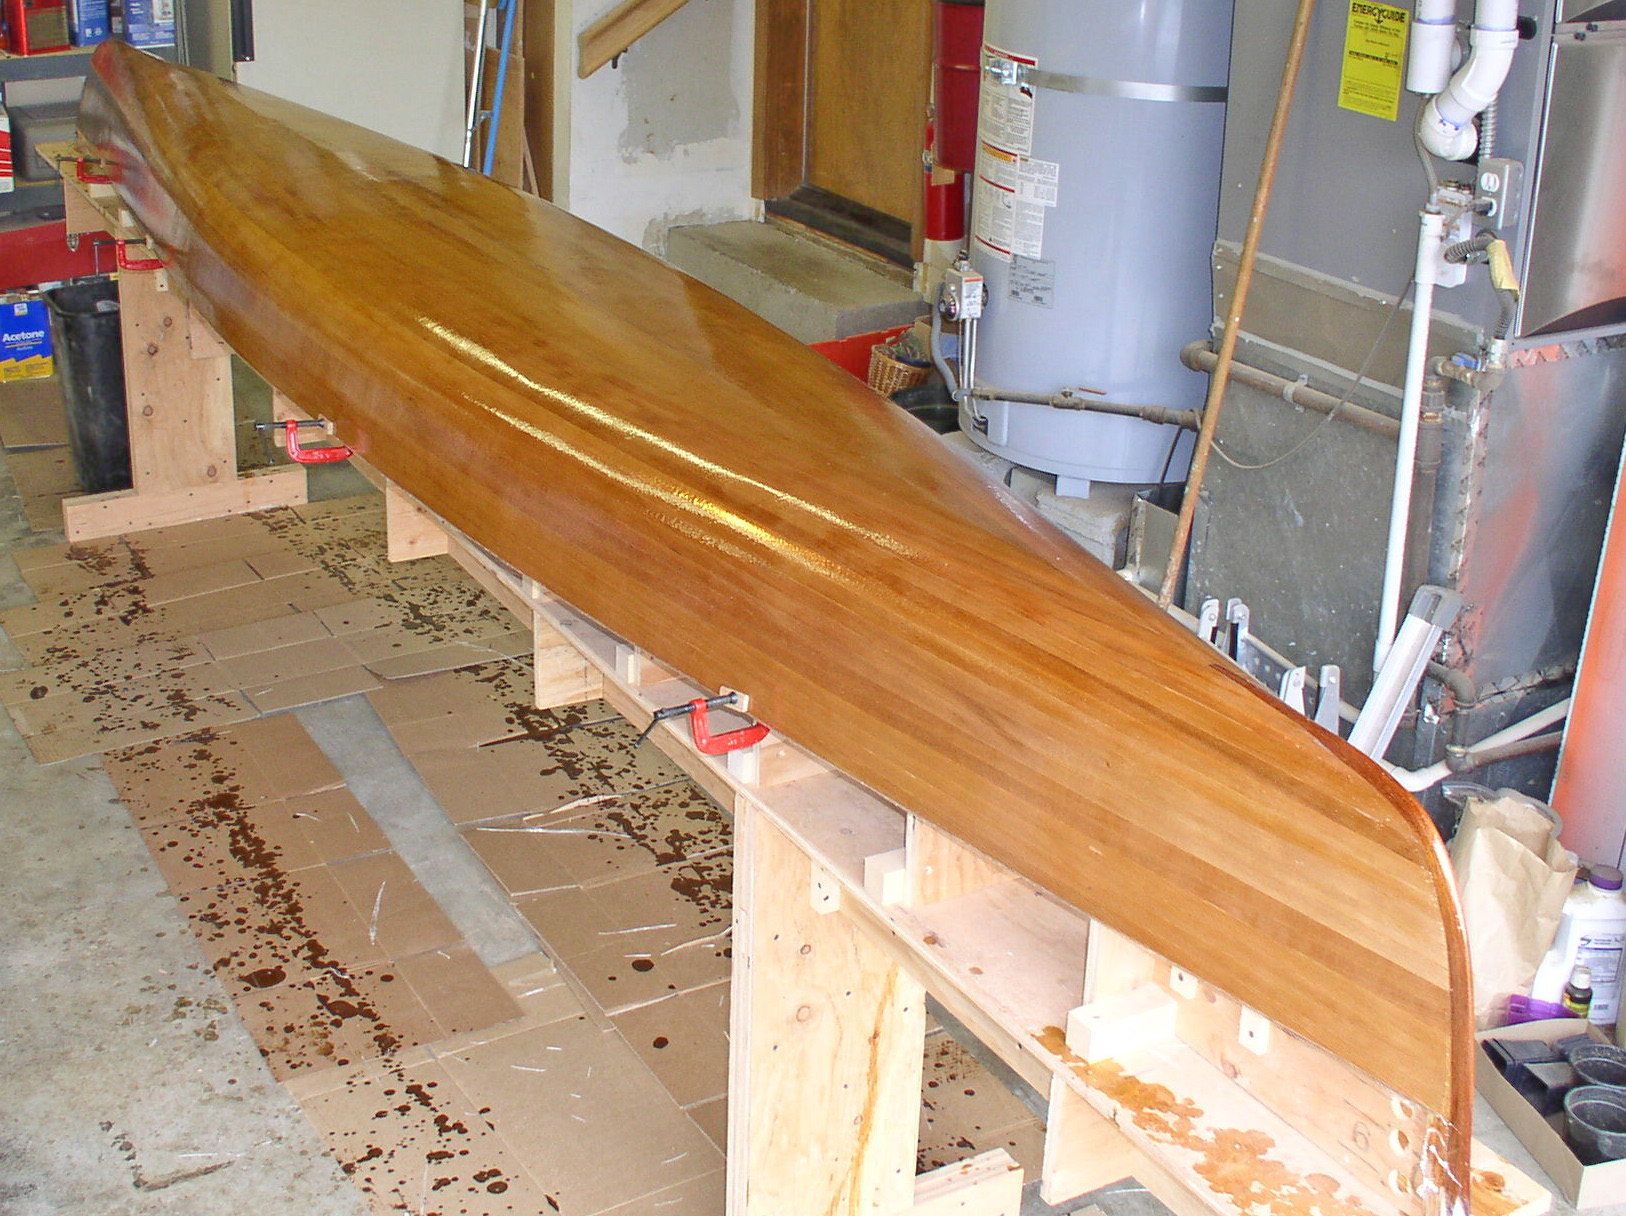
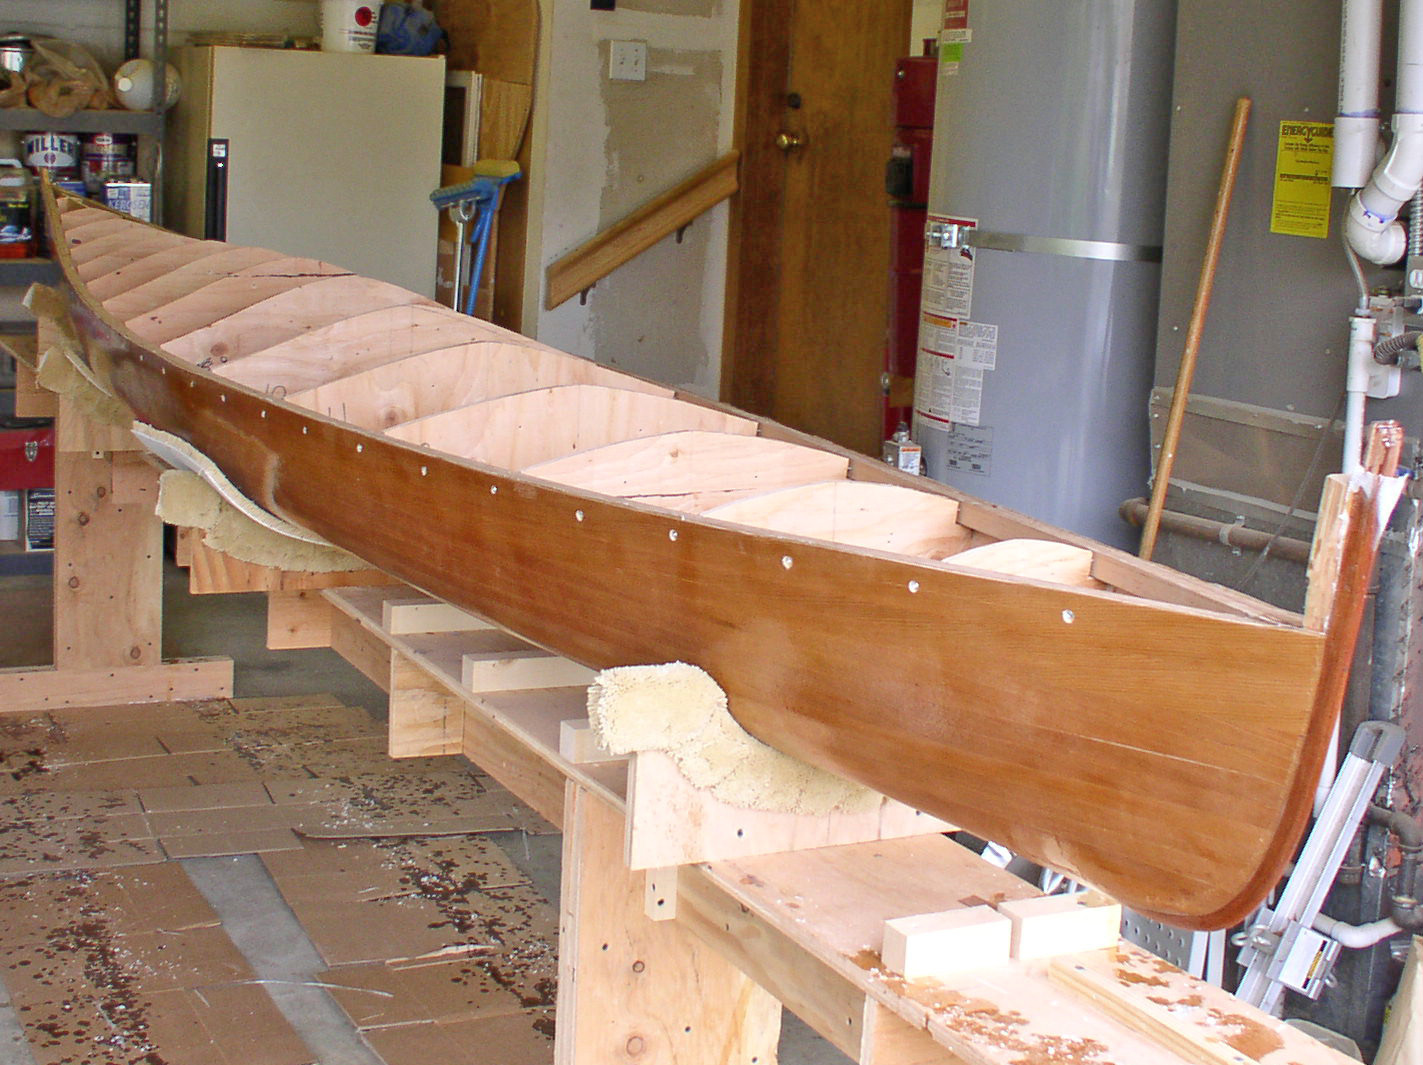
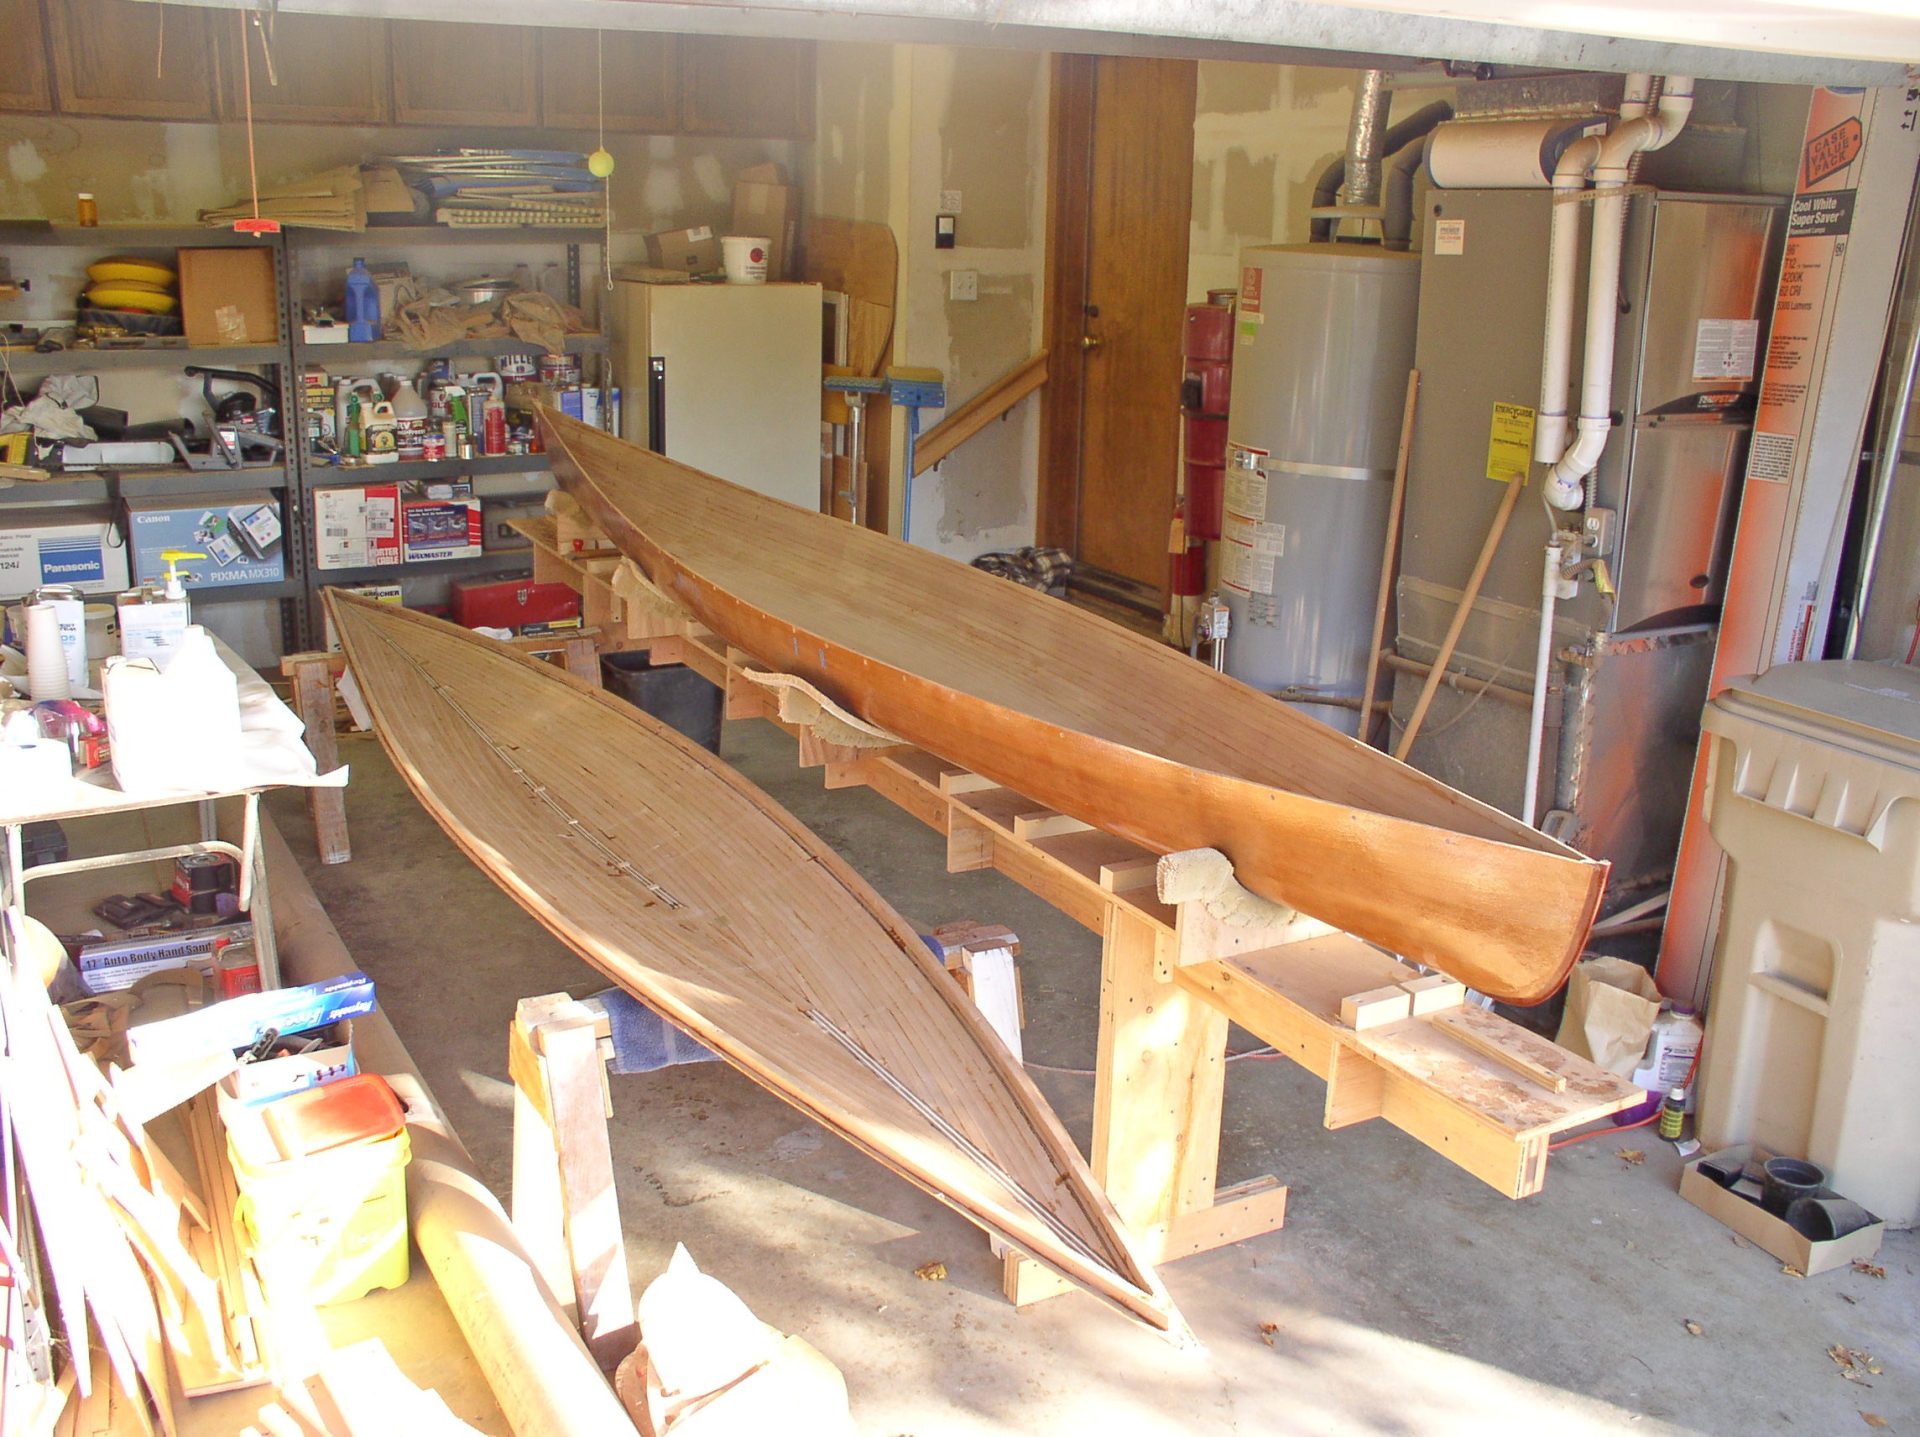
Once cured, I turned over the hull. The deck was built in the same manner as the hull (Fig. 15 & 16). In retrospect, I could have gotten by with 740 4 oz. fiberglass on the hull, making it lighter.
Finishing Touches
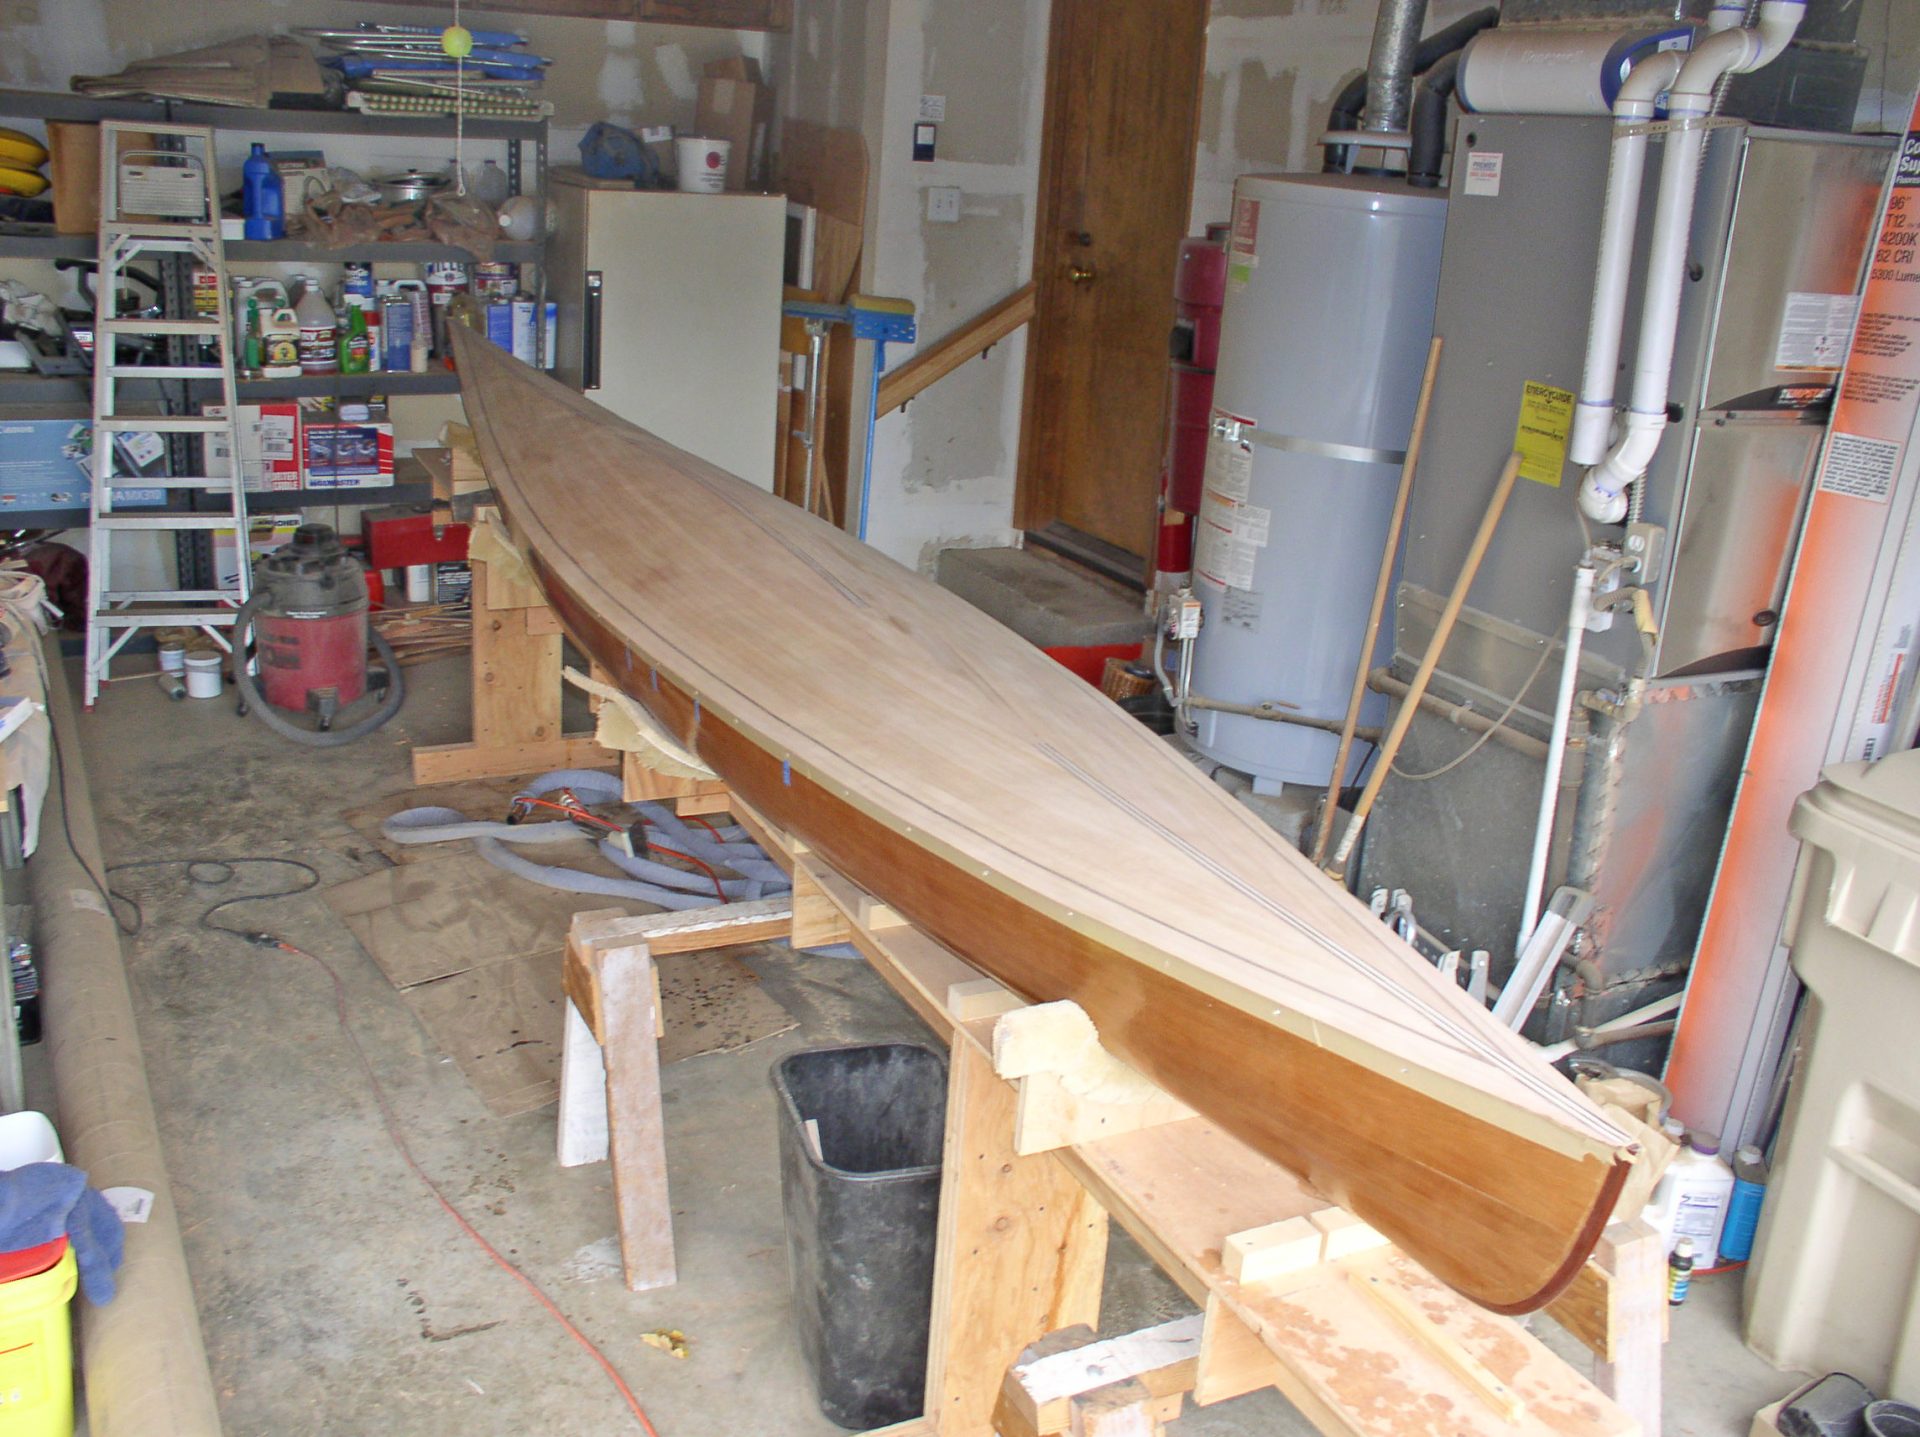
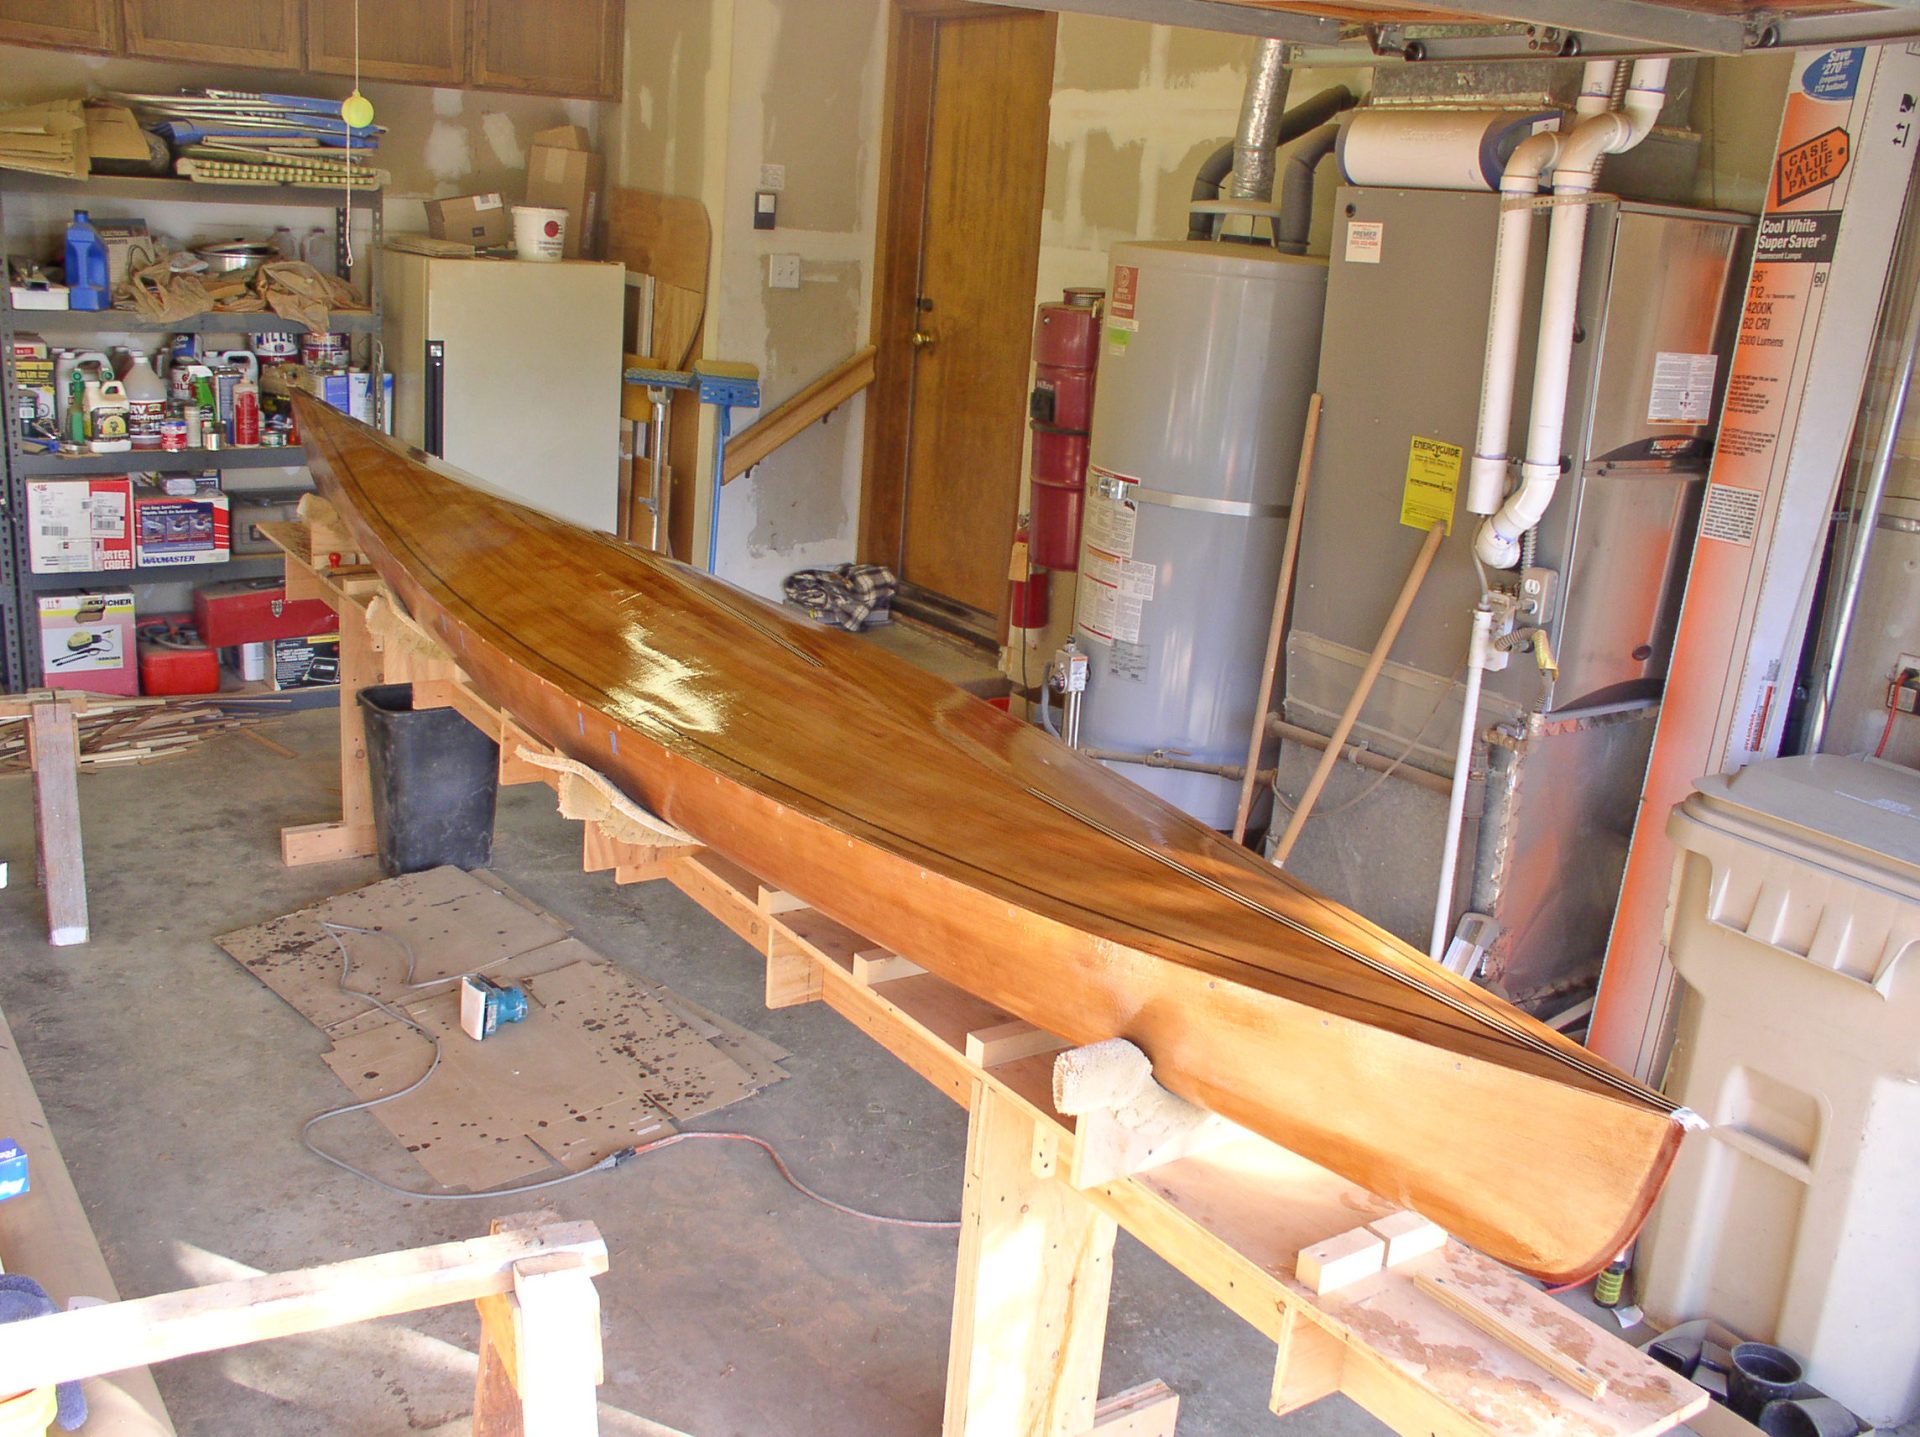
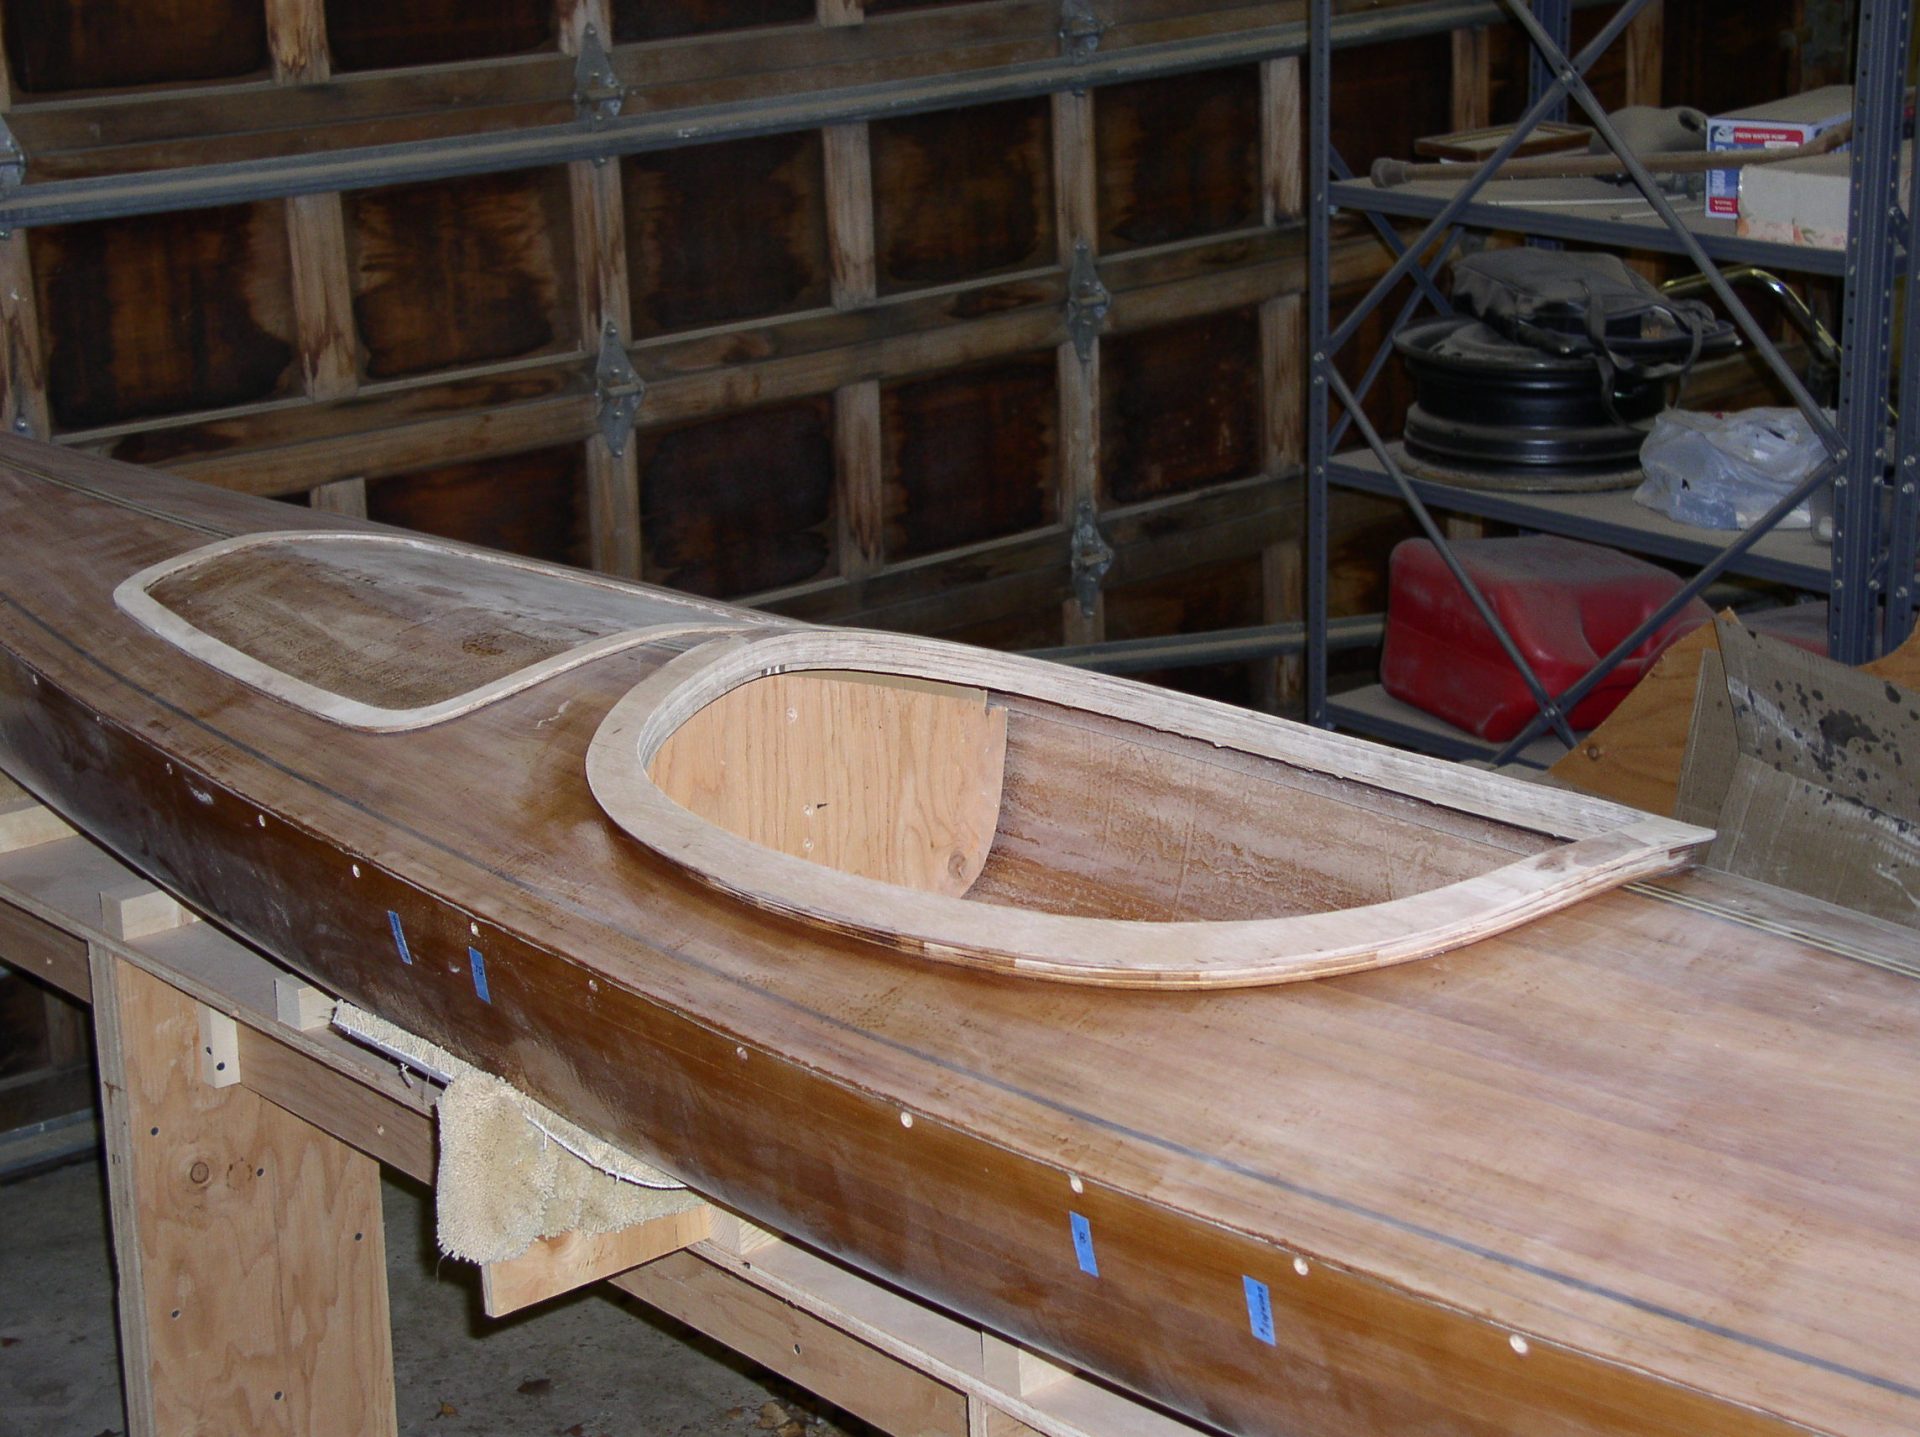
After applying 4 oz. fiberglass to the deck, I lifted the hull off and removed the molds (Fig. 17). My next steps were fiberglassing the hull interior and deck, and epoxying the deck onto the hull. Using a saber saw, I cut out the cockpit and hatch, and completed their construction using laminated pieces of 1/8″ mahogany plywood (door skins), finishing them with walnut veneer (Fig. 18).
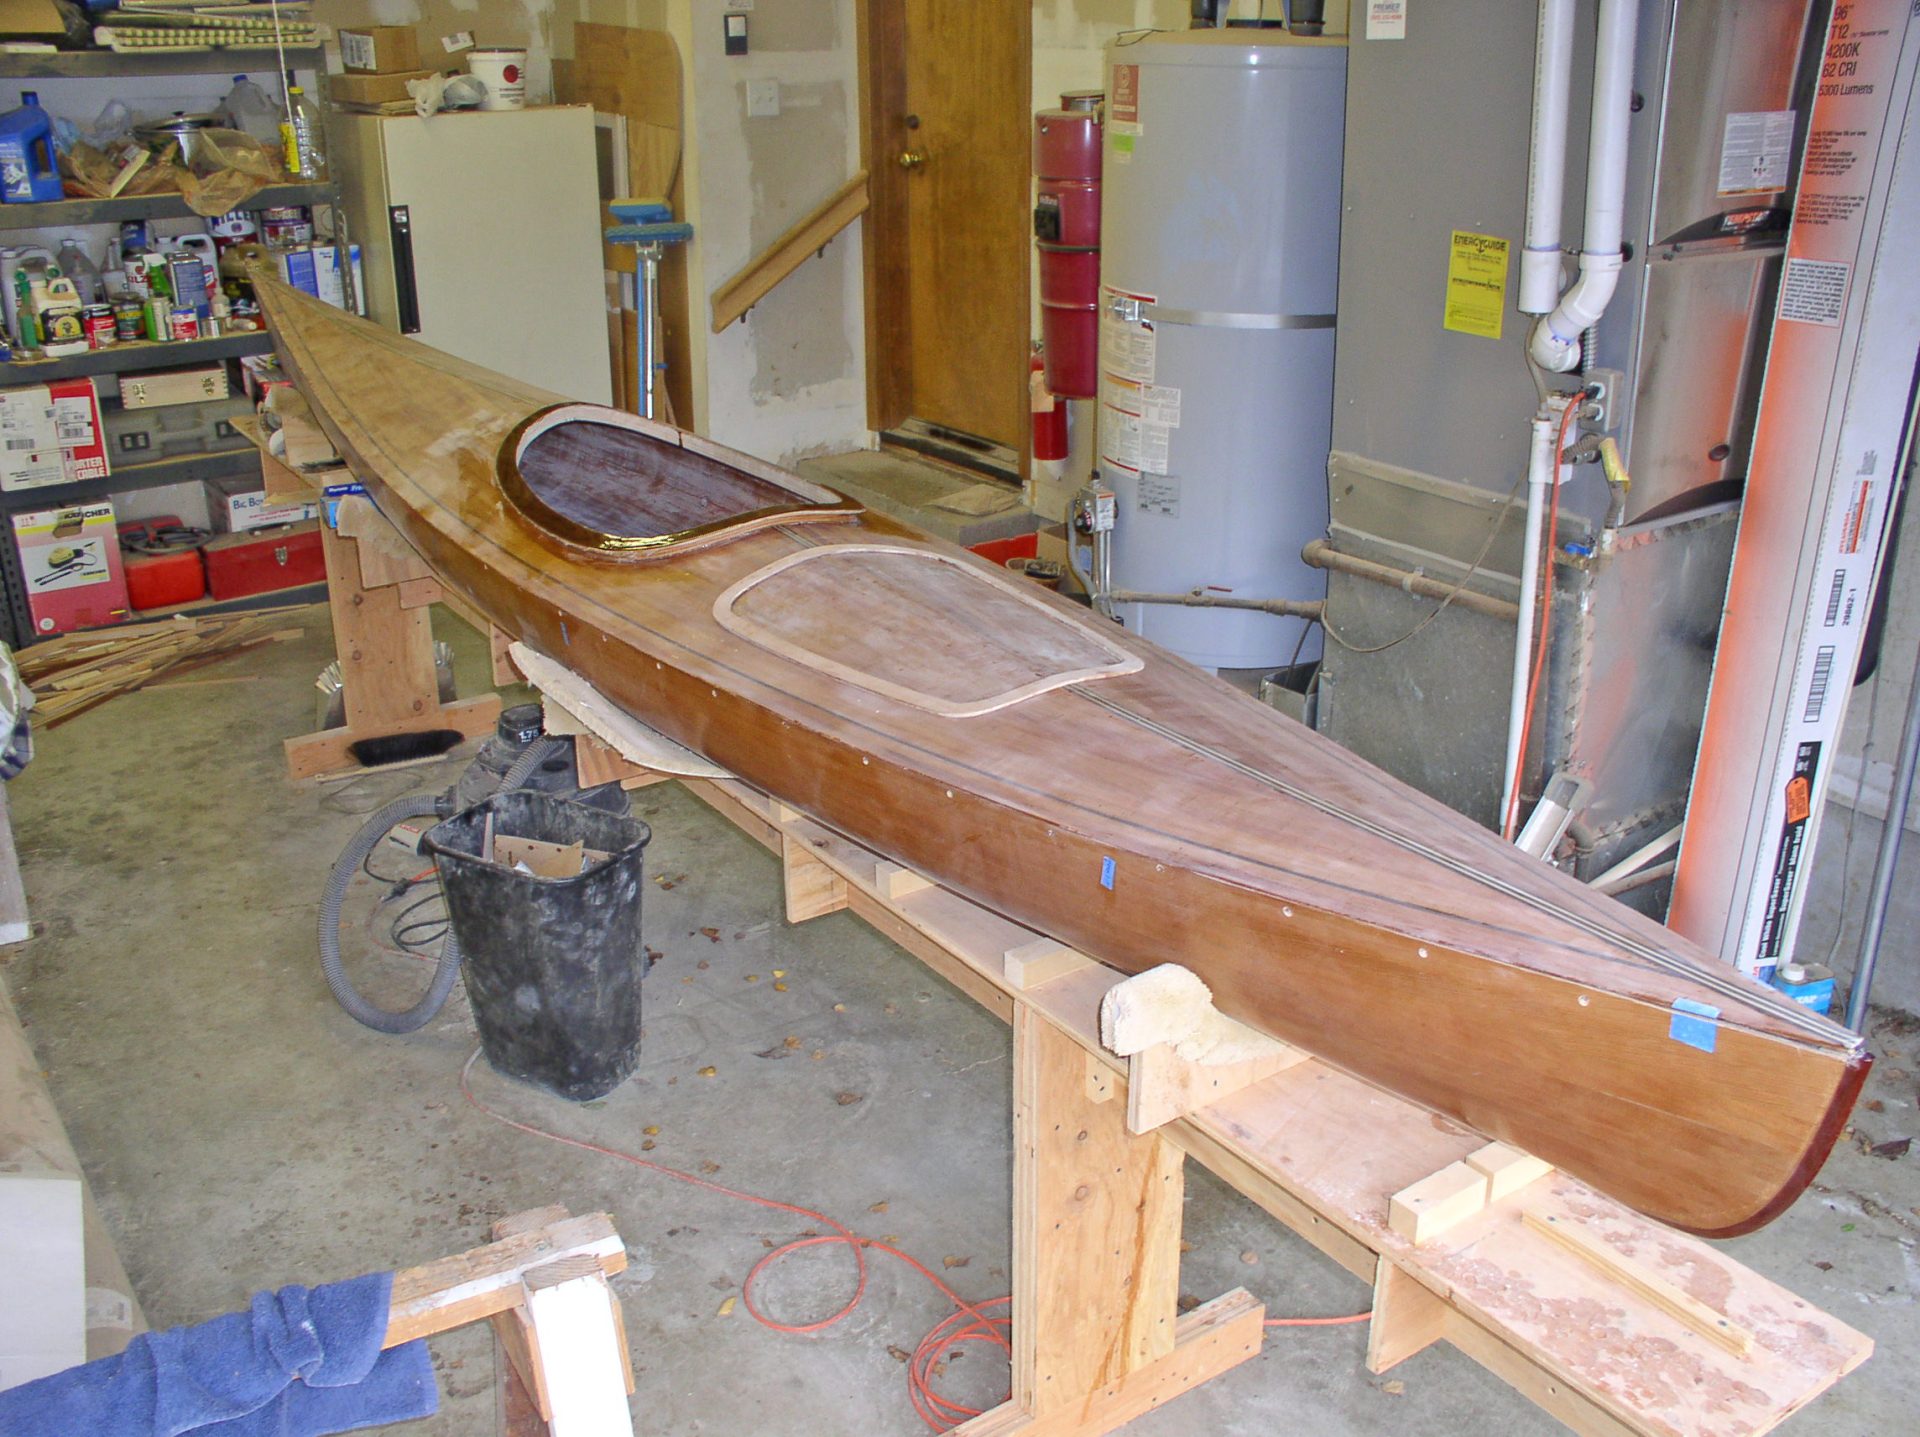
The final construction step was attaching a walnut shear. I selected walnut for protection in case I rubbed up against something, and also because it’s the same wood species used for trim on other parts of the kayak.
To finish the strip kayak I applied nine coats of Cabot® Gloss Coat Spar Varnish with UV inhibitors, sanding lightly between each coat.
The strip kayak’s final weight was just under fifty pounds. When it came to purchasing a seat, I discovered that kayak companies wouldn’t sell me one. I bought one from a local company that rents kayaks, which had been removed from one of their old rentals.
The worst aspects of building a strip kayak were not being able to fit my car in the garage until the boat was finished, and needing to varnish out the scratches every year. The best parts were the feeling of accomplishment and the admiring comments I received.