

 Listen Now
  Add to Playlist


By Don Gutzmer – GBI Technical Advisor
I told my wife that I planned to remodel the kitchen because we were replacing our appliances. The first thing she said was, “Not another project!” She has learned over the years that I will always be working on something.
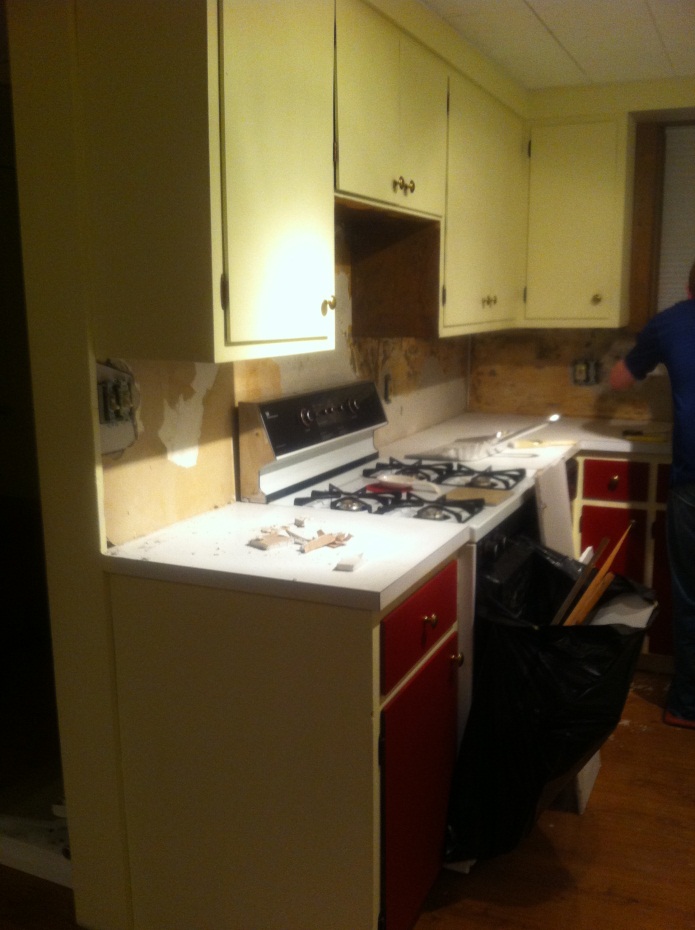
Once I started the remodeling project, I learned quickly that you should never paint a wood surface that you will eventually want to strip the paint off. Think twice before painting anything wooden. Removing the paint from the cabinet doors was messy and the hardest part of the whole project.
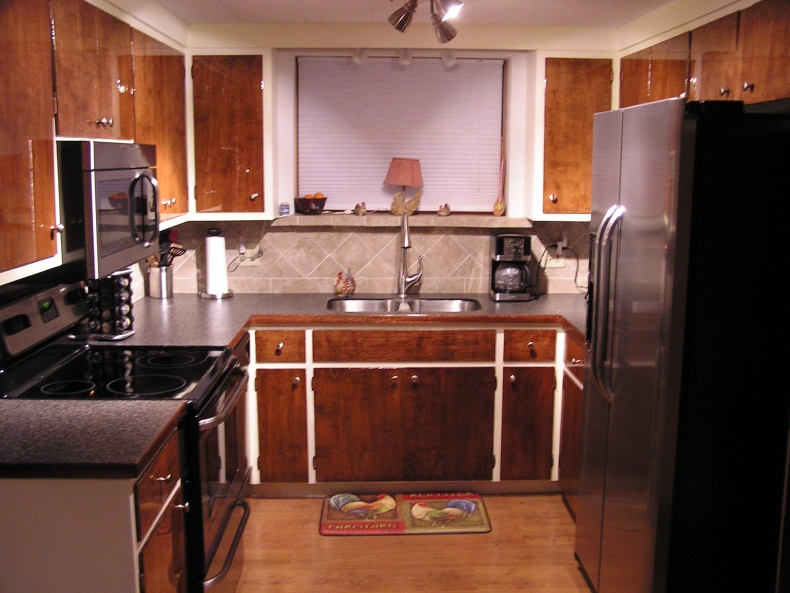
The pictures will help explain our kitchen remodeling process.
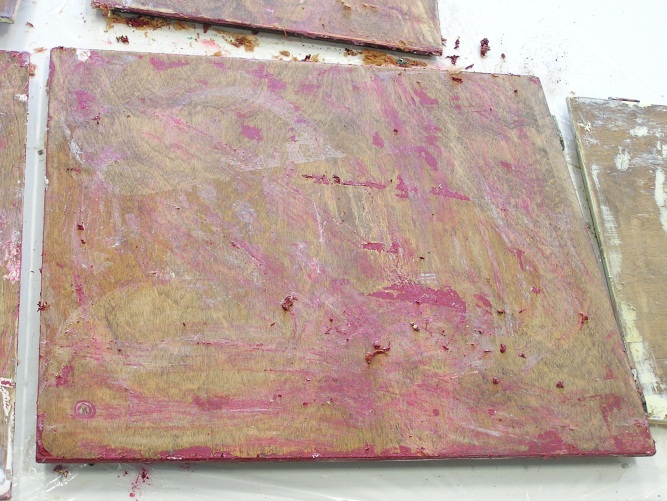

Plan A was to use a water-based stain and then apply the epoxy, but I had a hard time finding a water-based stain at my local store. So I went to Plan B and coated the surface with a stain and polyurethane combo to help seal the wood prior to applying epoxy to prevent any fish eyes. It worked great! The adhesion to bare wood is better compared to bonding to a coating like polyurethane, but the epoxy was primarily used for cosmetic reasons and it bonded very effectively for my application. Keep in mind that the coating the epoxy will bond to will be the weakest link for adhesion purposes.
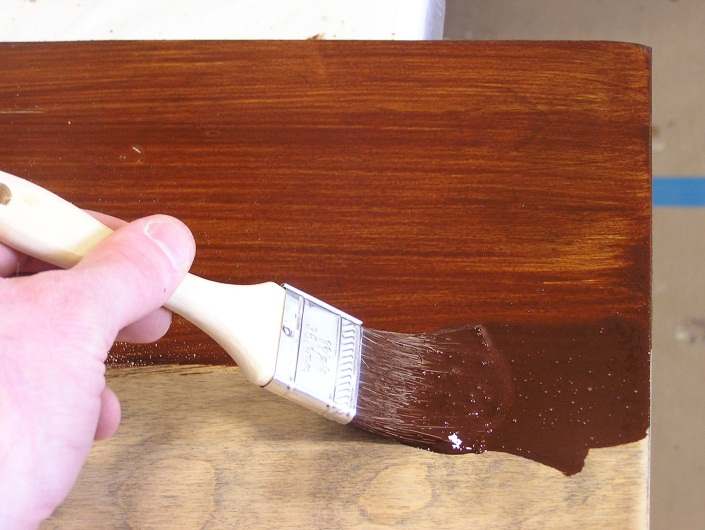
I applied Minwax American Chestnut Polyshades stain and polyurethane in one. At first, I applied the stain with a China bristle brush on the smaller doors. I found out that on the larger doors it was better to apply the stain with cheesecloth to prevent leaving too much stain and having it darker than desired. I dragged a dry 800 Roller Cover over the stained surface to help even out the coating. The Minwax dried for about a day before sanding it dull with a Scotch-Brite pad.
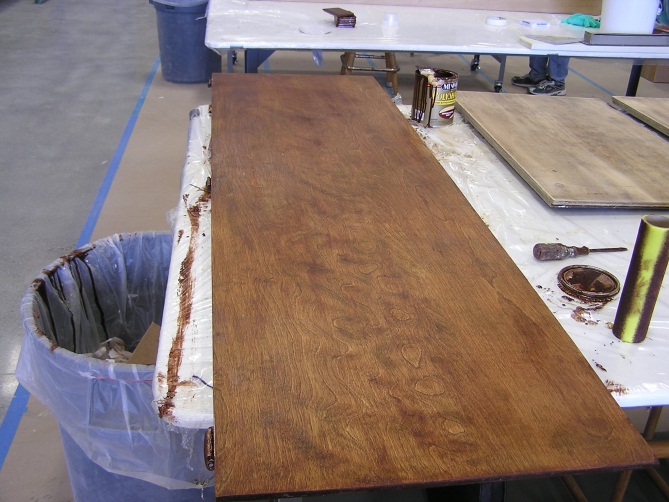
The surface was coated with WEST SYSTEM® 105 Resin and 207 Special Clear Hardener; I poured it on and spread the epoxy over the surface with an 809 Notched Spreader. A quick pass from a propane torch moving at a rate of 12 inches per second helped remove any trapped bubbles. After the epoxy cured I removed drips along the edges with a sanding block. The polyurethane coat helped seal the wood enough to prevent any outgassing when heat from the torch was applied. The 105/207 was left as the finished coat. The final result was a clear buildup that looks like 12 coats of varnish.
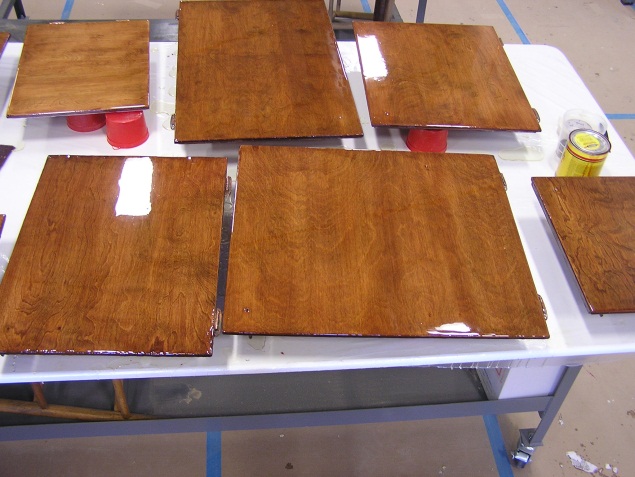
After finishing the new tile backsplash and textured Formica countertop with the smooth gloss finished epoxy coated doors, I can say my wife is pretty happy with my latest project.