A Field Guide to Preventing Surface Contamination
Spring, 2026

GET STARTED
FREE PRINT & DIGITAL EDITIONS
Spring, 2026
Welcome to my field guide on preventing surface contamination. Surface contamination is one of the most underestimated variables in epoxy work, and it’s particularly frustrating because it’s often invisible. You can look at a surface and see something that appears perfectly clean, when in reality it’s carrying a thin film of oil, silicone, or solvent residue that will compromise your bond. Understanding how contamination gets onto a surface (including from your own cleaning process) is just as important as understanding how to remove it.
Before we dive into contamination specifics, it’s important to know the fundamental principle we always come back to here at WEST SYSTEM®: for good epoxy adhesion, bonding surfaces need to be clean, dry, and sanded…in that order.
Start with a visual assessment by looking for visible grease, oil, or wax residue that needs to be removed. Heavy contamination, like oil, grease, and dirt near motor mounts in an old powerboat, may require a degreaser and a scrub brush before any solvent work begins. When scrubbing a heavily soiled surface, remember to periodically clean the brush as well as the surface to minimize redistributing grime.
Acetone, lacquer thinner, and proprietary mixtures like Klean-Strip Prep-All™ are all solvents that are effective at dissolving contaminants like oil, grease, wax, and mold release. Apply the solvent to a fresh paper towel and wipe the surface. Then, wipe the surface dry with a second clean, dry paper towel before the solvent evaporates. If the solvent is left on the surface to evaporate on its own, it can leave dissolved contaminants behind. Change your paper towels frequently to prevent re-depositing removed material back onto the surface.
A surface that looks clean may still need a solvent wipe. You may never think to question a brand new showroom boat, but they can have invisible contaminants like mold-release wax from production. However, if there’s genuinely no evidence of contamination, a solvent wipe is unnecessary and can introduce more risk than it eliminates. For example, an epoxy-coated part recently built in your shop, with no exposure to contaminants, would not need a solvent wipe.
The instinct to wipe a surface down with a solvent before bonding is understandable. Solvents are powerful dissolvers, but they don’t discriminate. Whatever is in or on your rag is also fair game to be attacked by the solvents. That dissolved material can be deposited back onto the surface you just cleaned. Silicone is one of the most common examples. It’s a widely used mold release agent, and it also happens to be a common ingredient in laundry fabric softeners.
Synthetic fibers in rags create another problem. Many organic solvents can partially dissolve man-made fabrics like polyester and nylon. When those dissolved plastics end up on your bonding surface, they can act like a release agent.
This is why we advocate for using plain white or unbleached paper towels. Paper towels don’t carry silicone, synthetic fibers, or fabric softener residue.
One of the most important things to understand about (preventing) surface contamination is that you often can’t see it. Oil from your fingertips, for example, is nearly invisible to the naked eye but it can compromise the surface. Running your hand across a freshly sanded surface to check for smoothness (something almost everyone does instinctively) can leave behind a film of skin oils and salts that will prevent epoxy from bonding properly in that spot. On metal surfaces, that salt residue can accelerate corrosion beneath the coating, which creates adhesion problems over time. If you need to feel for smoothness, we recommend wearing a clean glove.
Airborne contamination is another invisible threat that often gets overlooked. If you’re working in a shop with a propane torpedo heater (also called salamander heaters), that heater expels hydrocarbons and moisture into the air. Both can settle on your work surface quickly. Compressed air is another common culprit. Blowing sanding dust off a surface seems like good practice, but if your compressor has any oil or moisture in the lines, you may be spraying contamination directly onto the surface you just prepared.
Certain sandpapers introduce their own contamination risk. Some sandpapers are treated with zinc stearate which is basically a release agent that prevents the paper from clogging. Stearate is chemically similar to animal fat, and sanding with a stearate-treated paper can leave that release material in the scratches you’re creating for adhesion. We recommend aluminum oxide or waterproof wet/dry sandpapers that have not been treated with stearate.
When you sand a surface that has grease, wax, or oil on it, the abrasive action doesn’t remove the contamination. It drives the contamination deeper into the scratches, embedding contaminants where they become nearly impossible to fully remove. Starting with a clean surface ensures that your sanding is working with you, not against you.
If you suspect contamination, clean it with the appropriate solvent and paper towels first, then sand. You will create a textured surface for the epoxy to key into that’s actually clean.
There’s a common misconception that sanding dust is contamination and needs to be removed entirely before applying epoxy. This creates a dilemma, because many of the methods people use to remove sanding dust (compressed air, tack rags) can introduce the very contamination they’re trying to avoid.
You don’t need to get every last particle of sanding dust off the surface. A freshly sanded surface, assuming you cleaned it before sanding, is about as clean as a bonding surface can be. The remaining dust essentially functions as a little filler once the epoxy is applied.
What does matter is how you remove the bulk of it. Vacuuming is excellent, provided the end of your hose is clean. Sweeping with a clean, uncontaminated bench brush works well. Rinsing with clean water is also effective, provided the surface can be fully dried afterward.
Let’s look at preventing surface contamination with wood surfaces, specifically. Wood is a porous substrate, which minimizes the risks of contamination significantly. Porous surfaces are generally more forgiving as the epoxy can penetrate into the structure and creates a deeper mechanical bond than non-porous substrates. For most wood species, no solvent wipe is needed prior to bonding. If the surface was burnished by a dull blade, sanding with 80-grit sandpaper opens the pores and is all the preparation that’s required.
The exception is oily wood species, with teak being the most common example in marine applications. The natural oils that give teak its durability and its distinctive character also work against epoxy adhesion. For these species, an acetone wipe approximately 15 minutes before coating helps dissolve and lift the surface oils, giving the epoxy a better opportunity to bond with the surface. Be sure the solvent has fully evaporated before you apply epoxy.
For most other wood species, solvent wipes aren’t necessary and, as we’ve discussed, run the risk of introducing more adhesion issues than it removes.
Though these principles are straightforward, they can be considerably more difficult in practice. The condition and geometry of the surface you’re working on can add challenges, and the stakes for getting it right are higher in some locations than others.
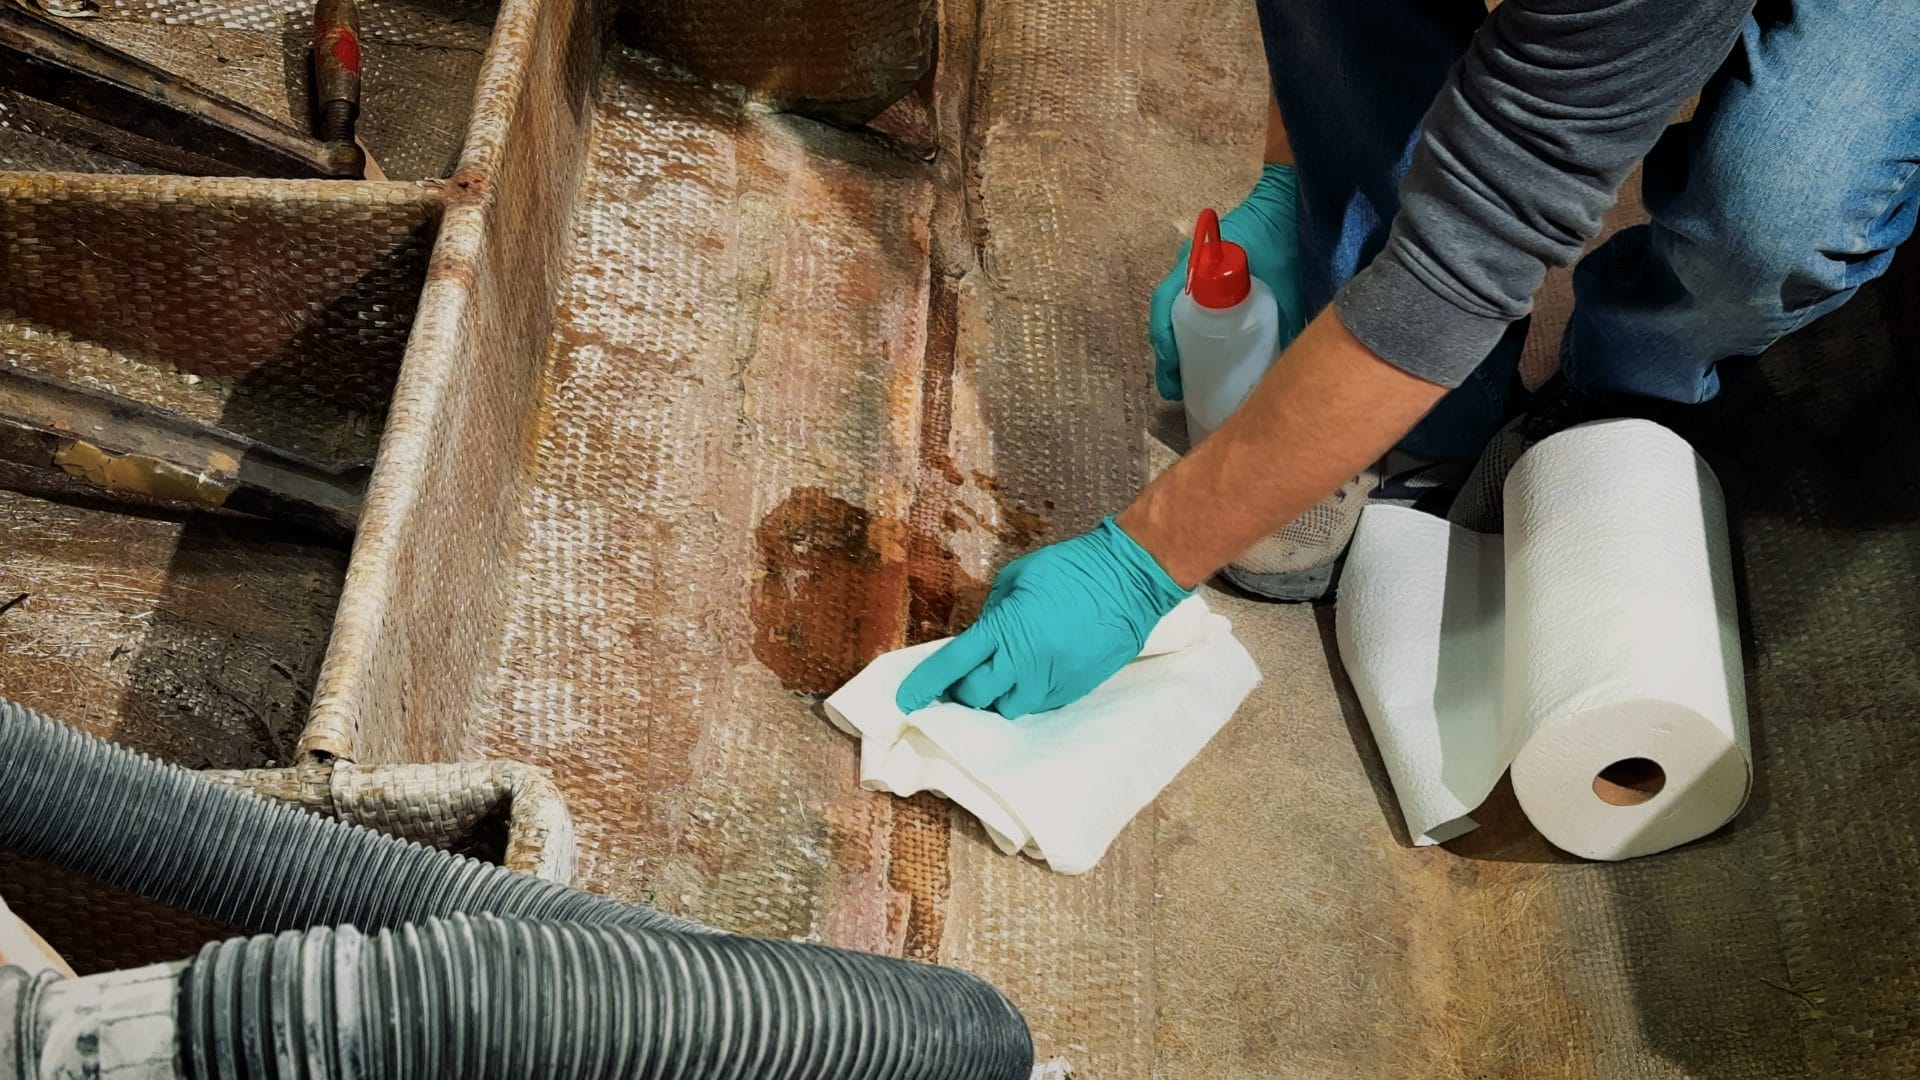
Our video on how to replace a fiberglass stringer shows what this looks like in a heavily contaminated environment. Don tackles the bilge of a 1980 Chris Craft that had accumulated years of grease and oil near the motor. Skipping straight to grinding would have embedded contamination into the surface of the laminate, creating a less-than-ideal bond for a structural component. Instead, Don starts with a thorough degreasing, followed by an acetone wipe-down using paper towels.
It can be difficult to get a degreaser or solvent to contact the surface uniformly and to actually remove contamination rather than just pushing it around. Due to the heavy contamination and the coarse open weave of the fiberglass, it took a lot of persistence to keep cleaning until the paper towels no longer absorbed grime and contaminants. As Don notes in the video, it may seem like it’s taking forever, but every additional pass is getting the surface cleaner.
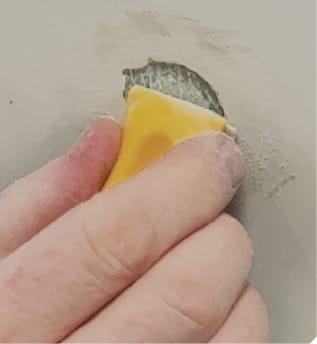
Luckily, there’s a simple, reliable way to check whether a surface is truly clean before you commit to applying epoxy. It’s called the water break test, and it works on most non-porous surfaces.
Wet the prepared surface with clean water and observe how the water behaves. On a clean surface, the water will sheet off evenly. On a contaminated surface, the water will channel, bead, or pull away from certain areas where contaminants are present. Those areas need more attention before you proceed.
This test works because the most common contaminants (i.e. oils, waxes, silicones, and grease) are hydrophobic. Water cannot wet out a surface covered in these materials and will pull away.
There are two important things to note when performing this test. First, the water cannot be soapy or have any additives. Otherwise, it will sheet off even on a contaminated surface, giving you a false result. We recommend using distilled water. Second, the water break test won’t detect water-soluble contaminants like soap residues and amine blush. The good news is that, since they are water-soluble, the water from the test itself will help rinse those residues away.
Surface preparation doesn’t have to be complicated, but the details matter. Here are some key takeaways for preventing surface contamination:
Wipe with an appropriate solvent using plain white paper towels. Wipe on, wipe off while still wet. Change paper towels frequently. Keep going until the paper towels come up clean. Let the surface dry completely, then sand.
Don’t introduce risk by solvent-wiping unnecessarily. Sand the surface with 80-grit aluminum oxide or waterproof wet/dry sandpaper. Remove the bulk of the dust by vacuuming or brushing. Do not use compressed air or tack rags.
Skip the solvent wipe unless the wood species is naturally oily. The porosity of the wood will help the epoxy form a good bond.
Do the water break test. Clean water sheeting uniformly across the surface is a sign there is no contamination. If it beads or channels, keep cleaning.
Don’t touch the surface with bare hands, don’t blast it with compressed air, and don’t work in a shop environment that has airborne hydrocarbons or compressor oil.
Most adhesion failures can be traced back to contamination, which is often introduced by the cleaning process itself. The steps above won’t make your work harder; they’ll make it more reliable.
Thank you for checking out my field guide to preventing surface contamination! To read more articles like this one, see our “SHOP TALK” category.
Watch as we put these principles into practice! View our Rotted Stringer Replacement video:


