Do-It-Yourself Garden Sculpture
Spring, 2026

GET STARTED
FREE PRINT & DIGITAL EDITIONS

Spring, 2026
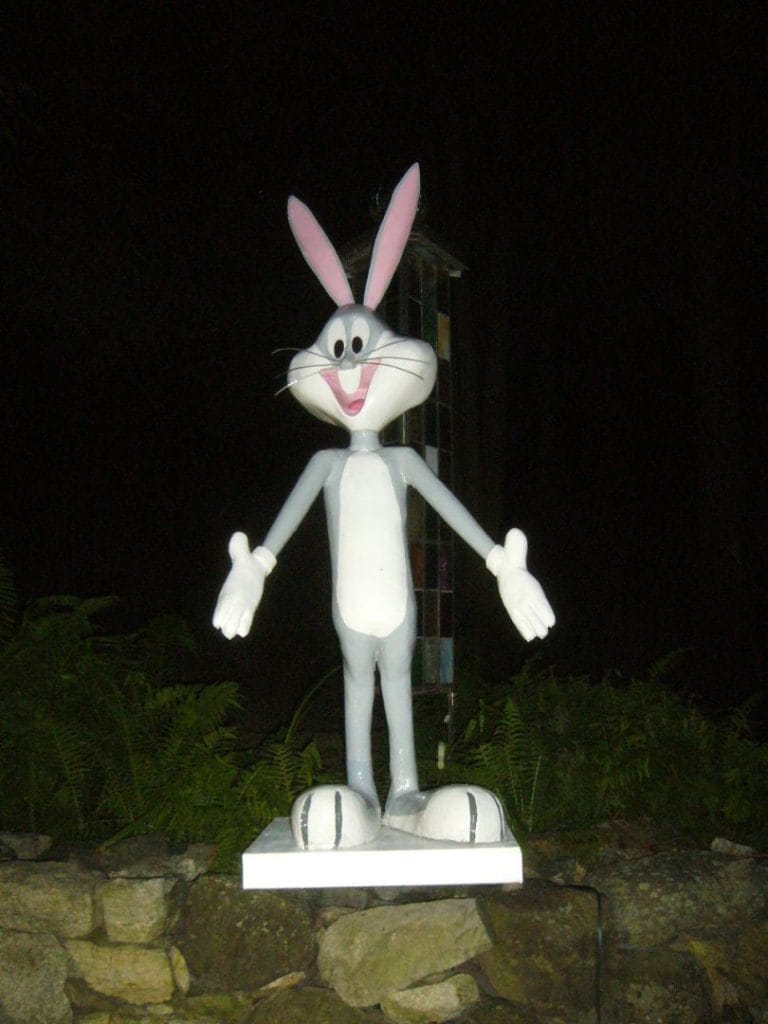
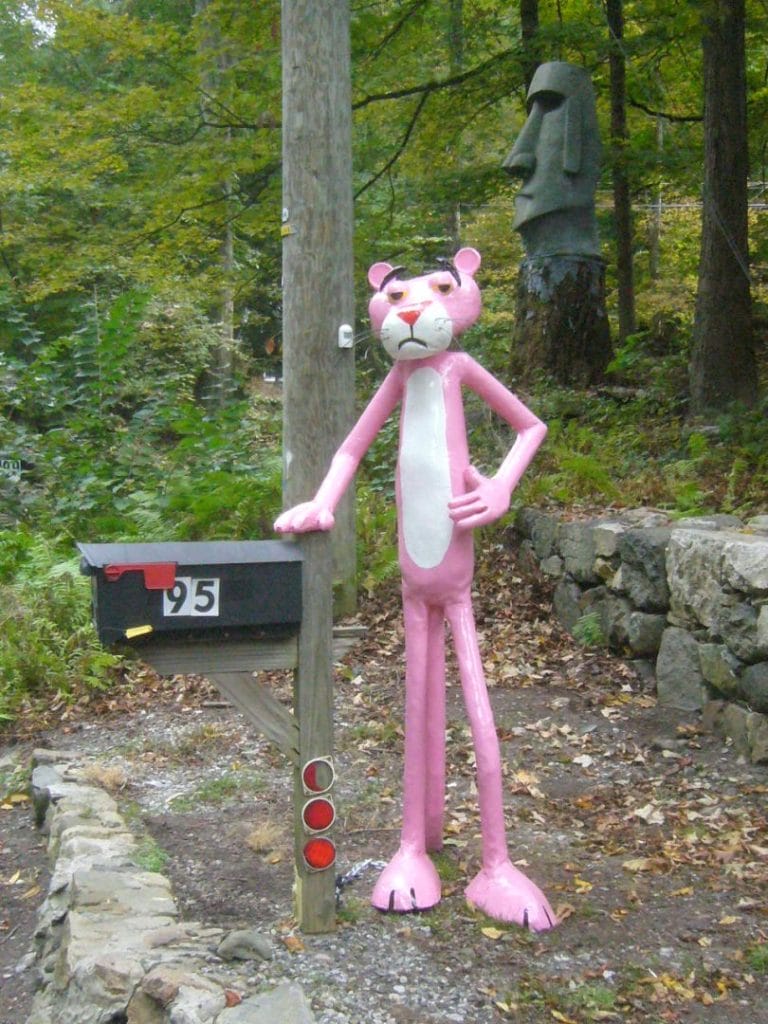
Much has been presented in Epoxyworks on boat repairs using WEST SYSTEM® Epoxy, however there is another application where WEST SYSTEM excels—the field of art. Over the years, I’ve learned how to build sculptures out of steel, Styrofoam, fiberglass, and epoxy… and had a lot of fun doing it. It’s caused me to end up with an eighteen-foot-wide pterodactyl hanging above my driveway, a six-foot-tall Bugs Bunny, an Easter Island head, and a coyote chasing the road runner.

To build large sculptures like these, you start with a basic frame, which you then cover with a wire mesh. Chicken wire works well and is cheap. If the sculpture will be indoors, wrap the wire with pieces of burlap, soaked in a loose mixture of water and plaster. For sculptures that will reside outside, cover the wire with fiberglass cloth that has been saturated with WEST SYSTEM Epoxy. Alternatively, the base could be carved from Styrofoam. When the Styrofoam is covered with two layers of fiberglass and two coats of epoxy, it becomes like a rock.
When fiberglassing over chicken wire, I recommend two layers of fiberglass bonded with three coats of epoxy to get a good degree of stiffness. You will undoubtedly have unevenness, bumps or hollows. These bumps are ground off, and the hollows can be filled with a little epoxy mixed with filler, or Bondo®. Bondo is available in just about every hardware store as an auto body filler.
For my sculpture work, I choose to work with WEST SYSTEM Epoxy. Though it may be a little more expensive than a polyester resin, WEST SYSTEM Epoxy has many properties that benefit the sculpting process. It’s low odor, allowing work to be done inside, it can be used over Styrofoam, and there are a variety of hardeners to choose from for the cure speed that works best for your process.
I use the 105 Epoxy Resin® with the 205 Fast Hardener® because, at 72°F (22°C), I have about an hour of working time in a thin film, and it will take about six hours to cure.
Curing time depends on air temperature, and the 205 Fast Hardener can cure down to 40°F (4°C). With epoxy, it’s important to mix the resin and hardener on ratio. WEST SYSTEM resins and hardeners are sold in different-sized cans to reflect the difference in volumes due to the mix ratio. The cans can be fitted with the 300 Mini Pumps for easy dispensing. One pump on each can delivers the exact ratio of resin to hardener. It is a wonderful system! The convenience and accuracy of utilizing the Mini Pumps is unbeatable. West Marine sells both the epoxy and the fiberglass cloth plus they are willing to give advice. The resins and hardeners are sold in three sizes, so you can get the most appropriate size kit for your project.
I made a pants planter from a sacrificial pair of old jeans. I went to Goodwill and bought a pair for ten dollars. Note: Men’s size 40 jeans fit a five-gallon plastic bucket. If you do this project, you will need some kind of a container inside the waist of the pants to get them to keep the shape.

Next, I needed to make artificial legs. Using 1″ x 2″ lumber, I measured from my waist to the floor. Then, I cut it in half and connected the two pieces with a nail. The joint had to be somewhat loose to make a movable knee. The thigh and calf were stuffed with crumpled newspapers, insulation, rags, and whatever I could find. Using string, I wrapped the leg to give it the natural shape. Then I put the legs inside the jeans so that they protruded out of the bottom.
To complete the look, my pants needed boots. I placed the leg apparatus into the boots, stuffing rags and paper in the boots, so the wooden leg frames fit snugly. I made sure the fabric overlapped the top of the boots. I mixed some epoxy and poured it inside the boots. A few hours later, the boots were attached.
With everything arranged in a natural sitting position, it was time for the bucket. I covered the five-gallon bucket in wax paper to prevent the epoxy from sticking, then inserted it into the waist to hold the jeans open.
Once satisfied with the final positioning, it was time to solidify everything with epoxy.
I brushed on two coats of mixed epoxy over the jeans and the boots and allowed it to cure. With the sculpture stabilized, I could remove the bucket and cover the leg holes inside with fabric. Mixing another batch of epoxy, I applied two coats to the inside of the jeans. I had to be sure to seal everything well, so rainwater wouldn’t run into the legs or boots.
Once everything was cured, I drilled several holes in the seat of the pants so that any rainwater or overwatering of the planter would have a way to drain out. The epoxy turns the pants a very dark color. If you were recreating this project and wanted to paint them, wash the surface with water, and paint with Rustoleum® Clean Metal Primer and the color of your choice.
Next, I needed to make artificial legs. Using 1″ x 2″ lumber, I measured from my waist to the floor. Then, I cut it in half and connected the two pieces with a nail. The joint had to be somewhat loose to make a movable knee. The thigh and calf were stuffed with crumpled newspapers, insulation, rags, and whatever I could find. Using string, I wrapped the leg to give it the natural shape. Then I put the legs inside the jeans so that they protruded out of the bottom.
The planter was ready for a bucket of flowers. Since real flowers need watering, which can be troublesome, I found a better solution. I put in a block of Styrofoam with artificial flowers in the planter instead. No more problems.
Good luck with your creations.
You can have a lot of fun with the epoxy and a little creativity. I got a hold of a friend’s underwear, laid it out on wax paper, and painted it with mixed epoxy. When it got hard like a piece of plywood, I had his wife put it in his drawer as a joke. A little too much starch!