

 Listen Now
  Add to Playlist


By Tom Pawlak — GBI Technical Advisor
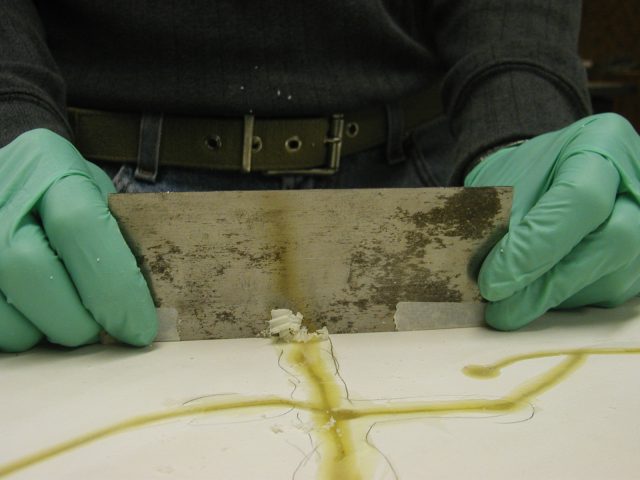
A local sailor stopped by our shop with an old plastic hatch that was slightly warped and badly cracked. He hadn’t been able to find a similar hatch to replace it. He wondered if we had an epoxy that could be used to repair the hatch. I said G/flex would likely work but to know for sure we needed to do a bit of adhesion testing.
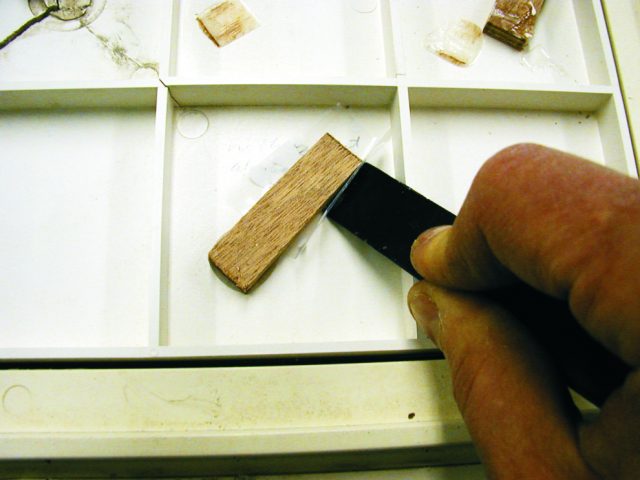
The hatch was made with an injection molding process that used thermal-formed plastic, probably ABS or PVC. Adhesion testing revealed that G/flex epoxy adhered well to surfaces that were sanded as well as to surfaces exposed briefly to the blue part of the flame from a propane torch. The accompanying pictures tell the repair story.
Note: To flame treat a plastic surface, hold a propane torch so the tip of the blue part of the flame just touches the surface and move it across the surface quickly (12″–16″ per second). Keep the torch moving and overlap the previous pass slightly. When done correctly, the surface will not discolor or burn in any obvious way. This technique oxidizes the surface and improves adhesion. For best adhesion, bond to the surface within 30 minutes of treatment.
Plastic Hatch Repair Steps
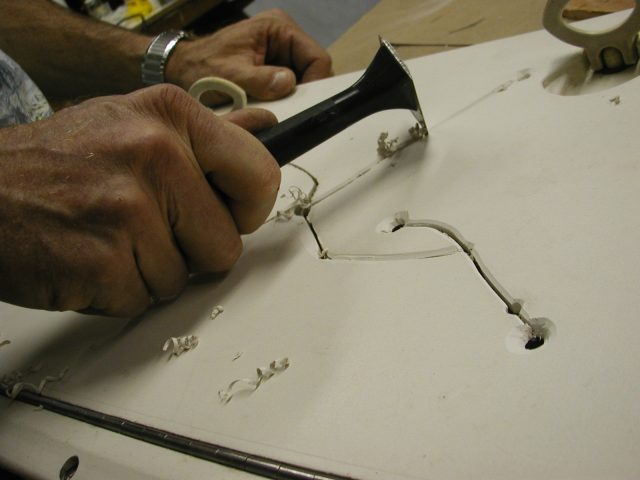
- Bevel the Cracks
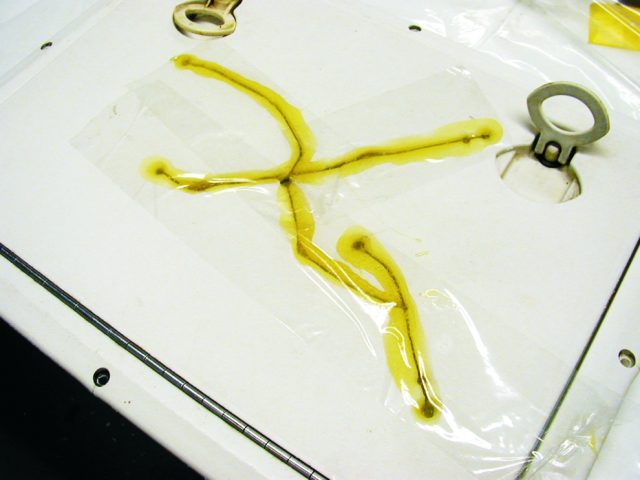
Bevel the cracks to increase surface area for the repair after drilling holes at the ends of each crack to prevent the cracks from continuing. Flame treat the repair surfaces with a propane torch.

- Apply G/flex 655
Apply G/flex 655 (the thickened version of G/flex) to the prepared cracks, filling them flush with the surface.
- Clamp the Hatch Lid
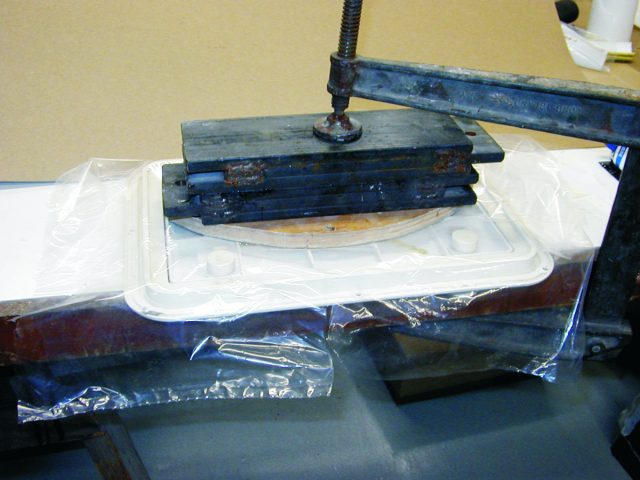
Clamp the hatch lid against a stiff and flat piece of plywood covered with plastic to flatten it while the epoxy cures (This was necessary because the hatch had deformed.)
- Glue in Packing Foam
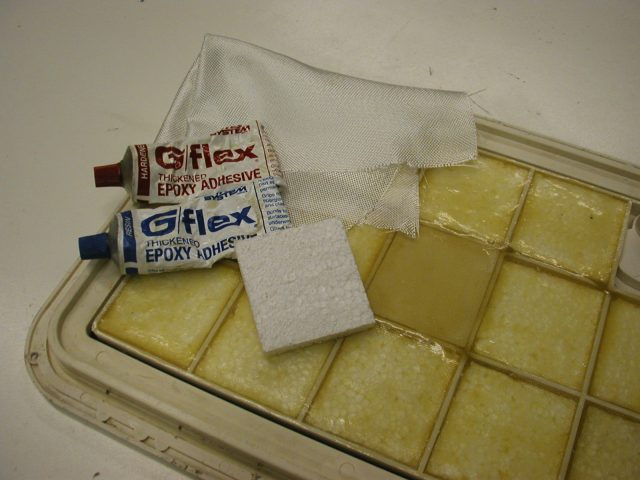
Glue low-density packaging foam (the white beady type) into the spaces between the ribs on the back side of the lid.
- Apply Fiberglass Cloth
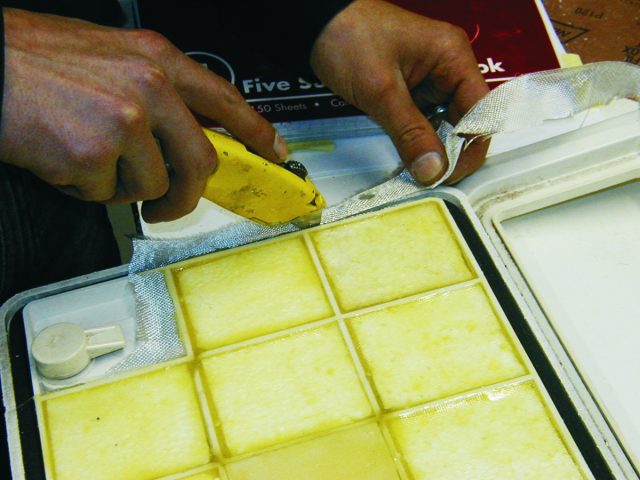
Apply a layer of 6 oz fiberglass cloth over the foam and ribs to
stiffen and reinforce the lid. - Scrape and Sand
Scrape and sand the repaired cracks smooth.
- Paint the Hatch
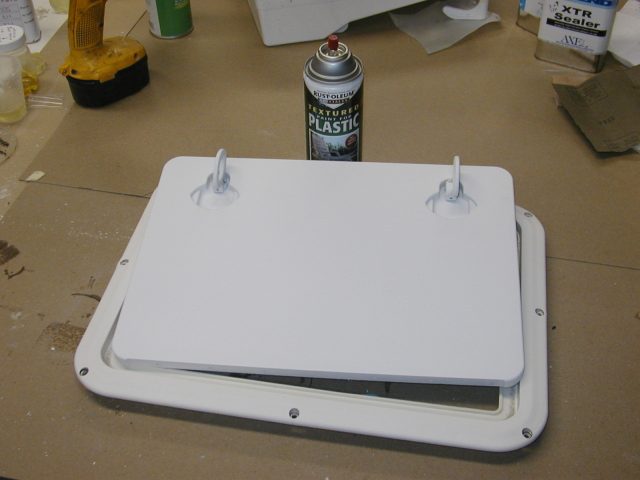
Paint the hatch with plastic compatible Rustoleum™ Textured
Paint for Plastic. Krylon™ Fusion for Plastic™ also works well. In the end, the hatch looks as good as new.