


A Professional Hull Repair with WEST SYSTEM® Epoxy
By Brandon Parker
The Story Behind the Damage
During a severe storm, a moored sailboat broke free from its anchor and collided with a luxury motor yacht docked at a marina in Charleston, SC. The result was extensive fiberglass and gelcoat damage to the yacht’s hull.
The yacht’s owner was promptly notified and contacted his insurance company. As part of the claims process, the owner sought repair estimates.

After seeking word-of-mouth referrals and a thorough online search for reputable fiberglass boat repair in Charleston, all signs pointed to Total Boat Repair. The next day, we assessed the damage dockside. It became clear that this was a serious structural impact—far more than cosmetic damage. The collision not only cracked the exterior hull, but it also delaminated the interior fiberglass inside nearby compartments.
Many yacht hulls aren’t constructed of solid fiberglass. They’re made using a core sandwich structure—an inner and outer fiberglass laminate bonded to a core material. The core is often foam, honeycomb, or wood. In this case, it was made of balsa core blocks, similar in appearance to Jenga pieces. The impact had shattered these blocks, which were now scattered loosely inside the compartment. The inner fiberglass wall had a delaminated area that was greater than a 4′ radius.
Selecting Proper Repair Materials
When it comes to repairs of this magnitude, material choice is critical. We’ve often seen repairs fail due to poor-quality materials or subpar techniques. At Total Boat Repair, we back every job with a guarantee, so we only use premium products we can stand behind.
In marine fiberglass work, there are three primary resin types:
Polyester Resin
Cost-effective, but it shrinks when cured. It’s the weakest in water resistance and bond strength.
Vinyl Ester Resin
A step up in durability, water resistance, and flexibility.
Epoxy Resin
Maximum water resistance. Excellent bond strength. Low to no shrinkage and has long-term reliability.
For this job, there was no hesitation—we used WEST SYSTEM Epoxy. It’s a high-performance epoxy designed for serious marine structural repair.
We paired this with a vinyl ester-based fairing compound and color-matched gelcoat to restore the aesthetic finish. While it’s commonly believed that gelcoat won’t adhere to epoxy, this is only true if proper surface preparation is neglected. Understanding epoxy’s amine blush and cured properties allows us to transition smoothly from the structural to cosmetic phases without adhesion issues.
Whether you’re a DIYer or a professional, WEST SYSTEM Epoxy is widely accessible through retailers like West Marine or marine distributors such as Paxton or Lewis Marine.

Fiberglass Damage Assessment
The boat’s extensive fiberglass damage meant it could not be repaired dockside and had to be hauled out. We recommended a reputable nearby boatyard and scheduled the repairs immediately.
We first began thoroughly assessing the damage, specifically the extent to which the fiberglass had delaminated. We determined the boundaries of the damaged area and exposed it by removing the gelcoat.
This allowed us to get to the actual fiberglass underneath. Surface cracks often mask deeper fractures and core damage, especially in high-impact scenarios. Once we had a good visual of the damage, we cut and ground away all the fiberglass that had been compromised. This left a hole measuring roughly 2′ wide by 18″ tall.
On the interior, we did just like we had on the exterior. We removed all the compromised fiberglass and core material. The delaminated fiberglass was cut away and ground to a nice taper along the edges. The interior repair area measured over 7′ wide by 6′ in height.
A Two-Sided Fiberglass Repair
We insisted on a two-sided repair, which is the strongest option for any fiberglass boat repair. Since the bulk of the damage was on the interior, we began rebuilding there first. We attached a temporary backing to the exterior of the hull. The backer had a spacer the same thickness as the exterior fiberglass and was covered with a layer of release fabric to keep it from bonding to the inside repair. We used latex sealant around the edge of the backer to keep the weather out of the repair. The backer helped with the alignment of the balsa during installation and prevented it from being pushed through the opening.
Installing Fresh Balsa
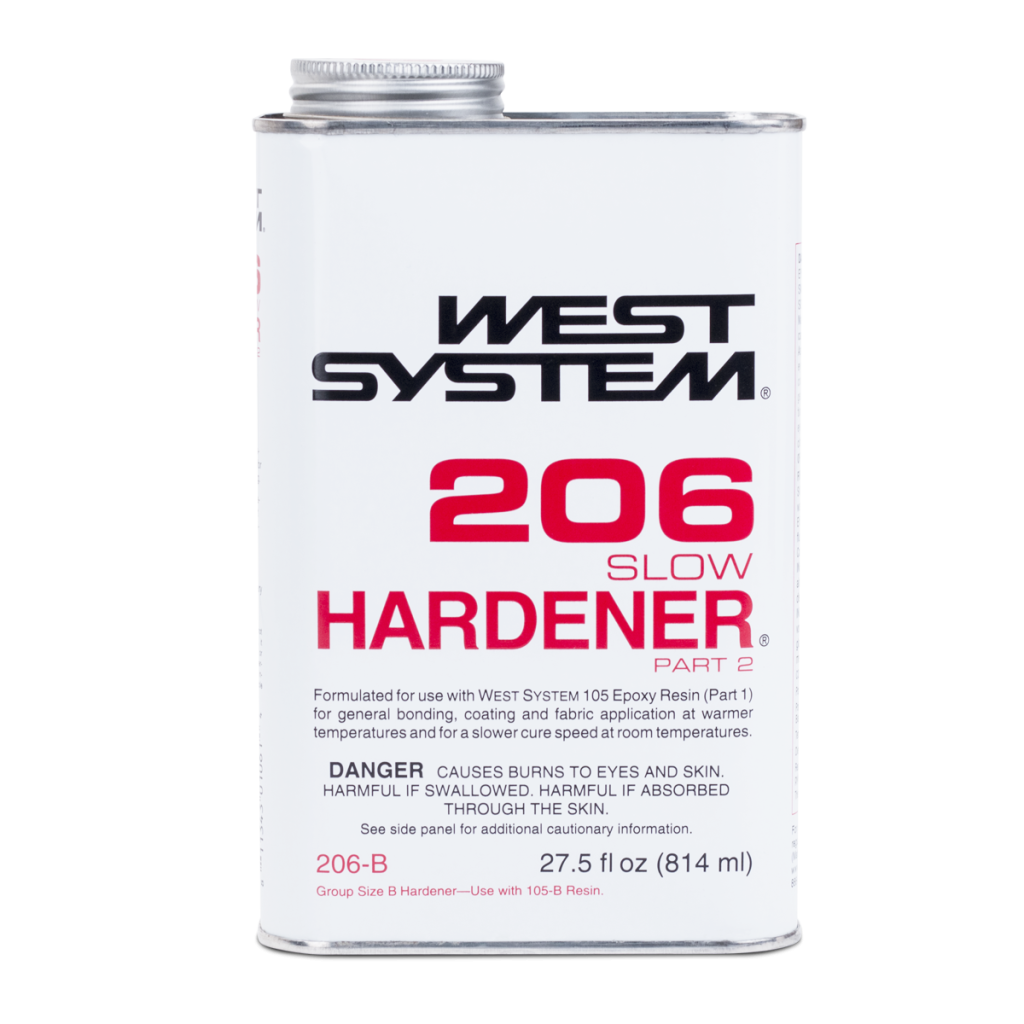
Fresh balsa core, identical in size to the manufacturer’s specs, was used. A large sheet of balsa was installed first to bridge the opening in the repair and help maintain the shape of the hull. Then the remaining area was filled with smaller sections of balsa. Each piece was bonded using WEST SYSTEM 105 Epoxy Resin® with the 206 Slow Hardener®. This allowed ample working time and full saturation. Balsa absorbs epoxy well, making it an ideal pairing for structural reinforcement. Additionally, we thickened some of the epoxy mixture with fumed silica to fill any large gaps or voids in between the balsa core panels.
Dry Installing Fiberglass
Next came the application of biaxial fiberglass cloth. Due to the large size of the layers, we applied them dry and wet them out in place using WEST SYSTEM Epoxy. This allowed us to ensure total impregnation with minimal air entrapment. We used release fabric over the final layer to simplify the amine blush removal procedure.
Once cured, the release fabric was removed, and we transitioned to gelcoat application. We matched the gelcoat to mimic the surrounding compartment.
Now, we were ready to continue on the exterior repair area. We ground a taper back from the hole we had cut to allow our fiberglass to gradually transition into the surrounding laminate. We applied several layers of biaxial fiberglass with the 105 /206 to match the existing thickness of the boat hull. Again, we used the release fabric as the final step of the layup.


Fairing
Once the epoxy cured, we removed the release fabric and prepped our repair for fairing. We used a vinyl ester fairing compound, which was applied in thin layers where needed. Then we sanded it fair until it was back to the original hull shape. Since we allowed the epoxy ample cure time, and utilized the release fabric, we had no concerns about adhesion issues between the epoxy and vinyl ester.
There were many chips, gouges, scratches, and scrapes in the gelcoat that littered the damaged side of the hull. We removed the damaged gelcoat, filled, faired, and prepped that side of the hull for gelcoat application.
Gelcoat Application
We applied multiple coats of gelcoat, modifying the MEKP catalyst and wax ratios per layer to control the exothermic reaction. This allowed proper curing and prevented pinholes caused by trapped styrene monomers.
Once cured, we began sanding down the gelcoat, starting at lower grits and working our way towards higher grits. We continued until we had removed all the imperfections from the surface, and we were sure it was flush and fair with the existing contour of the boat.
The Awlcraft Boot Stripe
The boot stripe had sustained damage in the collision and needed to be repainted. The owner had the boot stripe painted on in Florida when he purchased the boat. Luckily, he was able to remember the boat repair shop that applied the boot stripe, and we were able to contact them to find out the product they had used. It turned out to be Awlgrip® Awlcraft SE, which is a metallic paint. When metallic paints such as these are sprayed, they can take on different color tones depending on the air pressure you use when spraying. We performed several test sprays and found the right pressure to match our boat’s color.

After the area around the repair was prepped and taped off, we applied several coats of the Awlcraft SE paint to the hull of the boat. This was followed by several coats of clear coat.
Our Mobile Boat Detailing Team
To complete the job, our Charleston-based mobile detailing team stepped in. They compounded, polished, and waxed the repaired area using dual-action polishers and marine-grade products to bring the final luster up to showroom quality.


Bringing the Fiberglass Repair to Completion
The yacht’s owner was thrilled. He admitted he had feared the damage might be irreparable. Thanks to the reliability of WEST SYSTEM Epoxy and our skilled marine repair team at Total Boat Repair, the vessel was not only restored but also structurally enhanced for the future. Expertise paired with WEST SYSTEM Epoxy ensures every boat repair is stronger, sleeker, and safer.
Note: Total Boat Repair is a professional mobile boat repair team. Over the years, they have attended many of our Fiberglass Boat Repair Workshops (affectionately named Glue-U).


