


By Jenessa Hilger – GBI Marketing
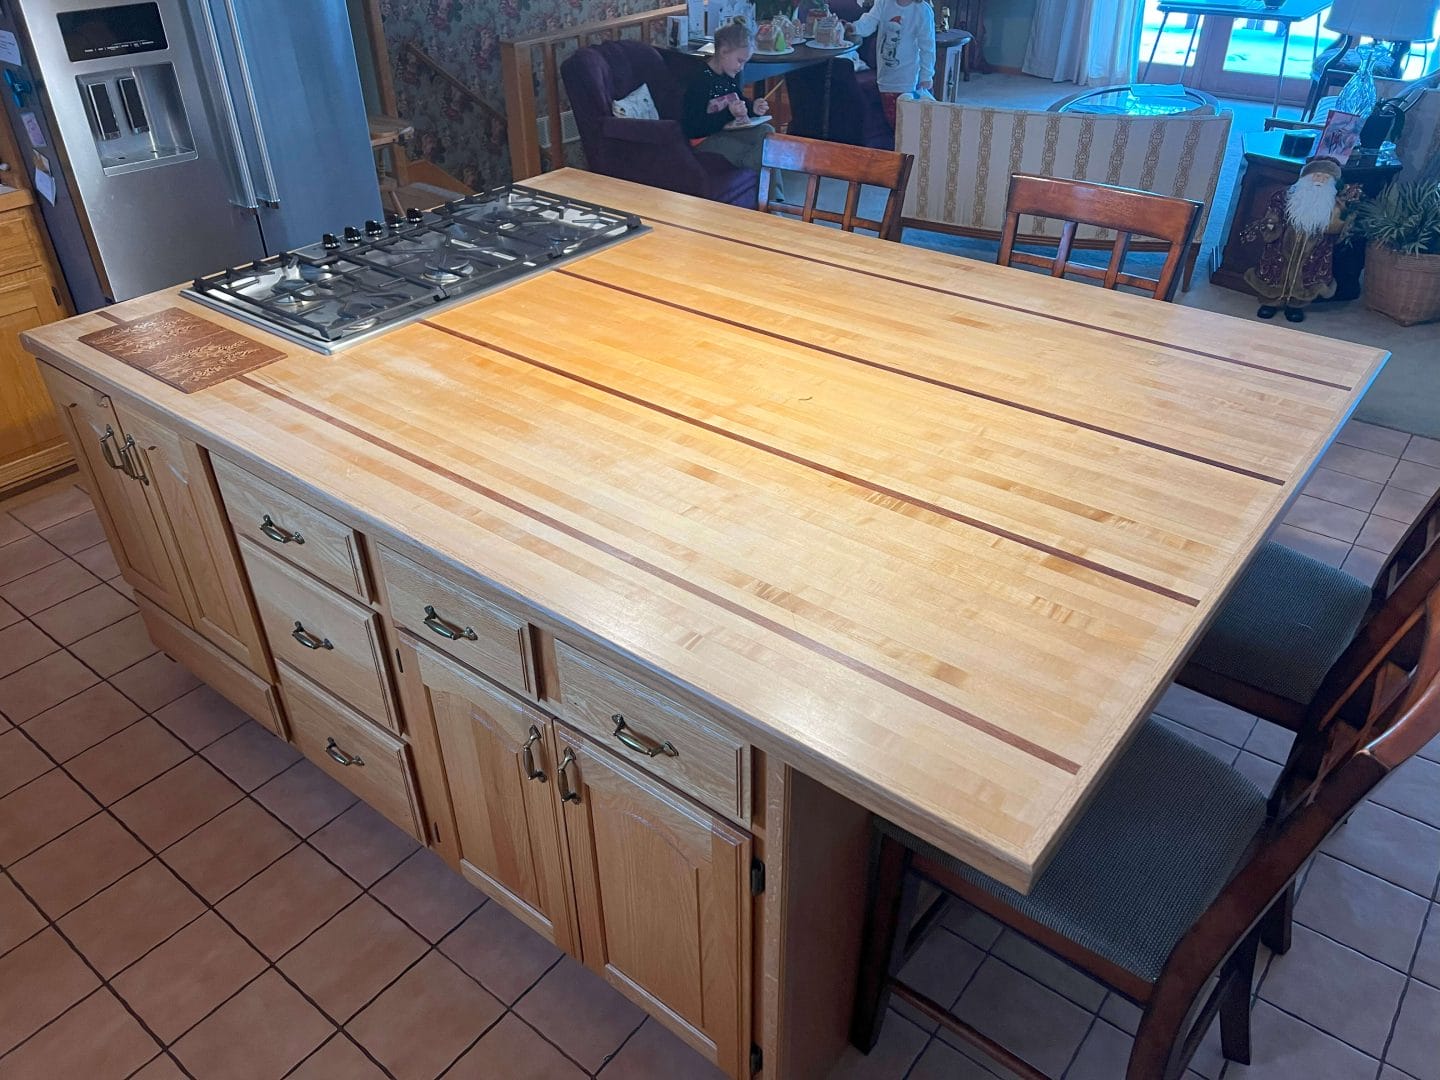
They say the kitchen is the heart of the home. Well, that’s certainly true at my Grandmother’s home. Around her kitchen island, we cook, swap stories, and make memories – each memory leaving a mark on the well-worn surface. In recent years however, the glued and nailed edge strip running across the end grain had begun to pull away from the island.
The gap created at the sharp, mitered corners has drawn blood from more than one person. The foundation of so many projects, now became the project itself.
Investigation
The first step was to perform a thorough investigation of just how detached the edging had become. As I pried open the gap, the entire length of edging popped off the island. That made the repair approach fairly simple: scrape off the old, crumbling glue and epoxy it back on.
As mentioned earlier, the edging was glued and nailed to the island. I removed every other nail from the edging. Though I no longer needed the nails for fastening strength, they would help be helpful to guide realignment once the edging was coated with epoxy and slippery. Having fewer nails would make realignment easier later. I did as simple test fit to make sure none of the nails were bent in the removal process. Easier to take care of bent or misaligned nails now instead of when everything was wet with epoxy.
Surface Preparation
The crumbling 30+ year old glue was my next target. Using a putty, knife, I was able to chip away the old glue on the back of the edging, and on the island, with relative ease. Any stubborn spots I attacked with 80-grit sandpaper. Then I gave the entire strip a good sanding with the 80-grit sandpaper. It was important to remove all of the loose glue for two reasons. First, it would result in a tighter, more appealing bond line. Second, the joint will only be as strong as the material it’s bonded to. Therefore, if the epoxy is bonded to crumbling glue, that will greatly reduce the holding power of the joint. Though this isn’t a high-load joint, I did want good adhesion.
Since the island is a wood surface, I needed to take extra care not to get epoxy on any of the visible surfaces. The wood is porous, so even if the epoxy was cleaned up quickly, you would always see a “shadow” of where the epoxy had gotten on the surface. I used painter’s tape to protect the counter surfaces from squeeze out or errant drips, and laid a plastic drop cloth under the repair area.
Selecting Materials
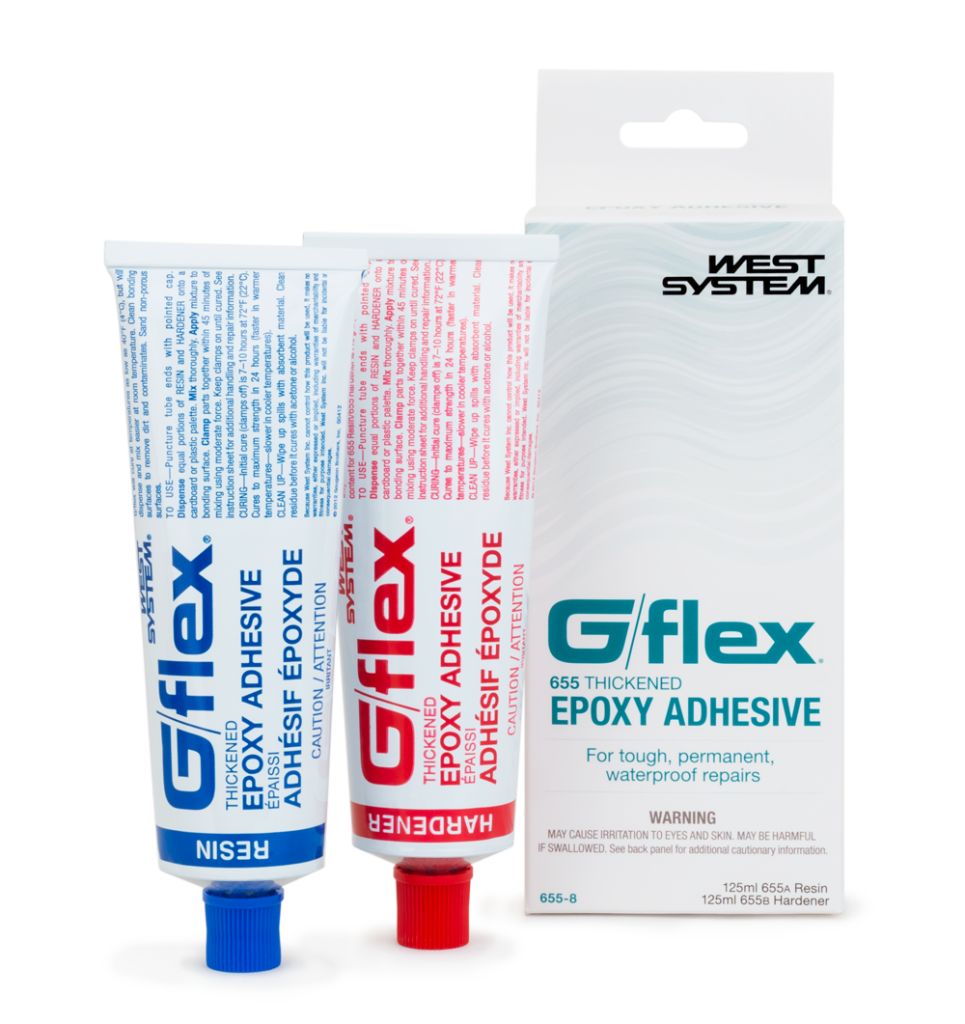
With the surfaces prepped, it was time to select my materials. I chose WEST SYSTEM® 655 G/Flex® Thickened Epoxy Adhesive. Since the grain in the edge piece runs perpendicular to the grain of the island, I was worried about the differences in expansion due to changes in temperature and humidity. The hot humid summers, and cold dry winters can cause a lot of movement within the wood. I suspect this movement is why I have seen failure along this edge, but not on the two adjacent sides (where the grains run parallel.) Having that little bit of extra flexibility with the toughened system should help the repair last a long time.
G/flex does come in a thickened (655) and unthickened version (650). I opted for the thickened version of G/flex since I knew I would need to add fillers anyway to bridge the gaps in the joint. The epoxy being pre-thickened gets me part of the way there already, so I only need to add a small amount of filler to reach my desired consistency. An additional benefit is that G/flex has a fairly long working time, which came in handy for this project. The edge strip was about 6′ long, so I had plenty of working time to mix the epoxy, add fillers, apply it, position the edging, and clamp the edging in place.
Next was time to select my filler, which was a little more complicated. Typically, you would select a filler based on its strength or handling properties. In my case however, aesthetics was the primary factor I was concerned with. Because the island was built with a very blond wood, and all the other wood joints on the counter fit very tightly, the resulting mixture needed to be light in color to disappear as much as possible. After a little trial and error, I found the best color match to be the 410 Microlight® Filler.

410 Microlight is a fairing filler formulated for easy sanding, so it is not designed for high-load applications. Since the G/flex was already pre-thickened, I wouldn’t have to be adding much of the filler. Additionally, there will still be nails in the edge strip offering some support, and it’s a narrow strip without a lot of leverage. I was willing to take the risk. Worst case scenario, the joint fails, and the strip falls off again. It’s not like I would be stranded at sea, I’ll just have to spend a couple hours repeating the project.
Application
When bonding porous surfaces, like wood, it is good practice to coat the mating surfaces with unthickened epoxy first. The wood soaks up this coating of epoxy, rather than pulling epoxy out of the thickened mixture, making for a stronger bond. I mixed up a batch of 655 G/flex Thickened Epoxy Adhesive, and brushed it onto the mating surfaces.
In that same cup, I mixed up a second batch of 655 G/flex. This time however, I added my 410 Microlight. The batch was just thick enough so the epoxy would not run out of the vertical bond line after installation. I generously spread this mixture on the back of my edge strip. There needed to be enough epoxy to squeeze out of the top and bottom edge of the joint, ensuring continuous contact.

Installation
Using the nails, with their original holes, for alignment of the edge strip was incredibly helpful. A few gentle taps with a rubber mallet coaxed the edging tight to the island. A couple of ratchet straps and some rope helped hold the edging snug while the epoxy cured.
The extra squeeze out from the top of the joint could easily be lifted and removed with the straight edge of an 808 Mixing Stick. I left the squeeze out on the bottom side of the island to act as a sort of fillet to help with support and provide more surface area for bonding.
I wanted the top side of the joint to be as close to finished as possible once the epoxy cured. It would not be practical to sand the joint flush later, as it would damage the surrounding finished wood surface. Using the mixing stick got the joint close to flush, but once the tape was removed, the epoxy would still be proud of the surface by the thickness of the tape.
To solve this, I gently dragged my gloved finger along the joint to give it a slightly concaved profile, and remove the bulk of the excess material.
After about a half hour, the tape was ready to be removed. You want to remove the tape once the epoxy starts to gel, but before the epoxy cures too much. If the epoxy is too far along in the cure process, the tape can tear and you can end up with little blue bits of tape sticking out from under your cured epoxy. Not a huge deal if you are sanding your surface down later, but it’s not very aesthetically pleasing if that’s your finished surface.
Finishing
After curing overnight, I could remove the rachet straps. Most of the joint turned out very clean and there was no needed for additional finishing. The spots under the rachet straps had been a little harder to get to, therefore they remained slightly proud of the finished wood surface. Because I had used 410 Microlight (an easy-to-sand fairing filler), and it was a very thin line, I could scrape these areas flush with my fingernail. No need for sand paper which would scuff up the surrounding wood.

Happy Customer
Needless to say, my grandmother was very impressed with the results. She’s my grandmother, so of course she wouldn’t tell me anything less. I, on the other hand, am very critical of my own work, but even I was pleasantly surprised with the results.


From a functionality stand point, there would be no more snagged arms or sweaters on its sharp corners. Aesthetically, the joint blends in with the wood, and it does not look like it has been repaired. Mission accomplished. With this project complete, we can now direct our attention to creating new projects and memories on its well-loved surface.
Note: WEST SYSTEM Epoxy is not certified by the FDA to be food safe. Though the epoxy is used on a kitchen counter, it would not be in direct contact with food.


