


by Don Gutzmer – GBI Technical Advisor
Time Was Ticking…
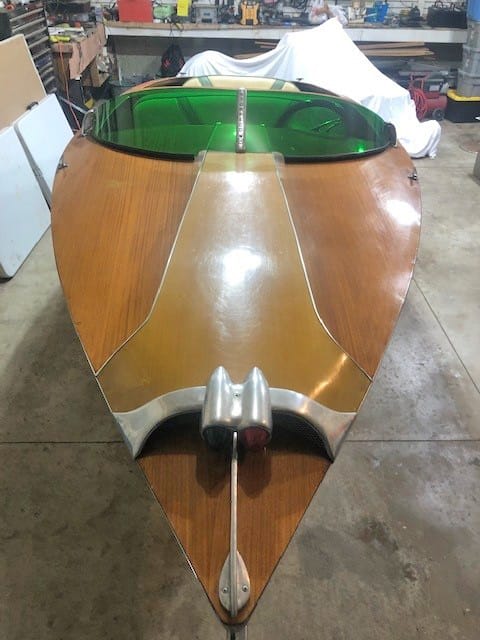
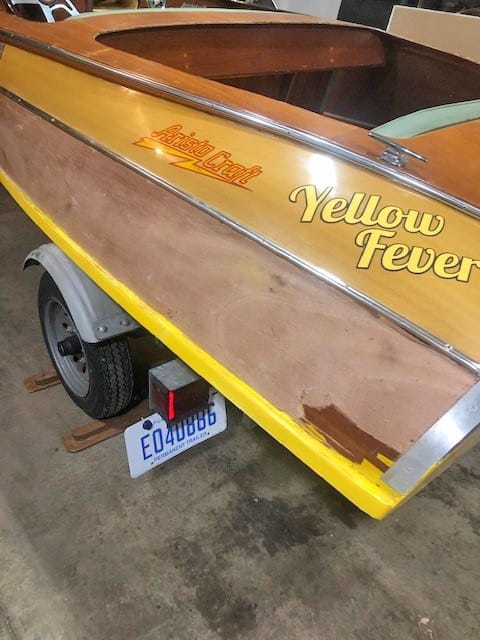
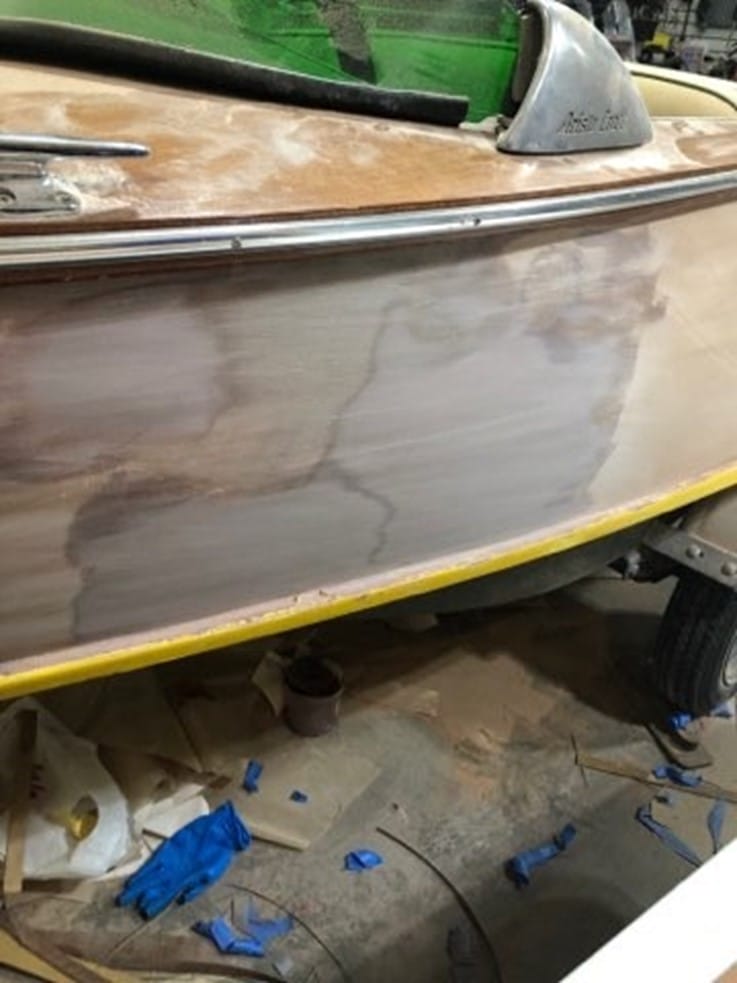
It has always been hard for me to say no to a customer—especially when they want work done on a beautiful little wooden boat like this Aristo Craft. Unfortunately, someone had backed into her port side and put a hole in her hull. Patched incorrectly, the boat needed a wood veneer bonded over the repair to create a uniform look on both sides. The customer had plans to leave the area in four days, with the boat in tow. Time was ticking to not only complete the project, but complete it correctly.
Fairing
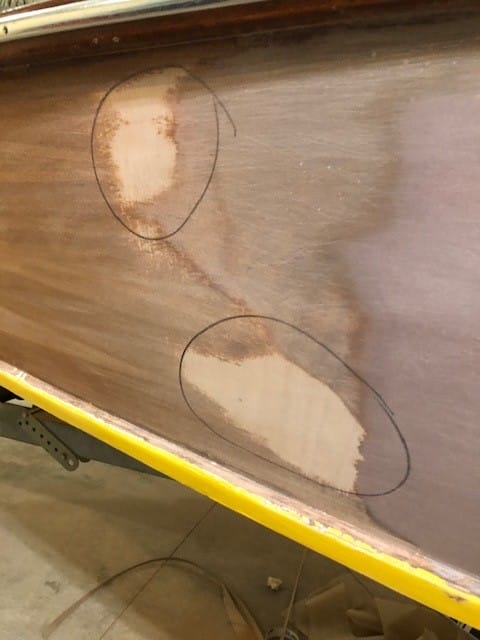
The first thing I needed to do was fair the hull sides. High or low spots would cause the thin wood veneer to look wavy. On the port side, the previous veneer repair had an area that was not well-bonded. I ground off the veneer until only well-attached, void-free veneer remained. Guided by my straight yet flexible wood batten (a paint stick), I walked around the boat, marking any low spots with a pencil. Unfortunately, the grinding had left about a 6″ diameter low spot on the hull. I then grabbed my 12″-long sanding block and faired the hull, eliminating many of the high spots. There were a few spots that were too low to be removed by fairing, so I marked those areas to be filled with thickened epoxy.
Since it was fall and the temperatures were cool, I heated my garage to around 90°F with electric heaters. This elevated temperature accelerates the epoxy’s curing process. Considering my four-day timeline, accelerating the cure time would help me complete the repair quickly while still maintaining the quality of my work. I mixed a batch of WEST SYSTEM® 105 Epoxy Resin® and 207 Special Clear Hardener® and thickened the epoxy with 407 Low-Density Filler. I spread this mixture into the low areas I had marked. Over this wet epoxy, I applied a layer of 879 Release Fabric. The release fabric helped minimize sanding because of the textured surface it leaves behind, and it also aided in supporting the application of the thickened epoxy so it didn’t sag.
Sanding
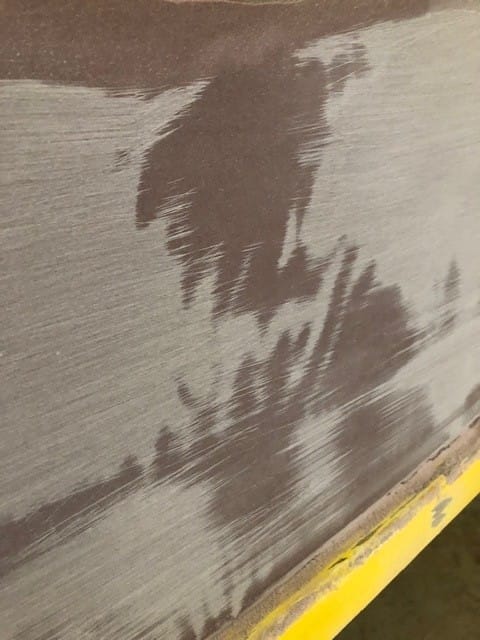
Once the epoxy had cured overnight, I started again with my 12″ sanding block. Holding the block parallel to the rail, I worked it at a 45/-45-degree angle, creating an X pattern. By sanding in this manner, it helped keep the surface fair. At this point, it was easy to see the areas the sandpaper hadn’t touched yet. They remained shiny in comparison to the already sanded portion of the hull. I started with course 40-grit sandpaper to remove the cured epoxy quickly, then transitioned to a 60-grit, and finally to an 80-grit. This left a smooth finish. Continually changing out the sandpaper helped to make sure the paper was cutting through the epoxy and not getting clogged by dust. After numerous hours of sanding and checking over my work, I felt confident that the hull sides were fair and the new veneer would have a solid base.
Templating Veneer Shapes
To determine the shape of the veneer, I cut a rough template out of thin cardboard to fit the side of the hull. I then taped the template to the veneer.
The veneer was not long enough to do an entire side in one piece, so I had to include a seam in the middle. To avoid a gap in the seam, I overlapped the fore and aft veneer. Then, using a straight edge, I ran a utility knife through both pieces. This way, any imperfections with my cut would be an exact match on both halves, therefore fitting together perfectly.
I marked the shape onto the veneer with a pencil and used sharp scissors to cut it out. I used the same template for both sides of the boat, as the sides are a mirror image.
Timing is Everything
In order to epoxy the wood veneer to the hull without fasteners, I needed to apply the veneer while the epoxy was still tacky to the touch. This meant that I had to time the cure process just right. Not cured enough, and the curl of the veneer could cause it to pull back off the surface and leave a void underneath. Too cured, and you may not get a solid bond, which again, could cause it to lift off the surface and create voids underneath. Because this was such a critical step, I needed to run some tests on scrap pieces of veneer to get the timing perfect. I found that 35 minutes of curing at 90°F gave me the tacky surface I was looking for.
Bonding the New Veneer
I used an 800 Roller Cover to coat the back of the new veneer and sides of the boat with WEST SYSTEM 105 Epoxy Resin and 207 Special Clear Hardener. After 35 minutes, it was time to apply the veneer. I started bonding the veneer at the bottom and slowly worked it up onto the hull with a plastic spreader. I applied the veneer with firm pressure, pushing it onto the hull. The first side went great. By the time I got to the second side, I was running out of time in my application window. I tried my best to achieve a uniform application, but with the garage being so warm, the partially cured epoxy had a thicker viscosity and was harder to work with. Getting the veneer to lie perfectly flat on the surface was a challenge. Some areas had small imperfections that I would need to touch up with clear epoxy. In hindsight, it would have been helpful to open the garage door just before I started applying the veneer. This would allow the garage to cool down, slowing the cure process and slightly extending my window of time.
Finishing Touches
With both sides of the veneer installed, I needed to deal with the small waves in the veneer—mainly on the starboard side. The waves could be faired out with a little extra buildup of WEST SYSTEM 105 Epoxy Resin and 207 Special Clear Hardener. I didn’t have time to apply multiple thin coats of epoxy, and I couldn’t just apply a really thick coat because it would run. With this challenge in mind, I determined the only way to apply the epoxy thicker was to turn the hull on its side. After three coats, I had enough epoxy buildup that I could finish fairing the small waves without cutting into the veneer.

I righted the boat and applied the last two coats of epoxy. It was back to the sanding block again to begin the final sanding before varnish. In total, the project ended up taking about 20 hours of work. In those 20 hours, I was able to remove the improperly applied veneer, fair the hull, apply a new veneer, and deliver beautiful results for a beautiful boat.


