Delamination Repair
Spring, 2026

GET STARTED
FREE PRINT & DIGITAL EDITIONS
Spring, 2026
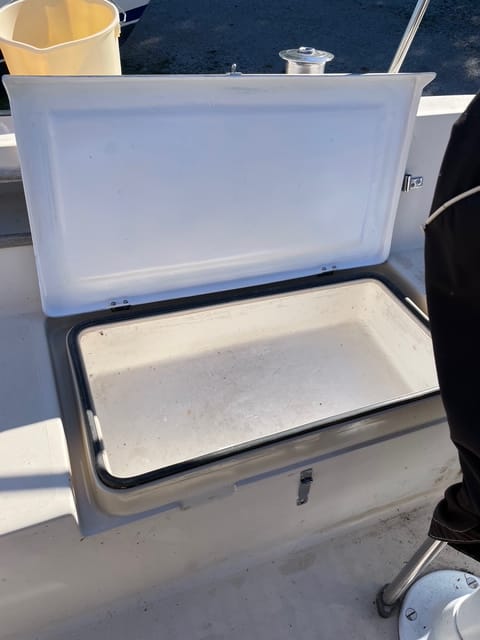
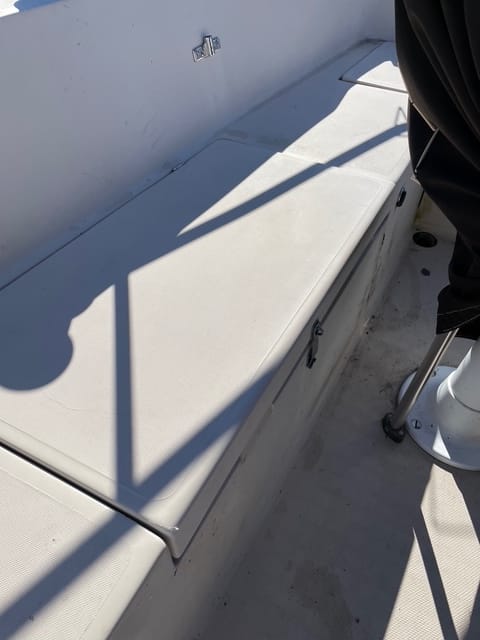
The cockpit seat of my 1982 Catalina 30, the Looney Bin, had been feeling a bit spongy. The seat was the cover for the shallow lazarette on the starboard side—the same side we board on from the dock.
I assumed the problem was a wet core, as I had repaired wet deck core on other boats in the past. Those repairs hadn’t been too difficult as I could access the core from below and not have to deal with the non-skid. This repair would be easier, since I could take the cover off its hinges and work in my garage.
Back in my garage, I formulated my approach. The back of the cover had a raised section which contained core material. My first thought was to cut off the fiberglass layers with the zip saw to access the core. Thinking it through more, I decided to drill holes to see if the balsa core was actually wet to determine how extensive the repair would be.
Surprisingly, the core was dry. Drilling through the core to the top fiberglass layer, I found an air gap. It turns out the issue was delamination between the core and the top layer of fiberglass, not a wet core. The area of core delamination was approximately 1 ½’ x 3′ (45.72 cm x 91.44 cm) (the core was inset from the edges by 2″-3″ (60.96 cm x 91.44 cm).)
I ended up drilling 10 holes, ¼” (0.635 cm) in diameter, through the core to the top fiberglass layer of the cover. The gap appeared to be 1/16″ (0.15875 cm) or less.
I mixed my epoxy, 105 Epoxy Resin® and 205 Fast Hardener®. I dispensed one pump at a time, as I had no idea how much it would take to fill the gap. I used a 20 cc syringe to inject the epoxy, starting at one of the corner holes and progressing to adjacent holes when I saw them fill with epoxy. By applying repeated pressure over the area, I could help the epoxy to move around inside the gap.
After sitting for a while, the epoxy levels in the holes started dropping. It appeared the epoxy was distributing further into the gap or soaking into the core…or both. I topped the holes off, and after curing overnight, filled them again, leaving a bump that could be sanded level when cured. The entire repair took about 12 pumps each of resin and hardener. I kept adding more resin and hardener to the same mixing pot and using it before it cured. This was a lot more epoxy than I originally thought I would need. I had to find old cans of resin, pouring them together to have enough.
Once the epoxy had cured, the holes and entire surface were sanded. Two coats of flat white spray enamel finished the job. No more flexing. The top of the lazarette cover still matched the rest of the cockpit, and the underside looked brand new.
A few lessons were learned. Drilling first, rather than zipping the skin off, helped me determine that the problem was delamination and not a wet core. This discovery saved a lot of time, wasted effort, and materials. The ¼” (0.635 cm) holes seemed excessive, and I could have used smaller ones, but no harm was done. The amount of epoxy required to fill the space surprised me. Be prepared before you start mixing. A quart of resin, with appropriate hardener, would be enough for this job. I only used unthickened epoxy, however once I had initially filled the holes with neat epoxy, I could have topped off the holes with epoxy that was slightly thickened with 404 High-Density Filler. Filler would have minimized the amount that soaked into the core, and utilizing the 404 High-Density Filler helps minimize the potential for the epoxy to get too hot.
Read more Boat Repair Articles!