G/flex Blade Tip
November 13,
2026

GET STARTED
FREE PRINT & DIGITAL EDITIONS
November 13,
2026
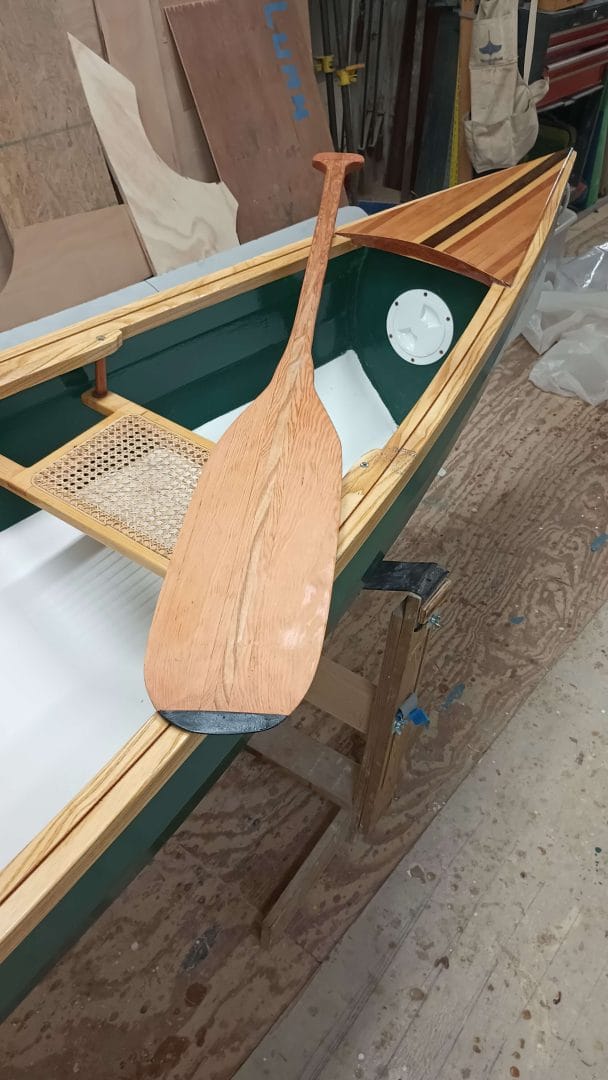
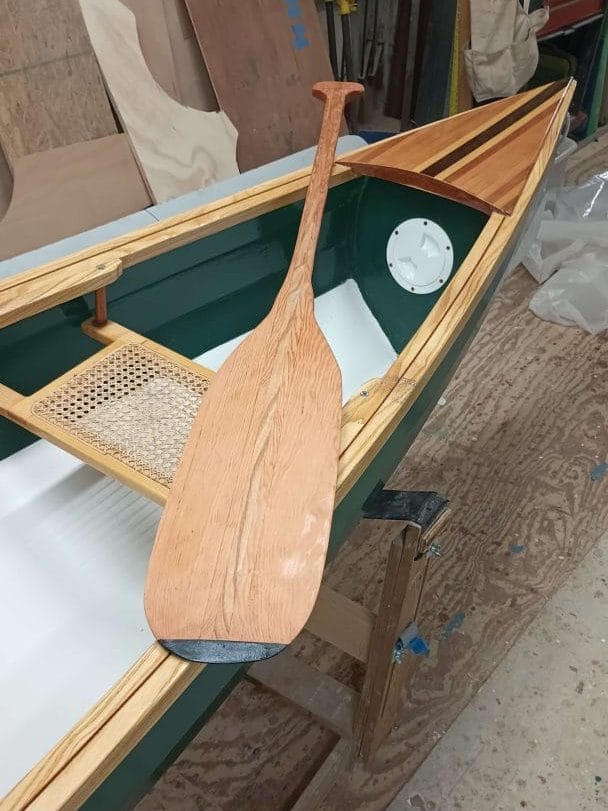
I’ve spent many years working with the local boat building program run by Saginaw Bay Community Sailing Association (SBCSA). While the class was working on completing their latest canoe build, I seized the opportunity to experiment with creating an easy-to-build yet elevated paddle to accompany the canoe when it goes to its new owners.
I wanted the build technique to be simple enough it could be reproduced by an entry-level class member, and I wanted a G/flex® reinforced tip on the paddle to prevent damage or splitting if the paddle was ever used to fend off rocks.
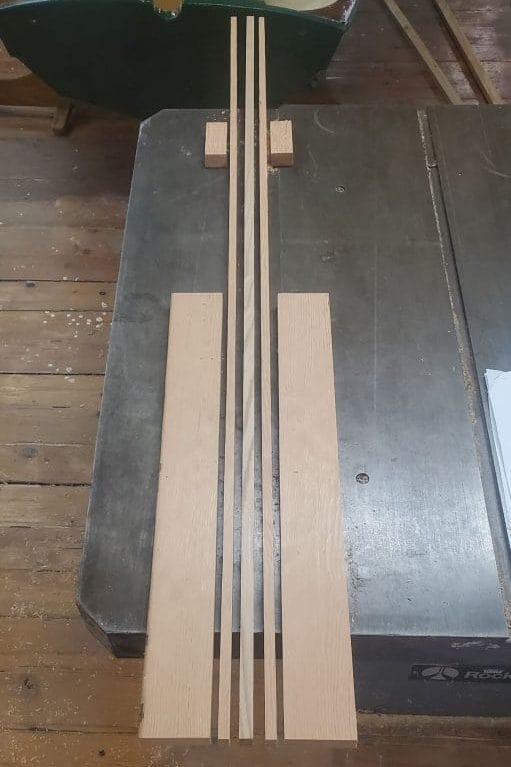
For the shaft, I began with three wood pieces, each 1/2″ x 1″ x 60″ (1.3 cm x 2.5 cm x 152.4 cm). The two outside pieces were Sitka Spruce, while the center piece was Ash. To form the blade, I cut two more pieces of Sitka Spruce, each 1″ x 3″ x 27″ (2.5 cm x 7.6 cm x 68.6 cm).
With all the pieces cut to size, I began assembly. I mixed a batch of 105 Epoxy Resin with 205 Fast Hardener and used this mixture to coat the bonding edges of all my wood pieces. While that soaked into the wood, I thickened the rest of my epoxy mixture with 403 Microfibers Filler. 403 Microfibers is easily wet out by the epoxy and does a great job filling gaps and bonding to wood.
I spread the thickened mixture on each of the bonding surfaces, aligned all the pieces, and clamped them together. One thing to note: I did not bond the grip pieces at this point. I left them off so they would not interfere while tapering the paddle blade.
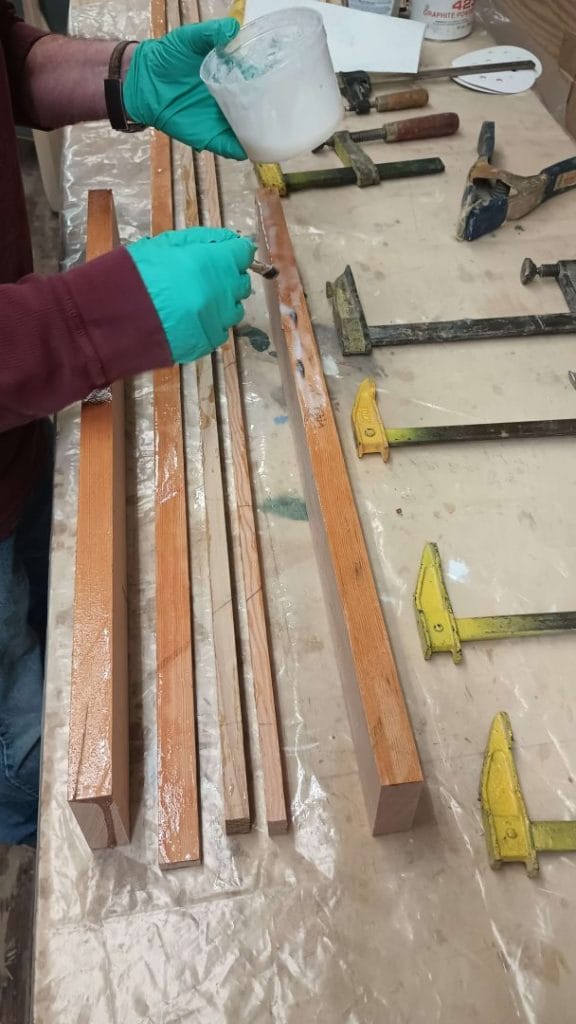
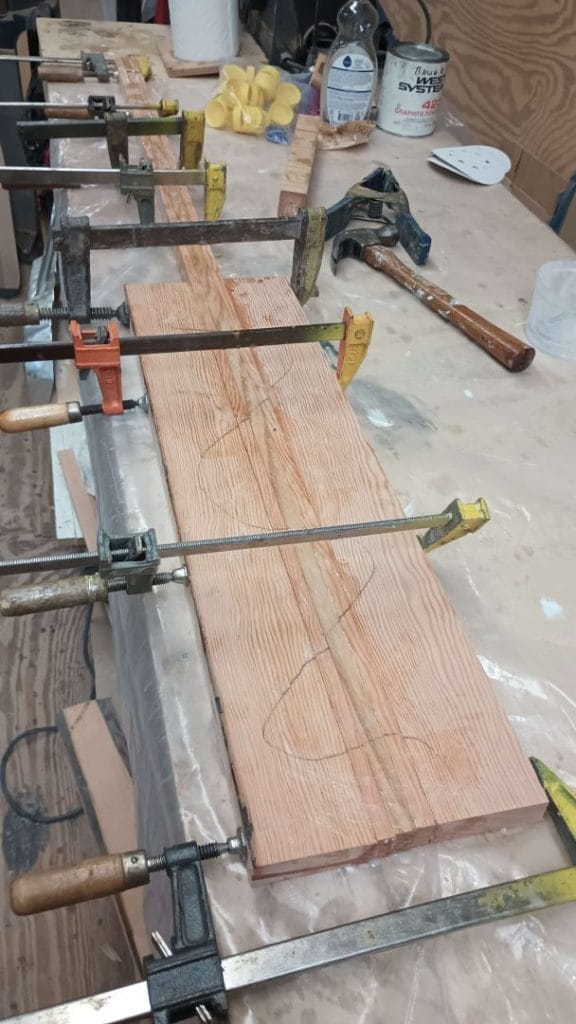
While the epoxy cured, I built a taper jig to reference for the taper on the paddle blade. The plan for the taper was to cut a series of grooves into the paddle blade to guide the shaping and keeping the finished surface symmetrical. Since I’d be cutting the grooves on the table saw, a jig would make setup quick for each pass and easy for the students in the class to repeat. Referencing my engineering drawings for the shape, I started at the outside edge of the paddle, leaving about a 1/8″ (3.2 mm) of blade thickness. Then, for every 1/2″ (1.3 cm) I moved the fence closer to the center of the blade, I dropped the blade by 1/16″ (1.6 mm).
Once the epoxy cured, I gave the blade and handle a quick sanding to remove any squeeze-out so the paddle would lay flat on the table saw. Using the jig, I set the blade and fence for the first position. I made four passes on the table saw, flipping the paddle to cut all four edges of the blade stock. I repeated the process at each fence distance and depth setting. In total, I made 24 passes to complete the taper.
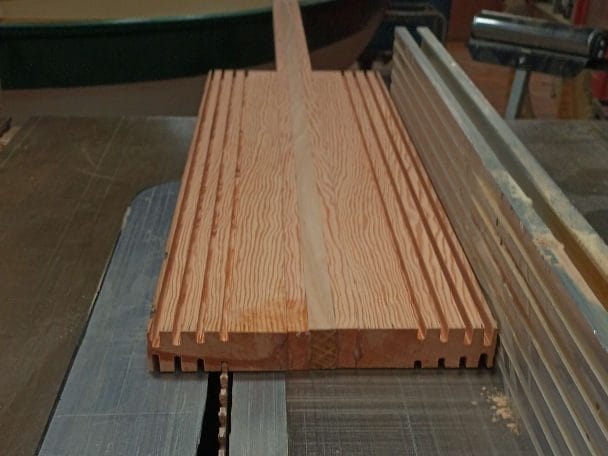
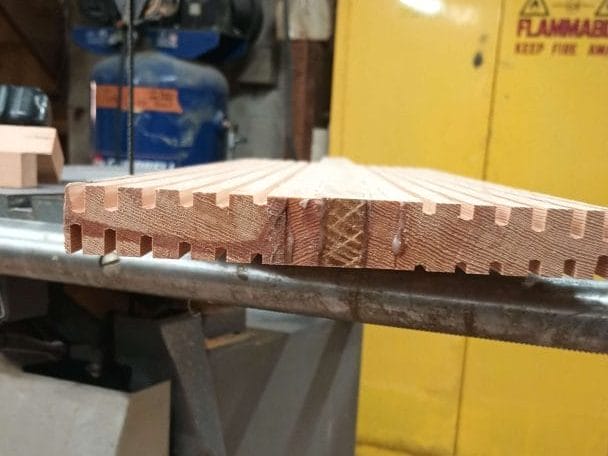
Now the extra material between each groove could be removed easily with a bench or block plane. The varying groove depths help guide the amount of waste removed to maintain a consistent profile.
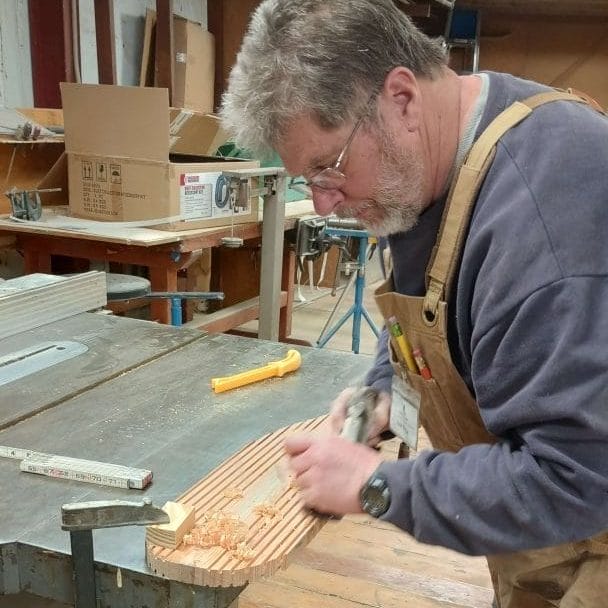
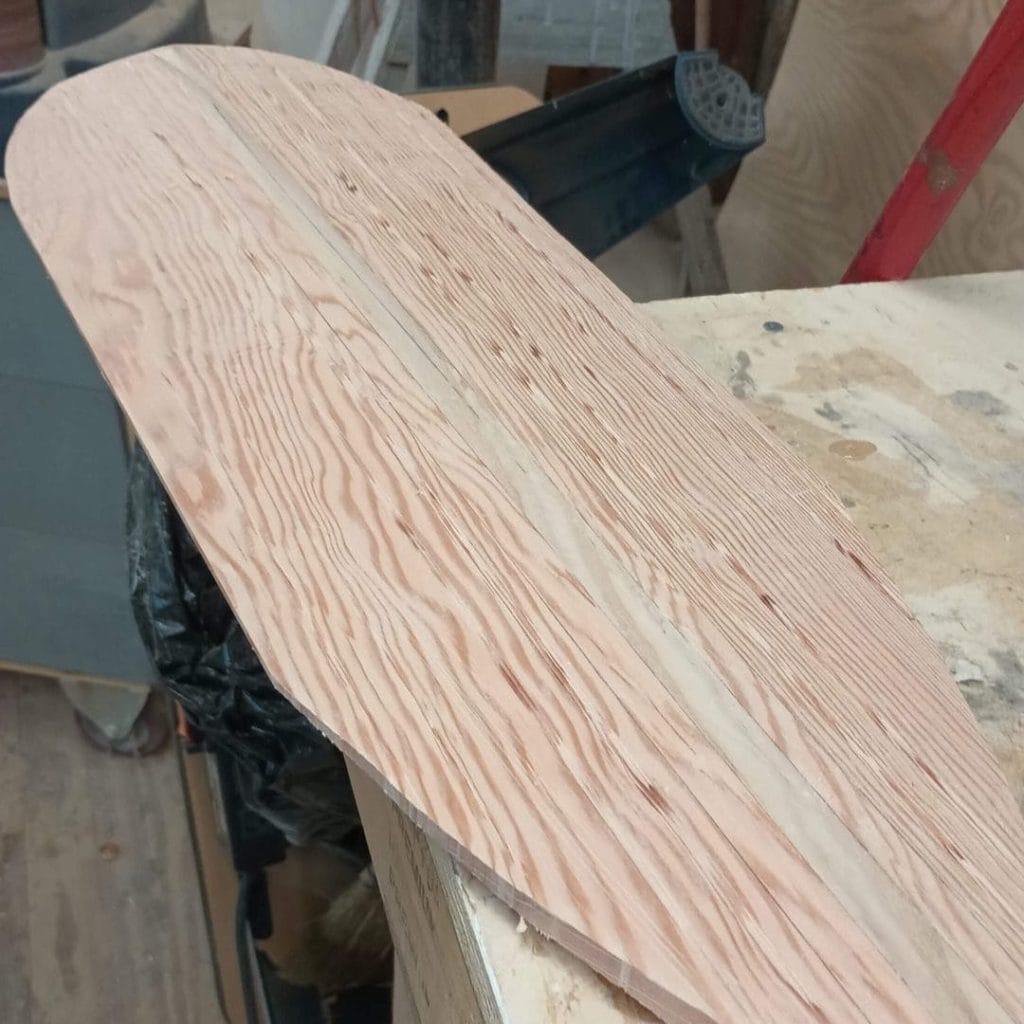
After the blade was planed to a rough shape, I bonded the extra Sitka Spruce grip blocks onto the shaft using the same epoxy process as before. I marked a rough oval shape onto the handle and removed the extra material. The contours of the grip were refined with a block plane and some sanding.
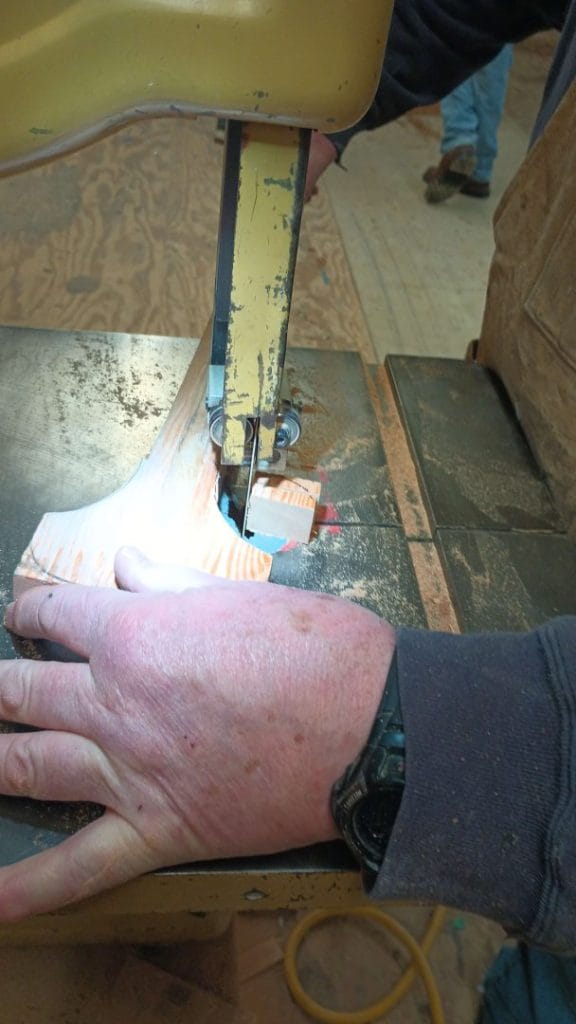
Moving to the blade end of the paddle, I cut the rounded tip, then tapered it with a hand plane. A stationary belt sander worked well to refine the shape. The surface was finished with hand sanding and a couple of coats of varnish.
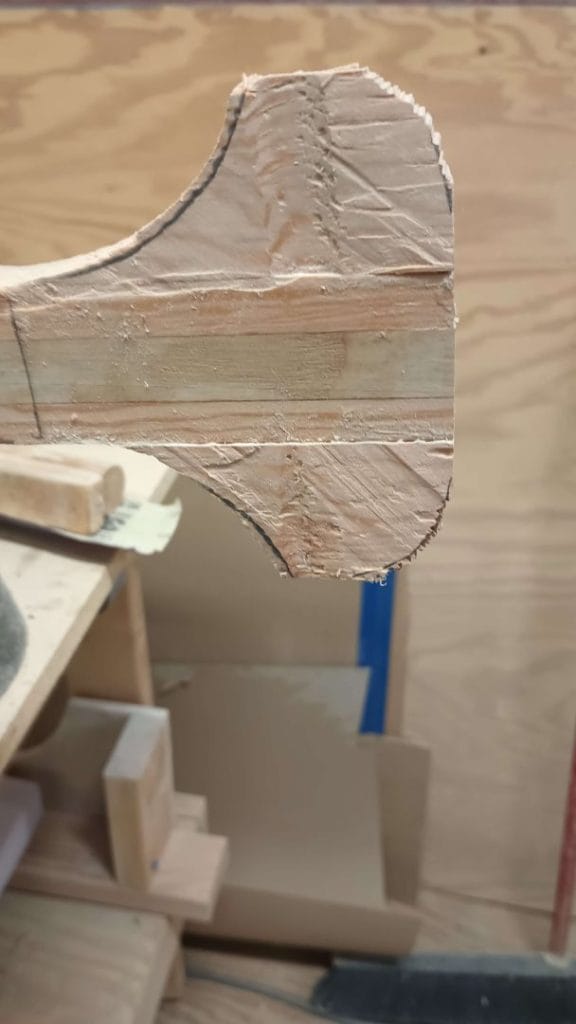
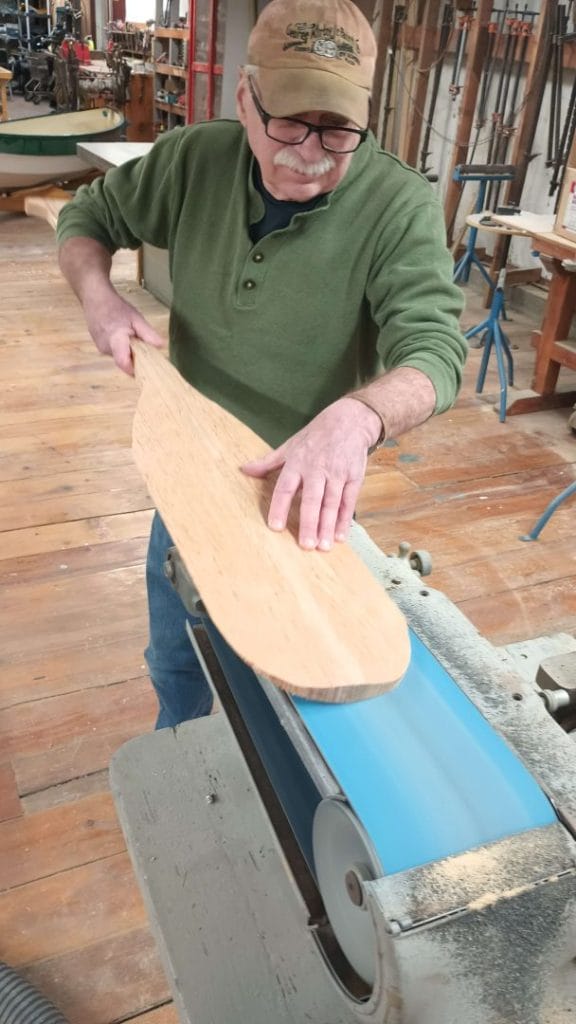
To upgrade this paddle, I wanted to add G/flex® 650 Toughened Epoxy Adhesive on the tip, to absorb shock from banging against rocks and to make the paddle more durable overall. The paddle deserved a streamlined approach that wouldn’t ruin the aesthetics or interfere with the performance of the paddle. My solution was to make a mold of the finished tip of the paddle, then use that mold to cast a new G/flex tip to replace the original. This would give the paddle a more professional, elevated look.
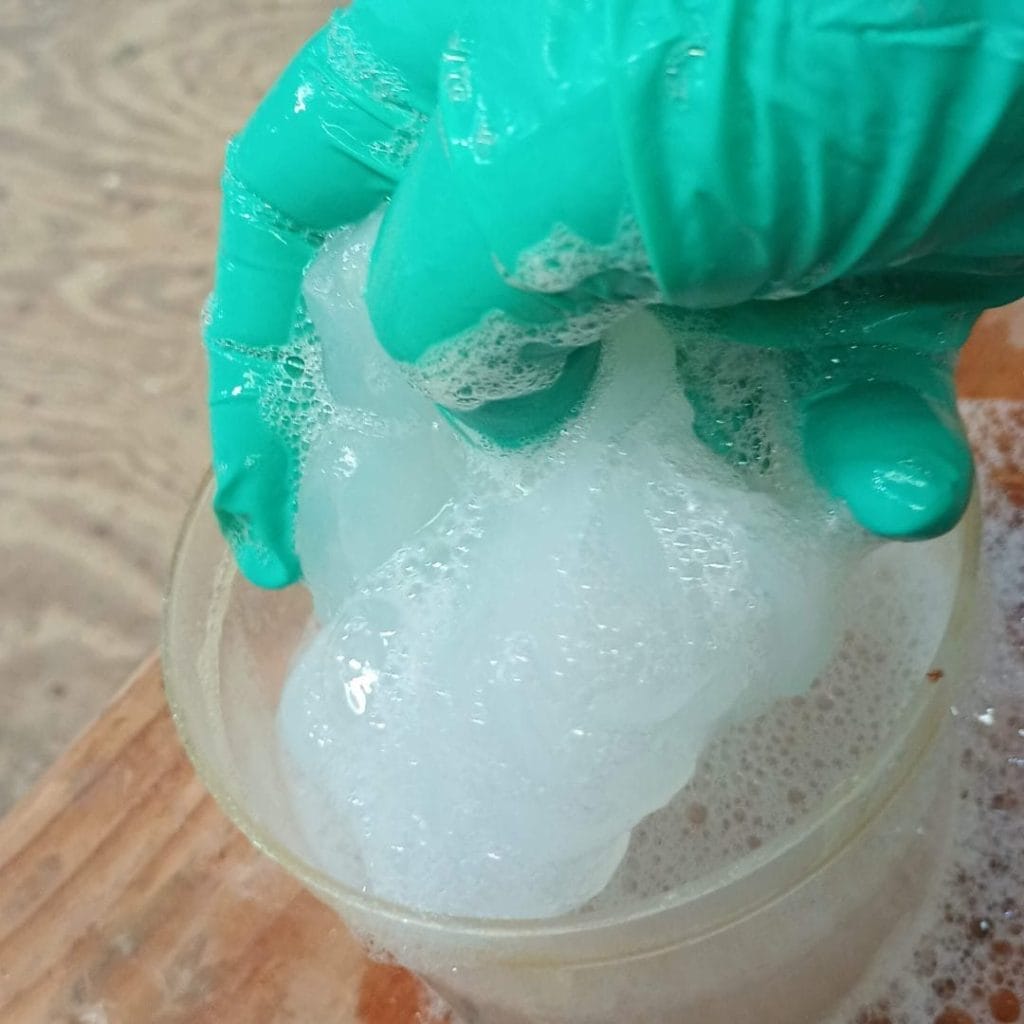
First, I applied packing tape to the tip of the paddle to act as a mold release, since epoxy won’t stick to the shiny packing tape.I made proto-putty mold of the tip of the paddle. I started with 10% dish soap containing glycerin, such as Dawn® or Ajax®, and 90% water. Then I added a good amount of GE 100% silicone caulk. Be sure the caulk is 100% silicone and not siliconized latex.
Wearing disposable gloves, I kneaded this mixture, working the water and glycerin into the caulk. A catalytic action causes the silicone to cure at a quicker rate. As the mixture is kneaded, you’ll feel it begin to harden.
Once the water, soap, and silicone were thoroughly combined, I packed the silicone over the end of the paddle. I tried to keep the height of the mold as even as I could on both sides for a level mold. Then I let it cure over night.
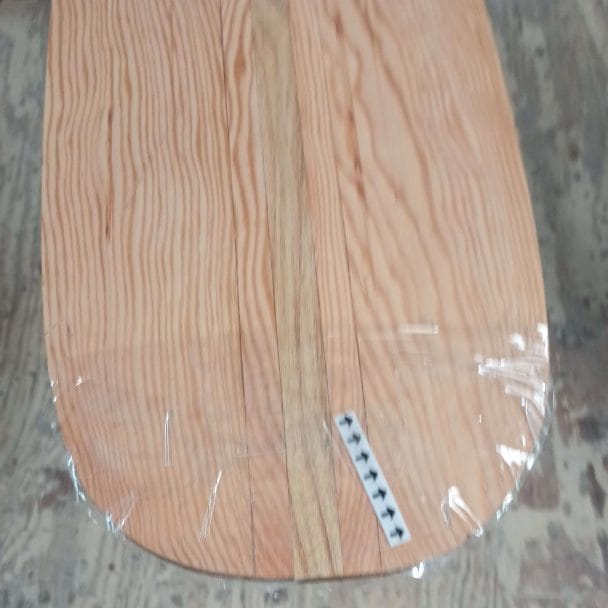
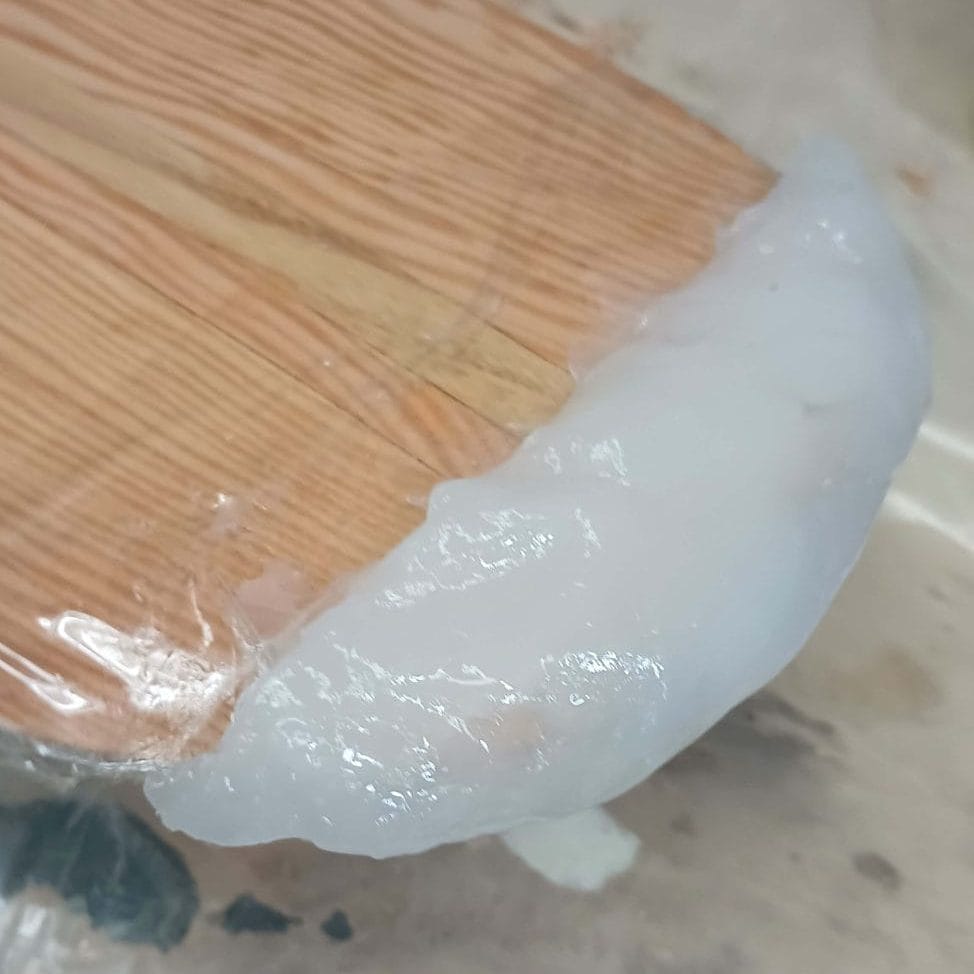
Once fully cured, I removed the silicone mold from the paddle tip and used a clamp to hold the mold level. Rather than hiding the epoxy, I wanted to accentuate it with a contrasting color. When mixing the G/flex 650 Toughened Epoxy Adhesive, I added a small amount of 423 Graphite Powder to color the epoxy black. (If I had some 502 Black Pigment on hand, that would have worked also.) Then I let the epoxy cure overnight.
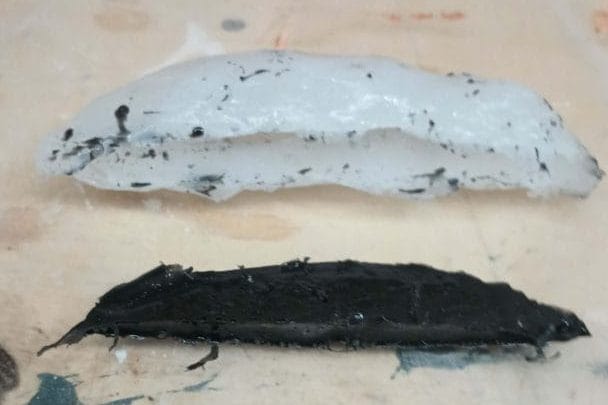
Once I removed the epoxy from the mold, I did a little fairing to clean up a few rough patches and smooth the mating surface. Using the epoxy tip as a template, I marked a cut line across the wooden tip of the paddle. With the clean bonding surfaces, I again used G/flex 650 Toughened Epoxy Adhesive to coat both bonding surfaces, then clamped the new tip onto the blade.
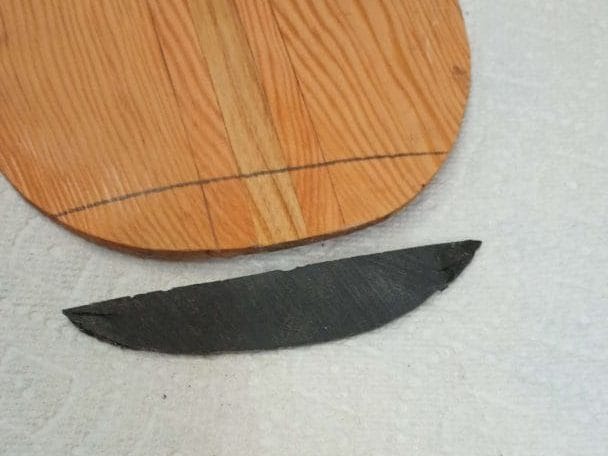
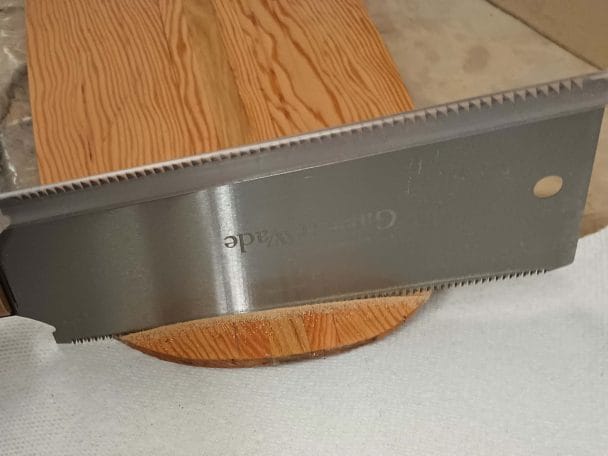
A light sanding pass quickly faired the seam, then I applied several more coats of varnish to the entire paddle blade. For the handle of the paddle I opted for three coats of Tung Oil instead of varnish. Oiling the handle is supposed to help reduce the chances of getting blisters on your hands.
The finished paddle weighs 2.5 lbs (1.1 kg) and is very well balanced, which should make for easy paddling. With my proof of concept complete, the SBCSA boat building class was able to build a duplicate of the paddle to send along with the canoe to its new owner. Mission accomplished.


 Listen Now
 Add to Playlist