Repair Projects with Wood Rot Repair Epoxy
Spring, 2026

GET STARTED
FREE PRINT & DIGITAL EDITIONS
Spring, 2026
Anyone who’s spent time working on boats knows that wood rot is one of the most common and frustrating problems. Even quality-built wood and fiberglass boats can develop areas of weakened wood after years of weathering and repeated wet-dry cycles. Cutting out and replacing large sections of wood is a very effective method, but it can be difficult and labor-intensive.
To save time and money, I began using the WEST SYSTEM® Wood Rot Repair Kit for some of these applications. The low viscosity gives the epoxy the ability to penetrate deeply into deteriorated wood, simultaneously hardening the wood from within and sealing it against future moisture. This allows me to stabilize weakened areas without removing unnecessary material.
Recently, I had a couple of repairs on an older wooden boat that were ideally suited for the WEST SYSTEM Wood Rot Repair Kit. They showcase how easy it is to use for an effective repair. As with any successful repair, the first step is always investigating the extent of the damage, followed by proper surface preparation.
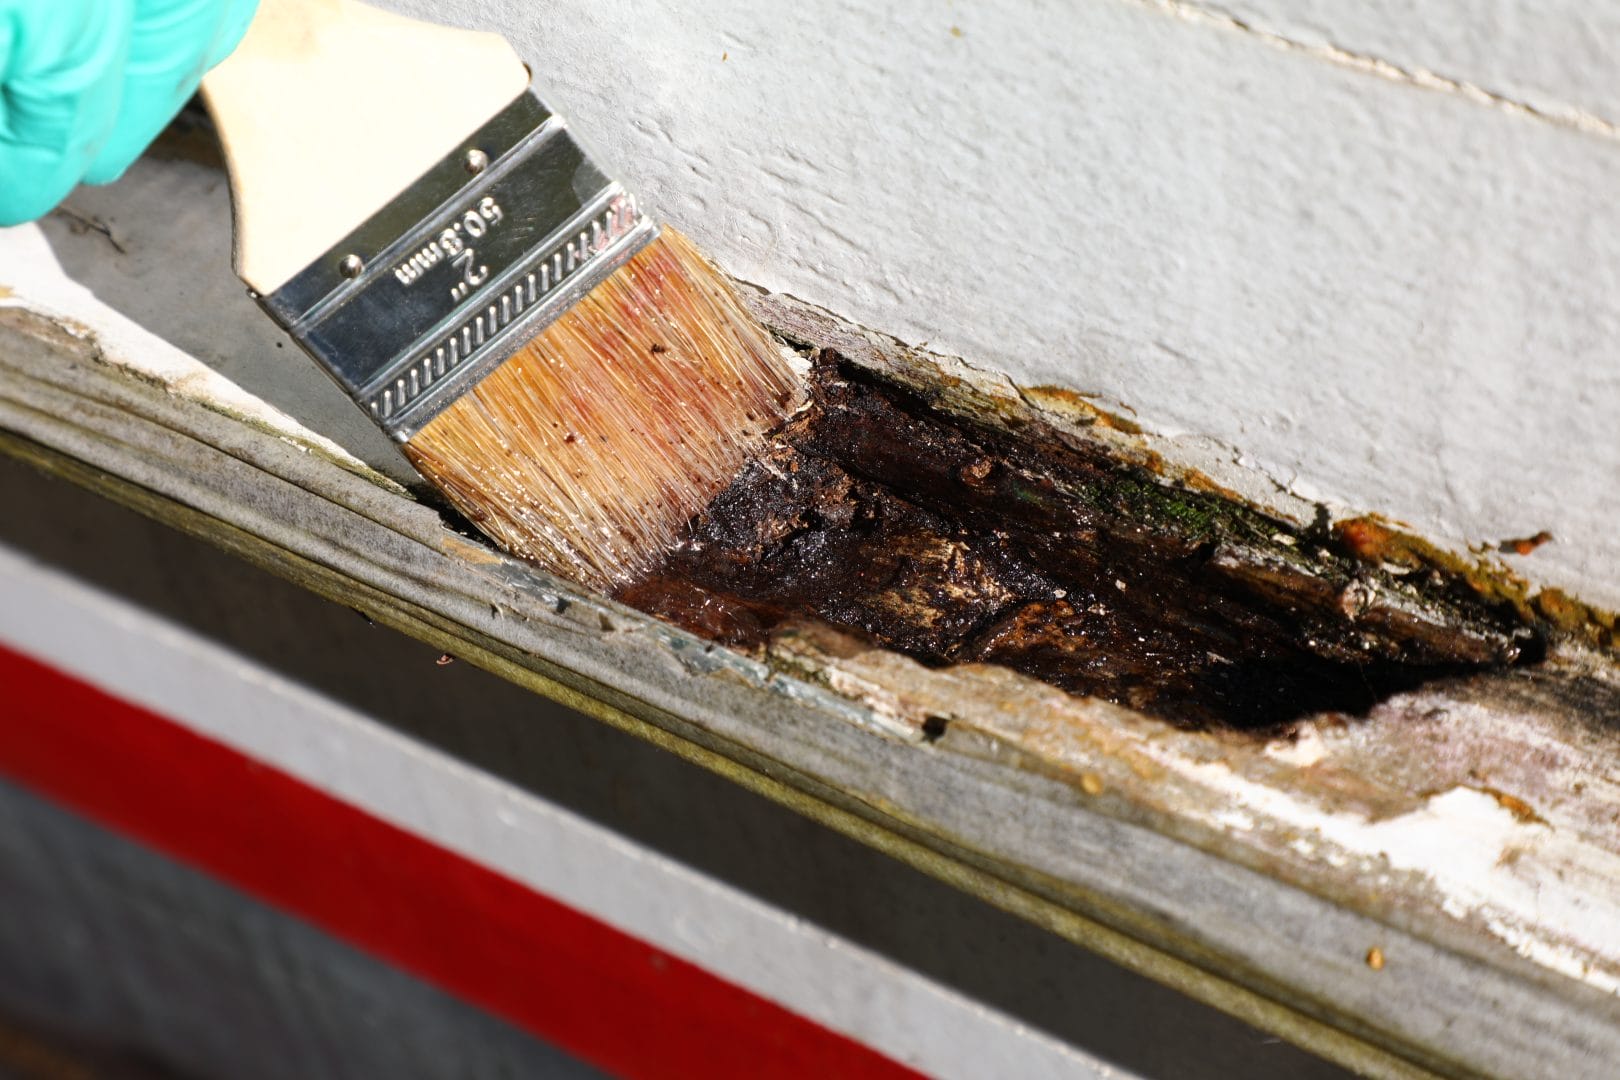
The spray rail had a 6″ long section that had mostly rotted away. I found it helpful to use a chisel and wire brush to remove the loose, deteriorated wood and expose the solid wood beneath. To dry the area completely, I used a heat gun. During this time, I kept the heat gun moving so as not to burn the wood.
To rebuild the missing section of the spray rail, it would require a large volume of epoxy. The epoxy would not be able to support itself while it cured, so I needed to make a mold roughly the shape of the spray rail. On a scrap of plywood, I applied a few strips of clear cellophane packing tape. The plywood would be stiff enough to hold the epoxy in place, while the tape would act as a mold release for easy removal once cured. I attached my temporary mold to the boat with duct tape, ensuring the gap at the bottom was sealed with tape to prevent epoxy from running out.
With the area prepped, I was ready to mix epoxy. The mix ratio for the Wood Rot Repair Epoxy is two parts resin to one part hardener by volume. I used the WEST SYSTEM 806 Reusable Mixing Pots that have graduations on the side to meter the correct ratio. Using a bristle brush, I applied a generous coat of epoxy to the surface and allowed that to soak in. After about 15 minutes, I recoated to ensure the wood was completely saturated with epoxy, and then allowed more time for that to soak in.

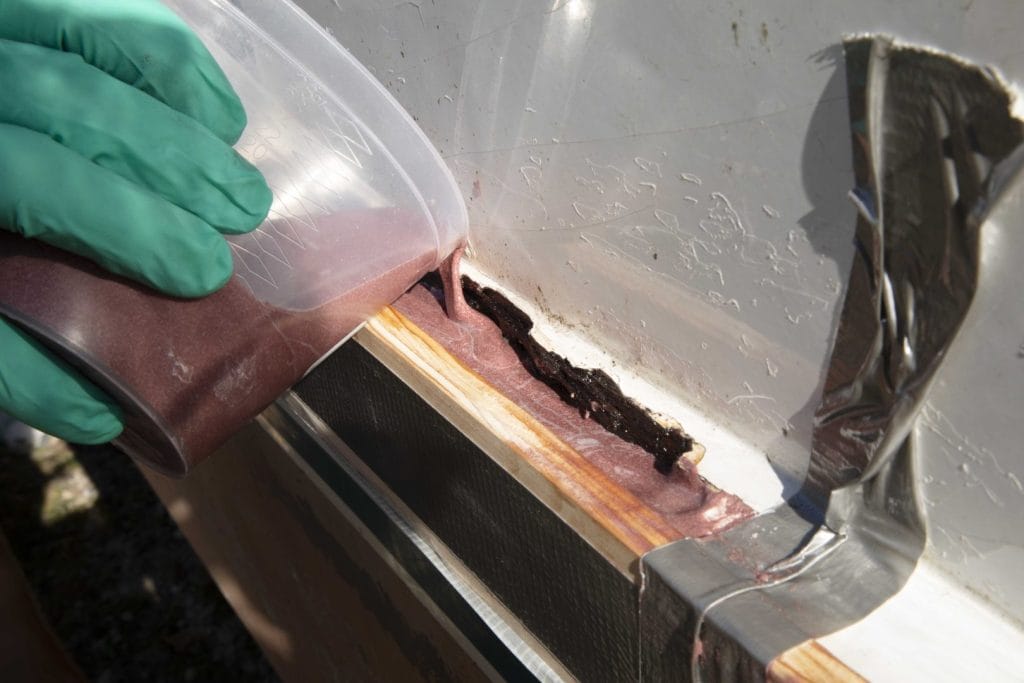
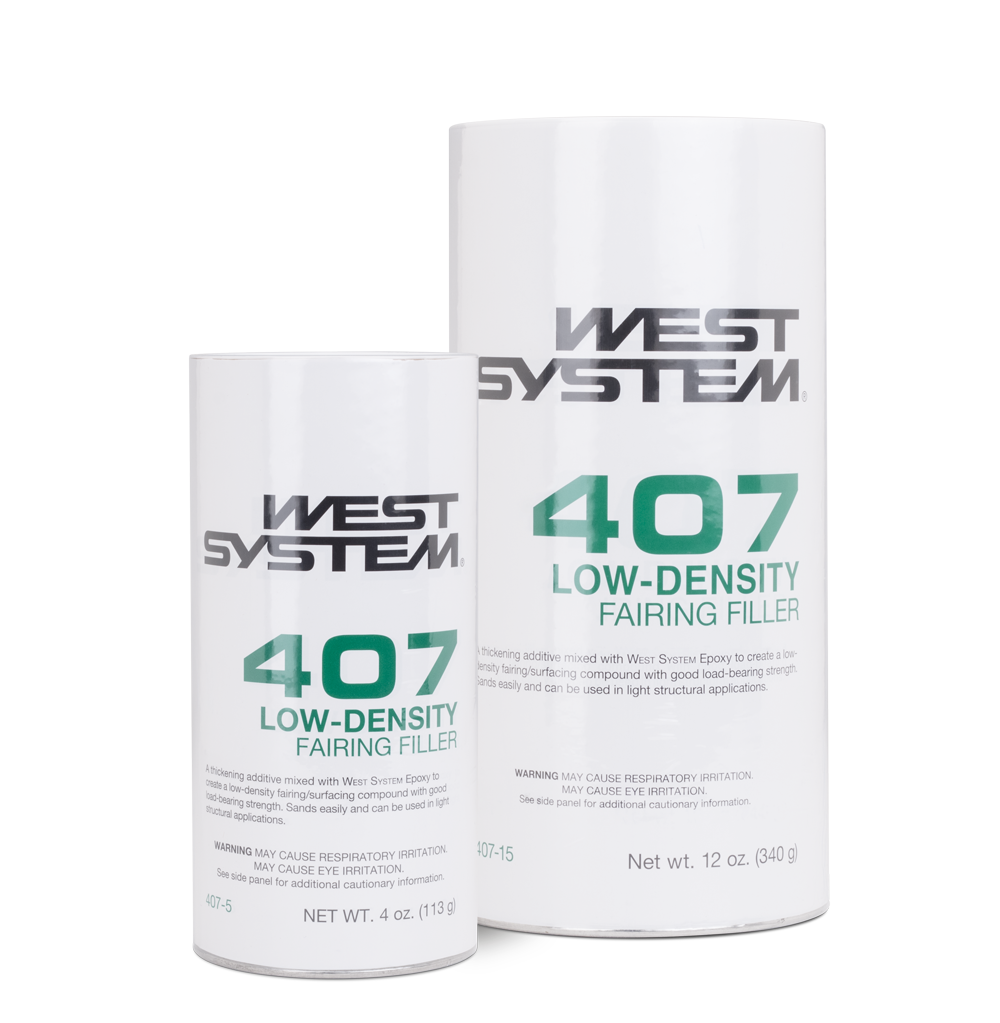
With the rot consolidated, it was now time to rebuild the missing section of spray rail. Mixing a new batch of Wood Rot Repair Epoxy, I added 407 Low-Density Filler to the epoxy to help increase viscosity. I thickened the epoxy enough so that it would have some body to it, while still being thin enough to flow into the contours of the damage.
To avoid the epoxy generating too much heat while curing, I poured the epoxy in two batches. The first pour was about ½” deep. I waited until the surface of the epoxy gelled to the hardness of a soft rubber, then finished filling the mold.
After curing for a full day, the temporary plywood mold could be removed. The top of the new epoxy spray rail was exposed to air during the cure process, so there was potential that amine blush formed on that exposed surface. (The epoxy against the mold surfaces was not exposed to air, which prevents amine blush from forming in those areas. Amine blush is water-soluble—therefore, it is easily removed with water and a 3M® Scotch-Brite™ General Purpose Pad 7447. I used paper towels to dry the surface, and then I sanded the repair to match the profile of the surrounding spray rail with 80-grit aluminum oxide sandpaper. Then it was ready to be painted to match the surrounding hull.
The cabin had been built with custom windows that had a metal frame. Years of water sitting on the lip of the frame allowed the moisture to soak into the planking end grain. The plank had begun rotting away, allowing water into the cabin. The water needed to be stopped, but replacing the rotted plank would be no easy feat. Filling the area with thickened Wood Rot Repair Epoxy was a great solution to fill the void and prevent further moisture intrusion.
A small chisel worked well to dig out decayed wood until reaching sound wood again. The heat gun was useful for drying the area completely. I applied clear cellophane tape to the aluminum window frame to prevent the epoxy from bonding to the metal. I mixed a batch of Wood Rot Repair Epoxy and brushed it onto the surface, ensuring I coated all the exposed wood. After 30 minutes, I applied another coat of epoxy, allowing it to penetrate as much as possible for the best adhesion.
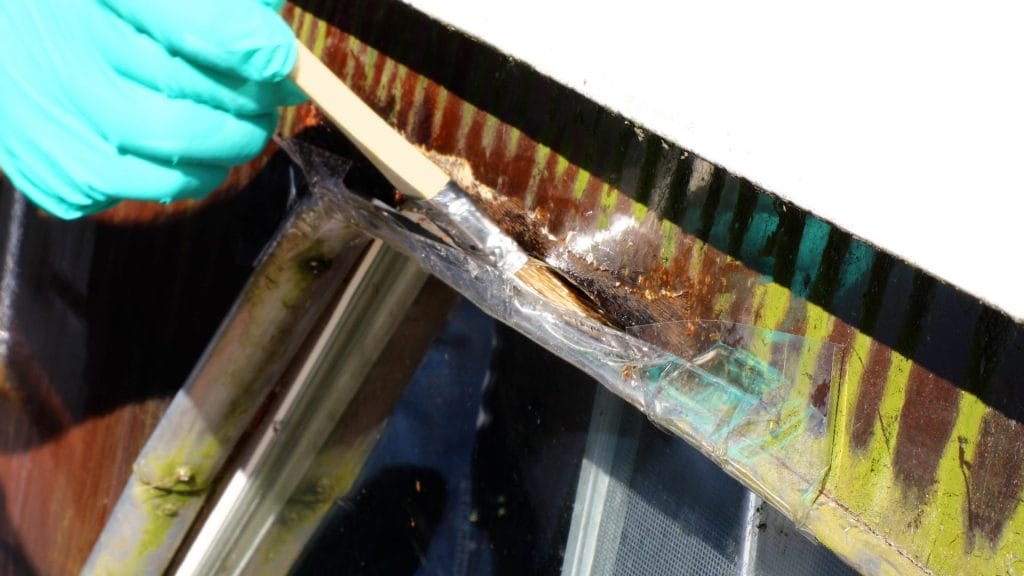
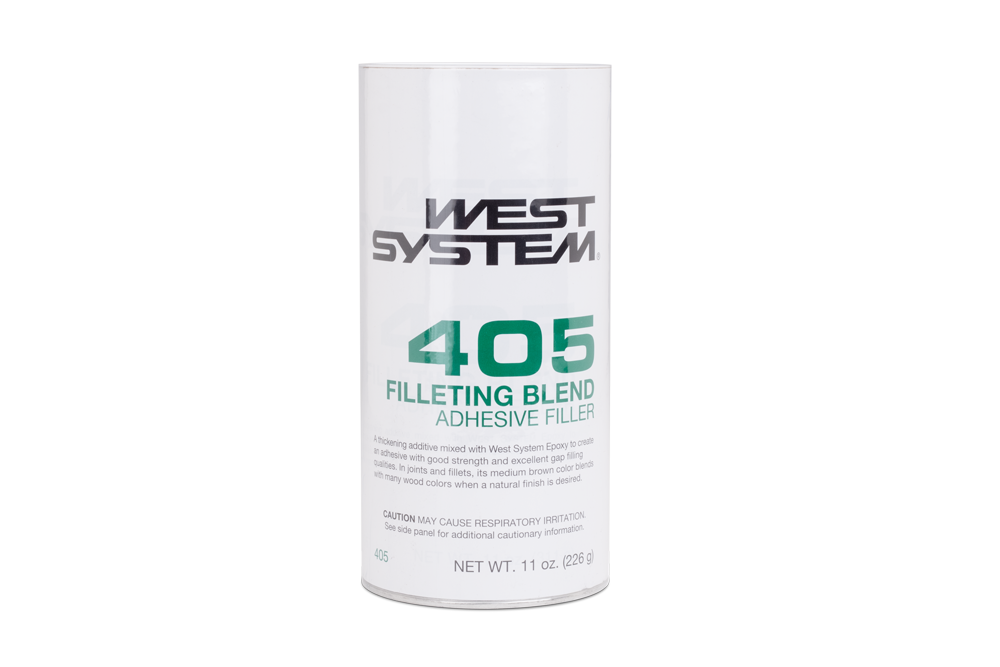
Then it was time to fill the void. The area around the repair was clear-finished mahogany, so I decided to thicken my epoxy mixture using the 405 Filleting Blend Filler. This filler was specifically formulated to be wood-toned for creating fillets on clear finished boats. I added enough filler to make it non-sag and then loaded it into a WEST SYSTEM 807 Syringe. The syringe allowed me to inject it into the tight, hard-to-reach areas to prevent trapping large pockets of air. For the finishing touch, I used our 804 Reusable Mixing Stick to smooth the surface, leaving it slightly proud.
From here, I took the same steps as with my previous repair. I started by removing the amine blush with water and a Scotch-Brite pad, dried with paper towels, then sanded the surface fair with the surrounding area. All that was left was to apply a UV-stable top coat.
Both the spray rail and the window resulted in a solid repair that blended in nicely with the surrounding wood. This saved hours, maybe even days, of time compared to cutting everything out and starting over. Once the final UV-stable top coats are applied, the repairs are complete. Overall, the WEST SYSTEM Wood Rot Repair Kit made it easy to rebuild the damaged wood and protect the areas from further water damage.
Read more articles like this one! Check out our “BOAT REPAIR” category.