Saving an RV Shower with G/flex
November 14,
2026

GET STARTED
FREE PRINT & DIGITAL EDITIONS
November 14,
2026
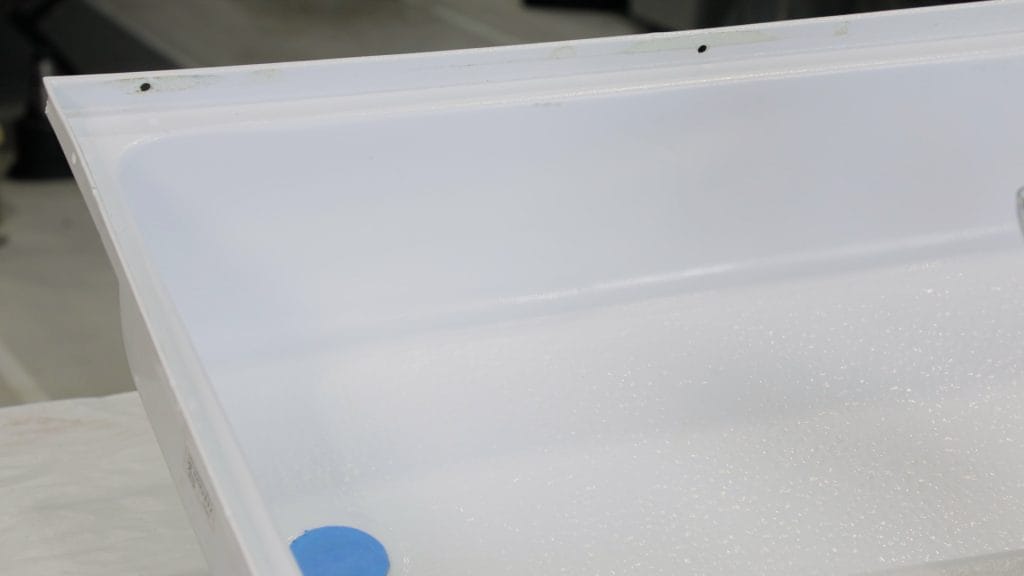
The technical department has been diligently working on an RV video series repairing a 28′ Shadow Cruiser travel trailer, with one repair focused on fixing a crack in the shower pan. Bonding to plastics can sometimes be a bit challenging, but with the right analysis, surface preparation, and repair techniques, we were able to achieve a successful repair using G/flex® Toughened Epoxy Adhesive.
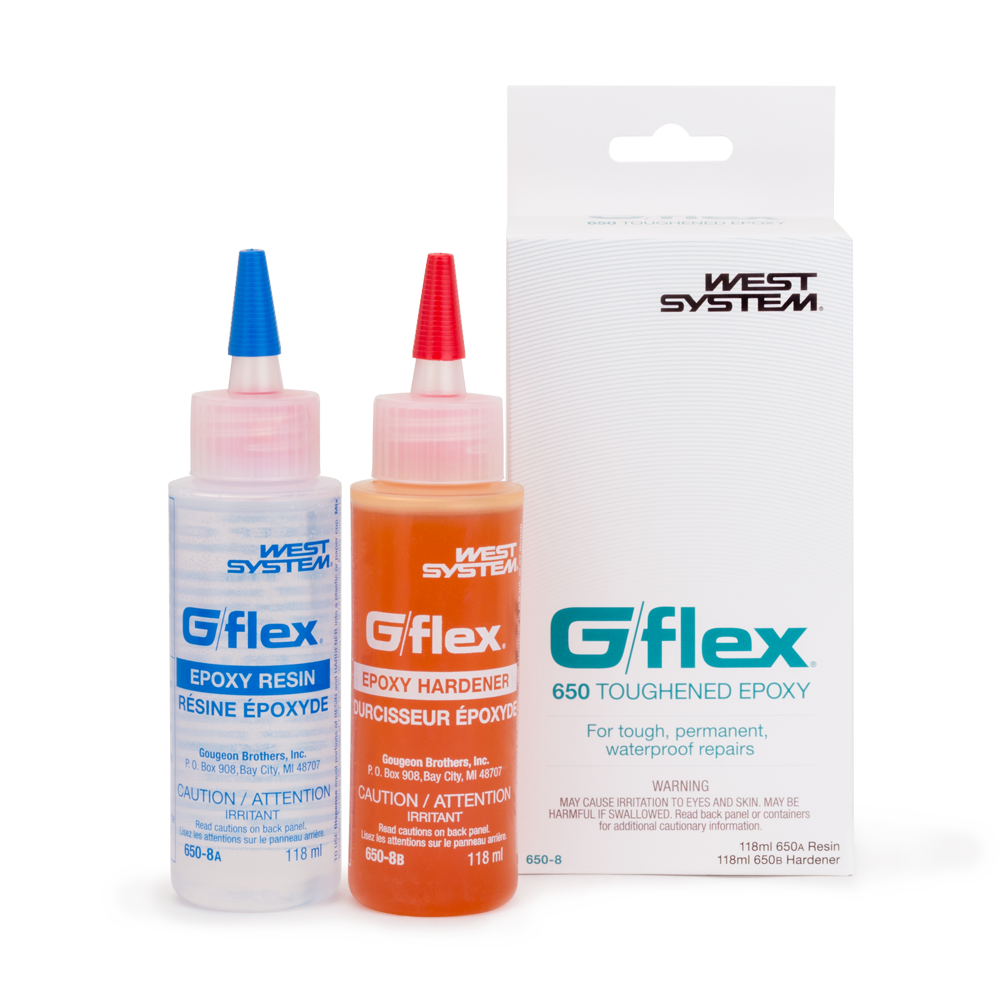
The first step of any good repair is understanding the extent of the damage and the materials you’re trying to repair. A little research on the internet showed the shower pan was most likely made of ABS plastic. I selected WEST SYSTEM® G/flex 650 Toughened Epoxy Adhesive for my repair because it bonds well to many plastics, including ABS. Had the shower pan been made of fiberglass, like many household bathtubs and shower pans, the 105 System would have worked well as a repair option also.
The shower pan was cracked where the floor transitioned into the side wall. Many times, cracks located in this area of a shower pan or bathtub are due to poor support under the floor. When it is not properly supported, the weight of people standing on the floor causes the corner to flex more than it was designed to withstand. Since I only want to do this repair once, I will make sure to add the proper support.
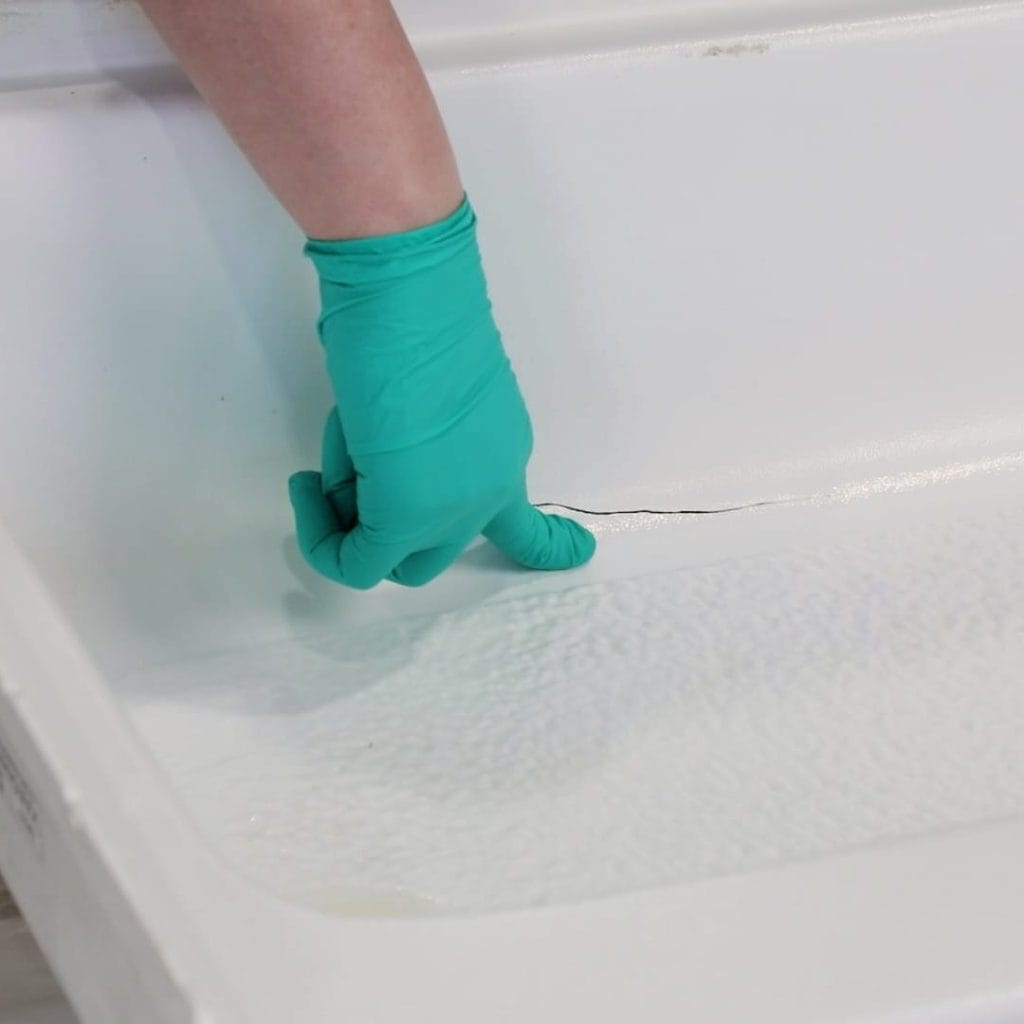
Note: As part of the video series, we repaired extensive rot damage in the floor which required pulling the shower pan. With the pan already out, most people would simply swap it with a new one before reinstalling. However, I’m demonstrating this repair as if the pan were still in place for anyone hoping to avoid replacing the pan. If you have access to the backside, it’s the same process but less finish work is required because you won’t see most of the repair.
The first step to a strong bond is removing surface contamination. I started by scrubbing with soap and water to remove soap scum, dirt, and other surface grime. Then I used plain white paper towels and isopropyl alcohol to remove any remaining contaminants. I wet one paper towel with isopropyl alcohol, wiped the surface, then immediately followed with a dry paper towel. The isopropyl loosens the contaminants, but the dry paper towel is what lifts them off the surface.
Once the surface was clean, I taped off the perimeter of the repair area. This protects the shower pan from sanding scratches beyond the repair area. At each end of the crack, I drilled small holes to prevent further crack propagation.
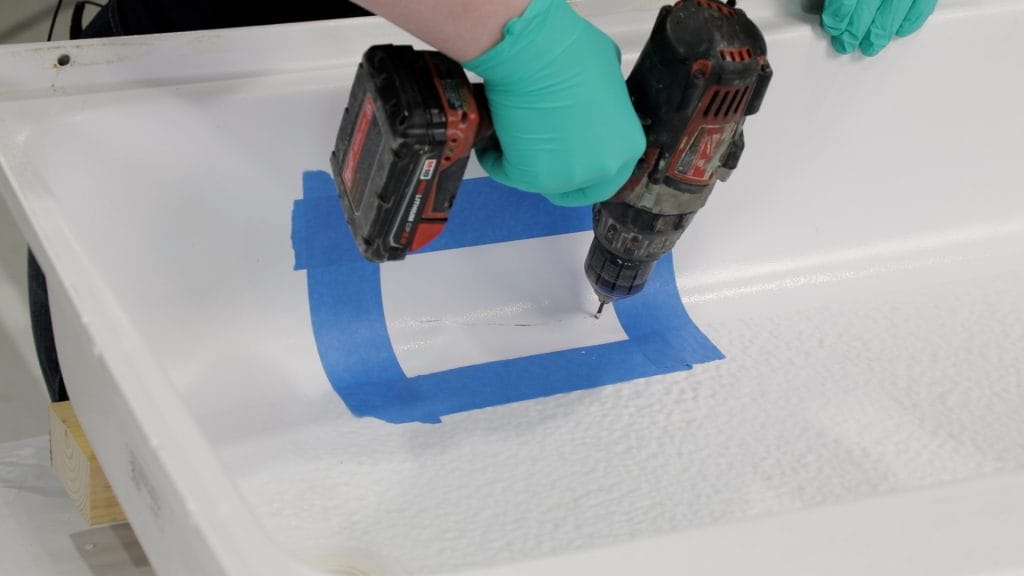
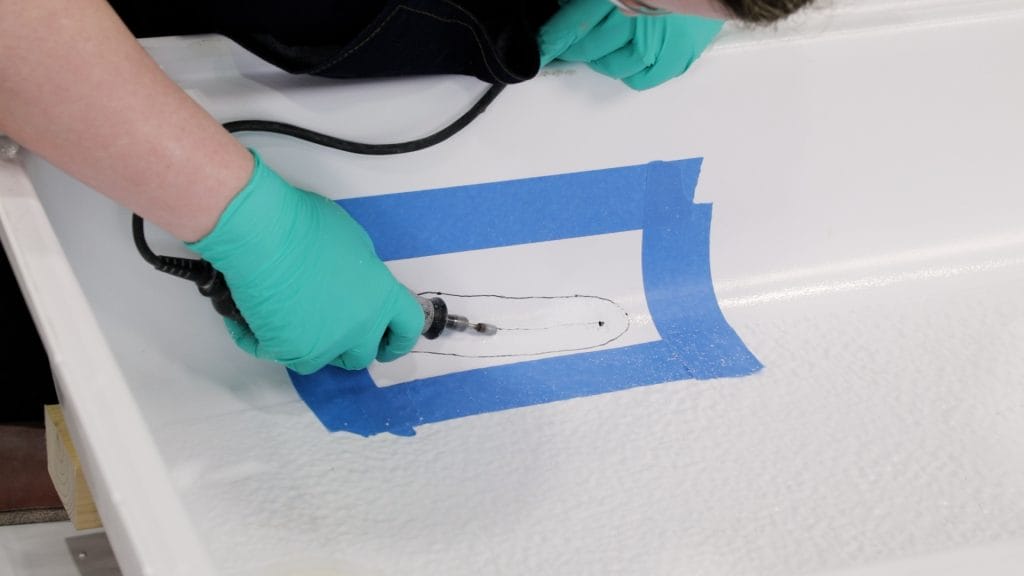
If you need to provide additional support for a shower pan or tub that is still installed, these small holes at each end of the crack provide a good inlet for injecting high-density expanding spray foam. Allow the foam to fully react before cleaning up the excess and continuing with tapering the repair area.
When working with plastics especially, you need to grind a taper around the damaged area to ensure a large enough bonding surface area and to avoid creating a hard spot. A 12:1 taper (distance:thickness) works well for most repairs. Using calipers, I measured the shower pan thickness at about 0.046″ (1.16 mm). Multiplying that by 12 gives 0.55″ (or about 17/32″) as the recommended minimum taper distance. For simplicity’s sake, and since the material is so thin, I increased this distance to a round ¾” (19.1 mm). (It’s okay to increase the taper distance, but you don’t want to decrease it.)
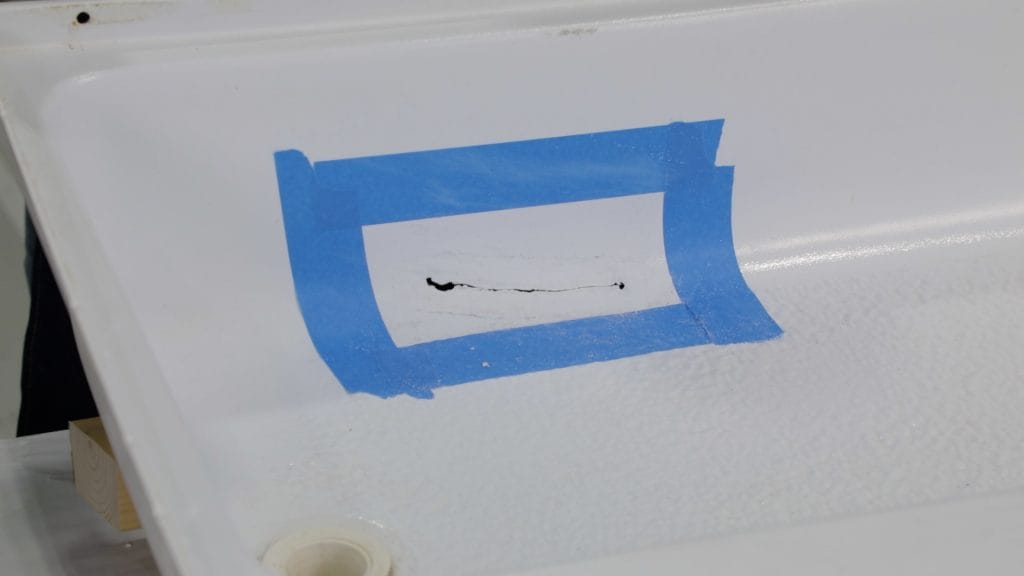
Once I had drawn a ¾” (19.1 mm) perimeter around the crack, I started sanding. I used an abrasive pad on a pneumatic sander to grind the bulk of the bevel. Then I switched to a sanding block to finish. The flat block helped ensure a flat, even taper, and the slower hand sanding left enough tooth on the plastic for the epoxy to bond mechanically.
G/flex 650 Toughened Epoxy Adhesive adheres to most plastics, making it the ideal epoxy selection for this project. For reinforcing fabrics, I chose WEST SYSTEM 745 Fiberglass Fabric. At 10 oz/yd2, I would only need three layers to restore the original laminate thickness. Our average ply thickness table, found in the Reinforcing Materials section of our User Manual & Product Guide, is a great way to calculate the number of layers needed for any WEST SYSTEM fiberglass.
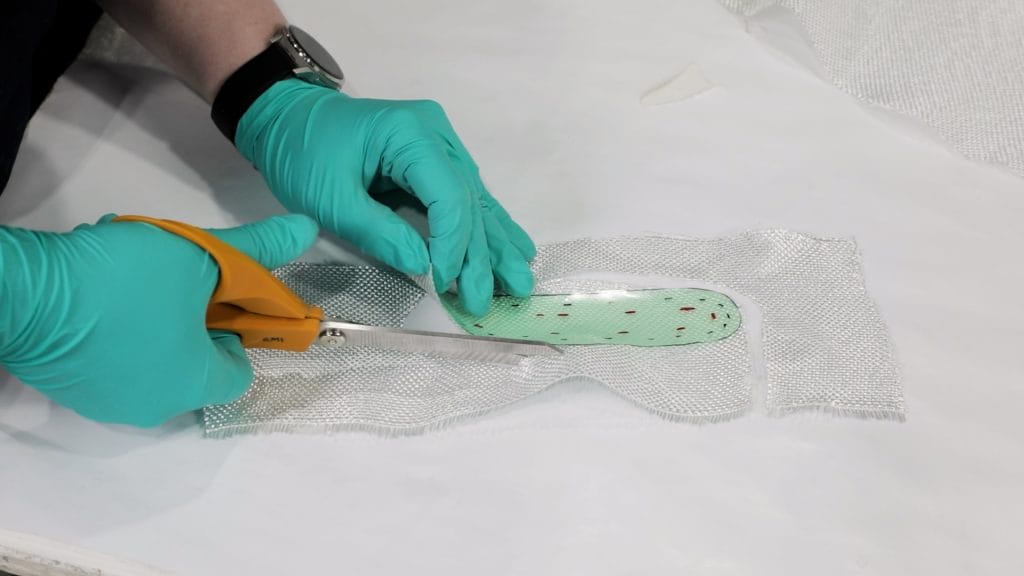
I traced the repair area and broke it down into three fiberglass layers. The biggest piece would cover the entire repair area, then each successive piece was cut ¼” (6.35 mm) smaller in every direction.
The final preparation step was to flame-treat the surface. You can do this by sweeping a propane torch over the repair, with the blue tip of the flame just touching the surface. Flame treating oxidizes the surface to improve the epoxy’s adhesion to plastic. The oxidation only lasts about 30 minutes, so you’ll want to do this just before applying the epoxy.
G/Flex 650 Toughened Epoxy Adhesive should be mixed at 1.2:1 by weight (1:1 by volume). I applied a thin coat of mixed epoxy to the sanded repair area to ensure the fiberglass made consistent contact with the surface. Then, I thoroughly wet out the largest piece of fiberglass on a sheet of plastic on the workbench with a plastic spreader. I transferred this piece to the repair area and repeated the process with sequentially smaller pieces of wet-out fiberglass. I centered each layer as best I could and compressed them with my spreader to remove excess epoxy.
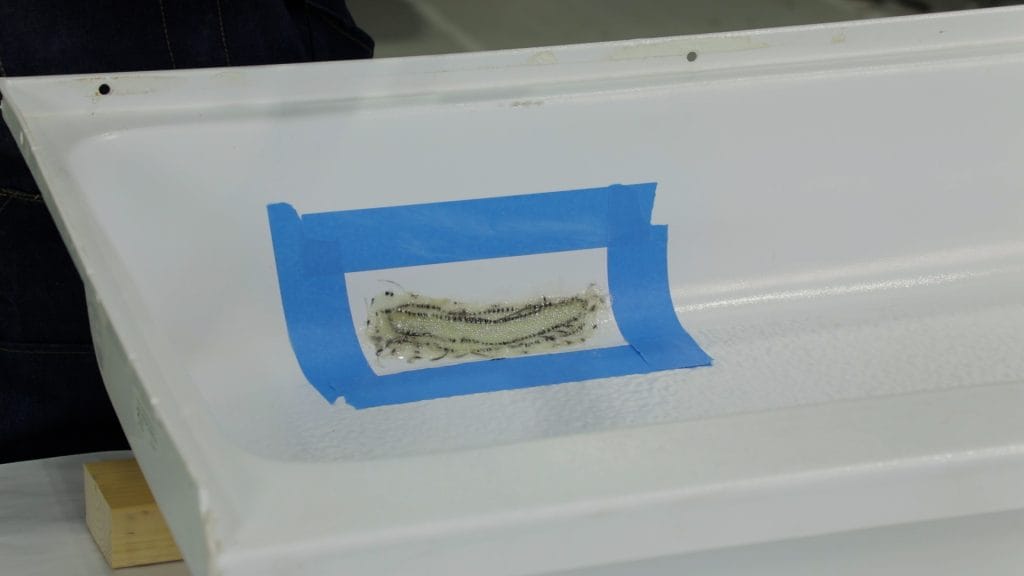
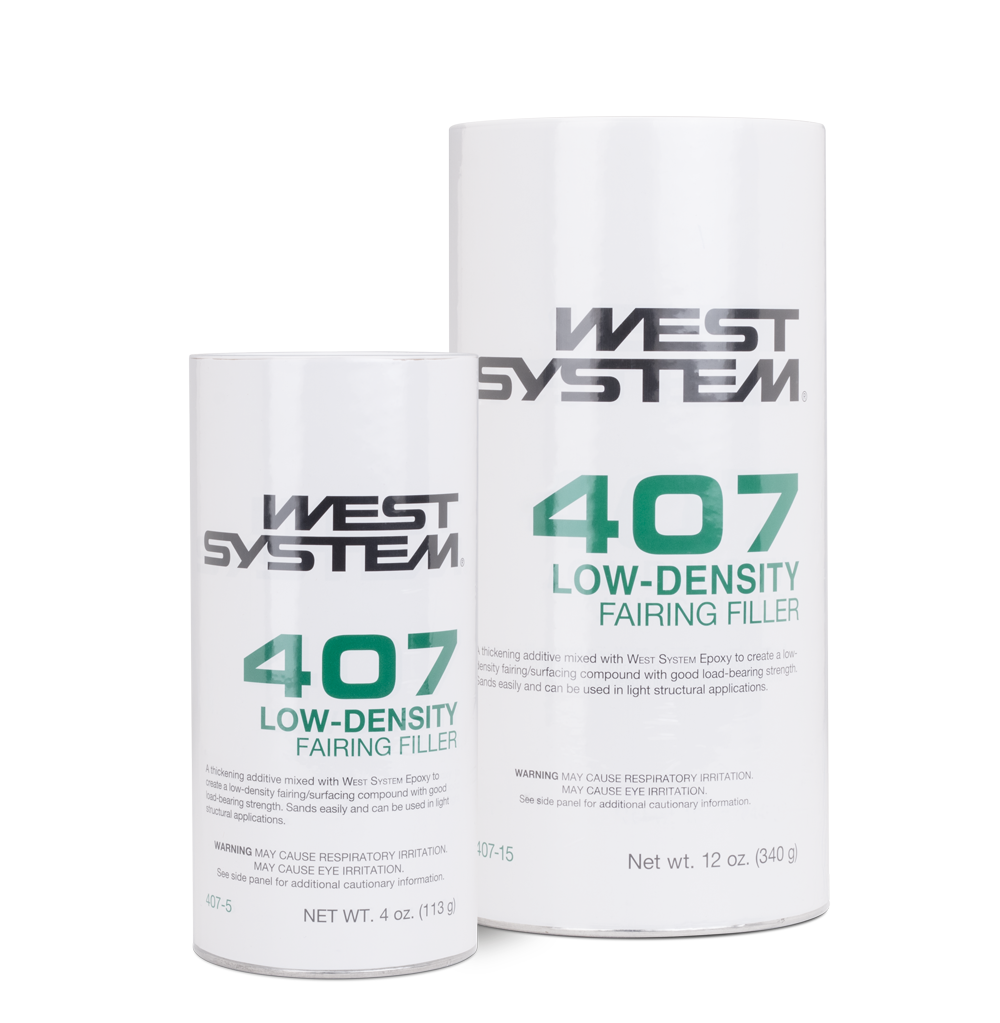
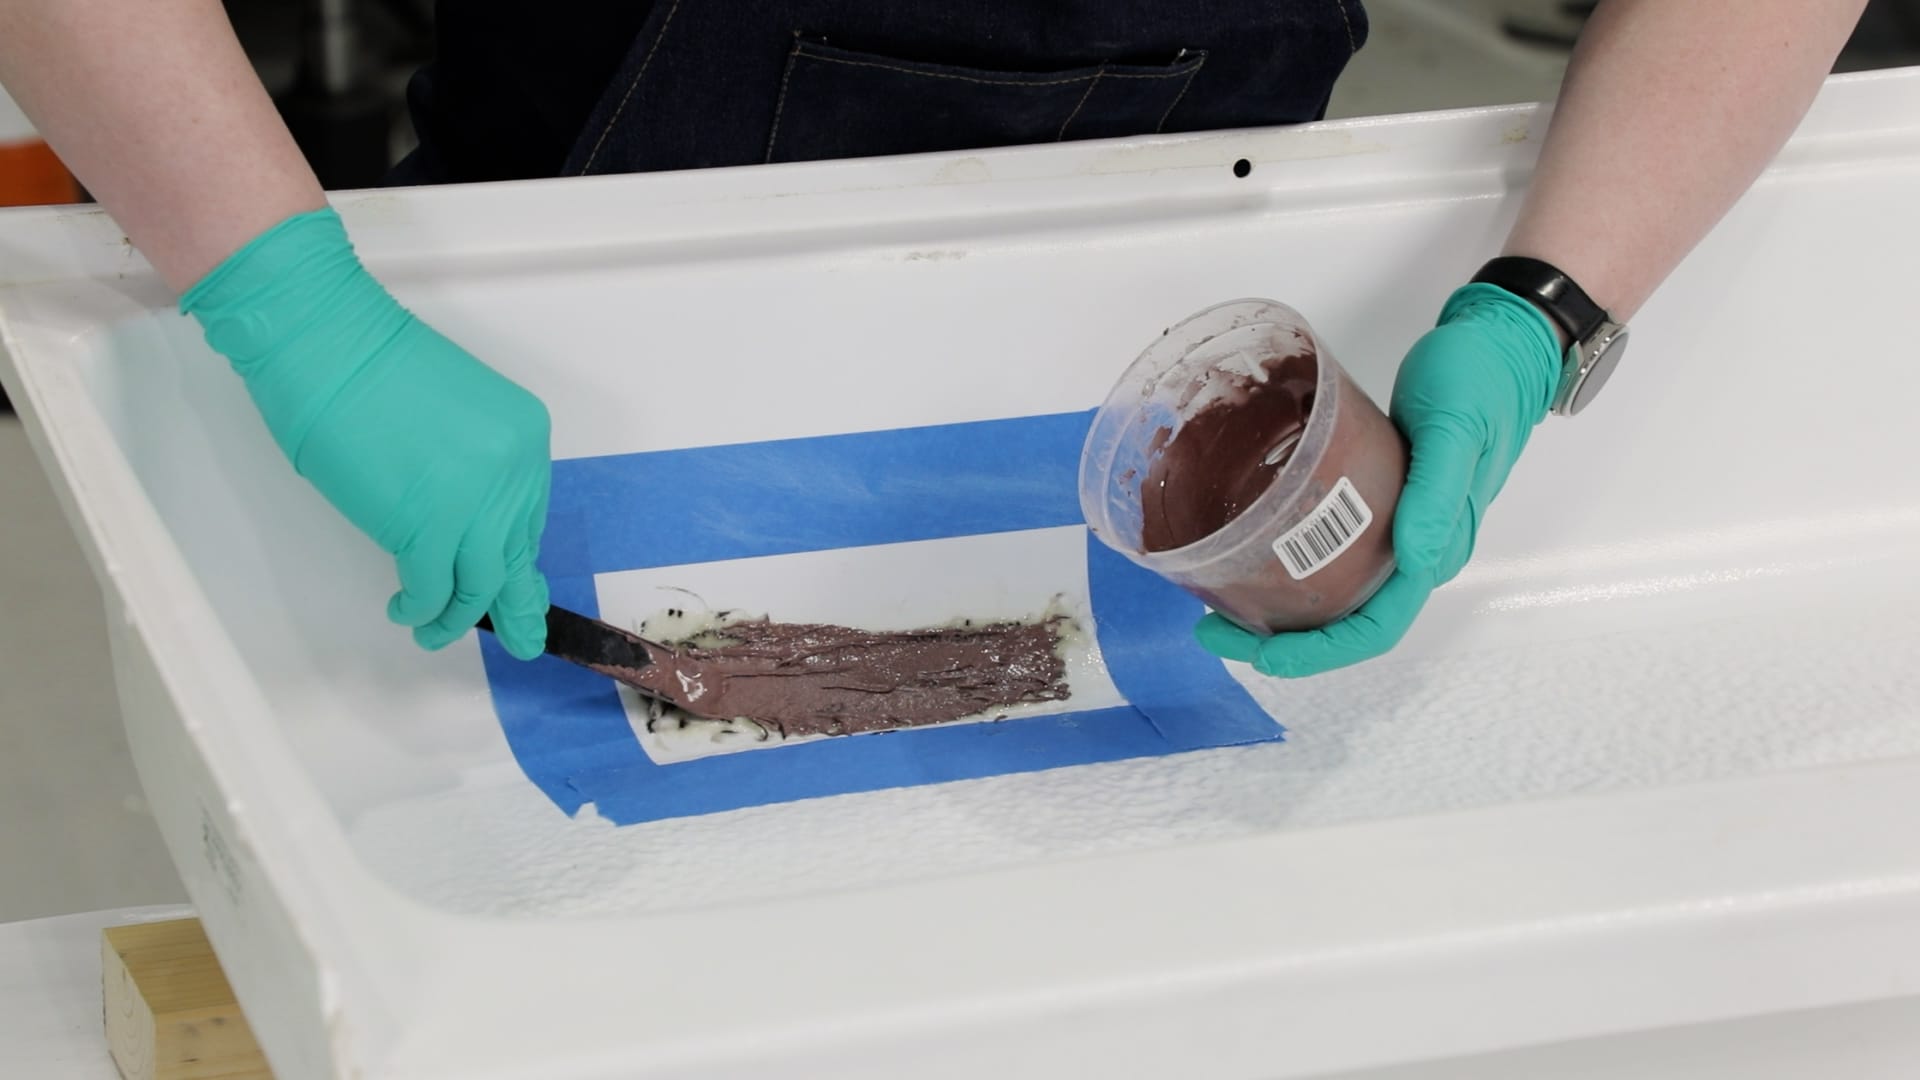
After waiting a few hours for the epoxy to become tacky like masking tape, I mixed another batch of G/flex 650 Toughened Epoxy Adhesive. This time I added 407 Low-Density Filler to make a thickened fairing compound. The 407 Low-Density Filler makes the epoxy easier to sand once it has cured, so I could fair the surface more easily.
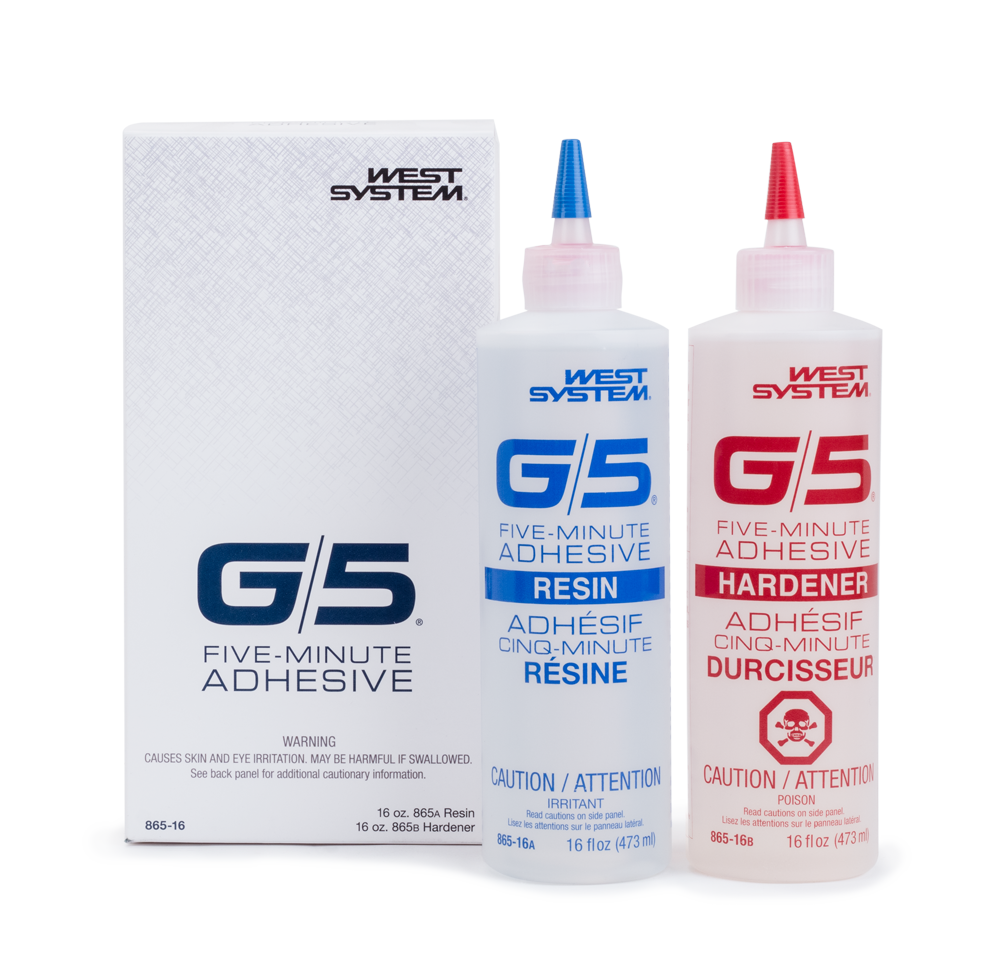
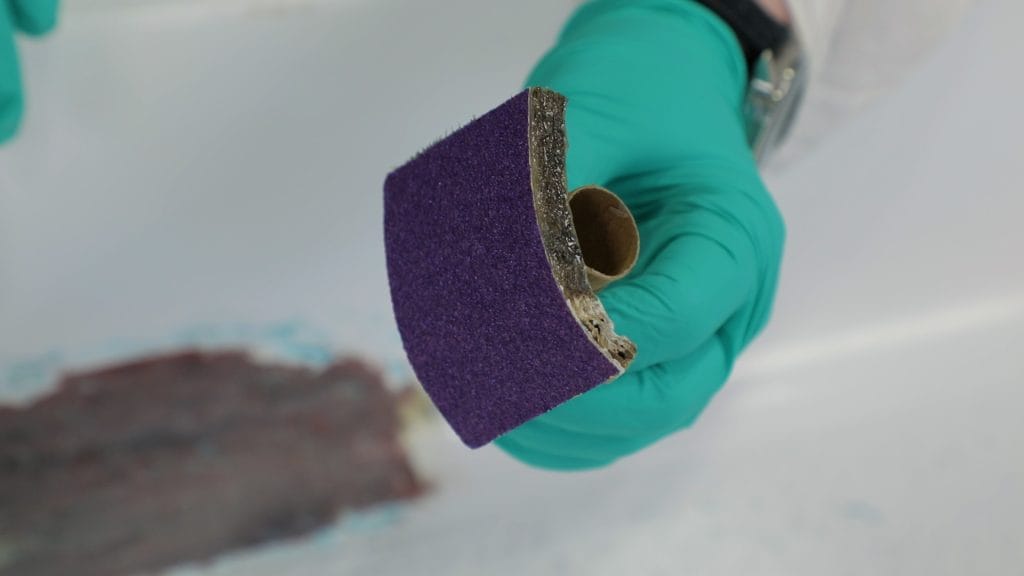
It would’ve been difficult to fair the area and maintain the shower pan’s curve with a regular sanding block. Instead, I made a splash mold to create a custom sanding block. On an undamaged area of the shower pan with the same radius, I applied a couple of strips of packaging tape to act as a mold release. Then I mixed up a small batch of G/5® Five-Minute Epoxy Adhesive at 1:1 by weight and applied it to the surface. While the epoxy was still wet, I applied a scrap of the 745 Fiberglass Fabric left over from my repair to the surface. The lightweight fabric wet out fairly easily. Since G/5 Five-Minute Epoxy Adhesive has a very short working time, I mixed a second small batch to wet out the second layer of fiberglass.
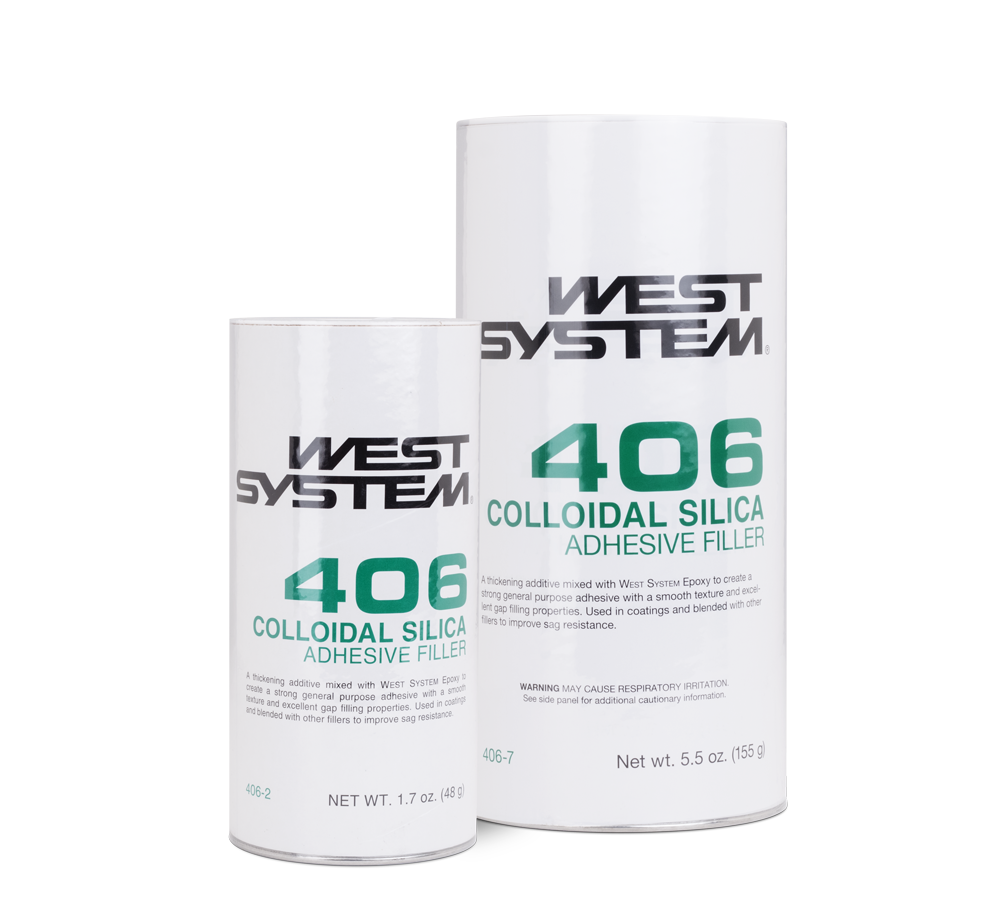
Finally, I mixed a third small batch of epoxy and thickened it with some 406 Colloidal Silica Filler I had on hand. Any WEST SYSTEM filler would have worked, since the sanding block only needs to hold up to hand sanding for this project. I applied the thickened epoxy to the surface, then embedded a small piece of cardboard in the mixture. Adding the cardboard increased the thickness and, in turn, the stiffness of the splash mold.
After a few minutes, the epoxy was cured. I popped the splash mold off the surface and applied a piece of sticky-back sandpaper to the fiberglass. Now I had a sanding block with the exact curve I needed to replicate in my repair area.
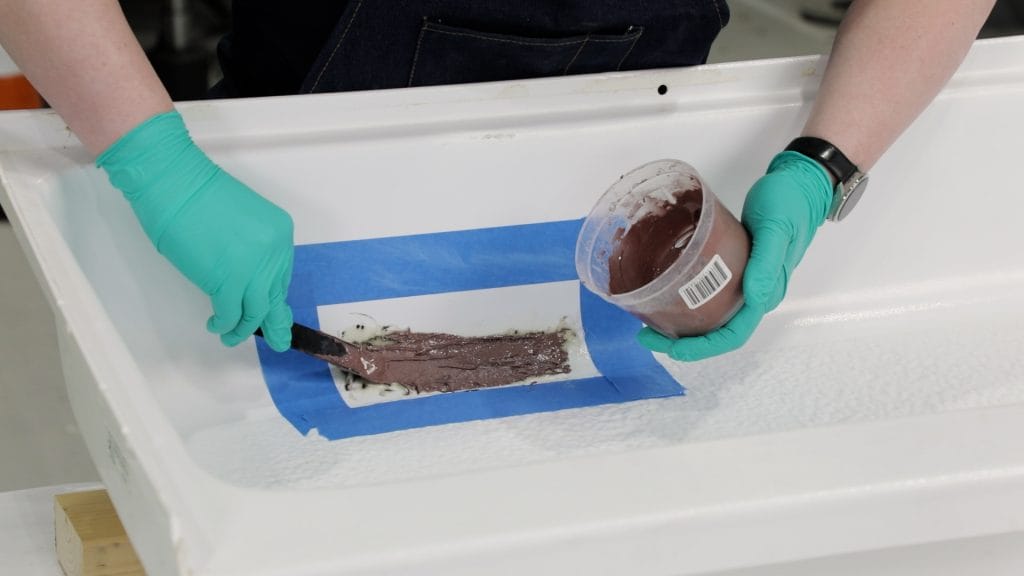
Once the repair area cured, I washed the surface with an abrasive pad and plain water to remove the water-soluble amine blush. This step is important to prevent the blush from embedding in the surface, which could keep the finish coat from bonding properly. After scrubbing, I dried the surface with paper towels to ensure no blush residue remained.
Using my custom sanding block with 120-grit sandpaper, I sanded the repair to the correct profile and faired it into the surrounding area. The more time you take to ensure there are no high or low spots and that the edge is feathered into the surrounding area, the more invisible the repair will be once finished.
I worked my way from 120-grit up to finer sandpaper, with the final sanding pass at 400-grit as recommended by the paint manufacturer. Following the manufacturer’s recommendations for the final surface helps ensure the sanding scratches won’t show through the primer and paint.
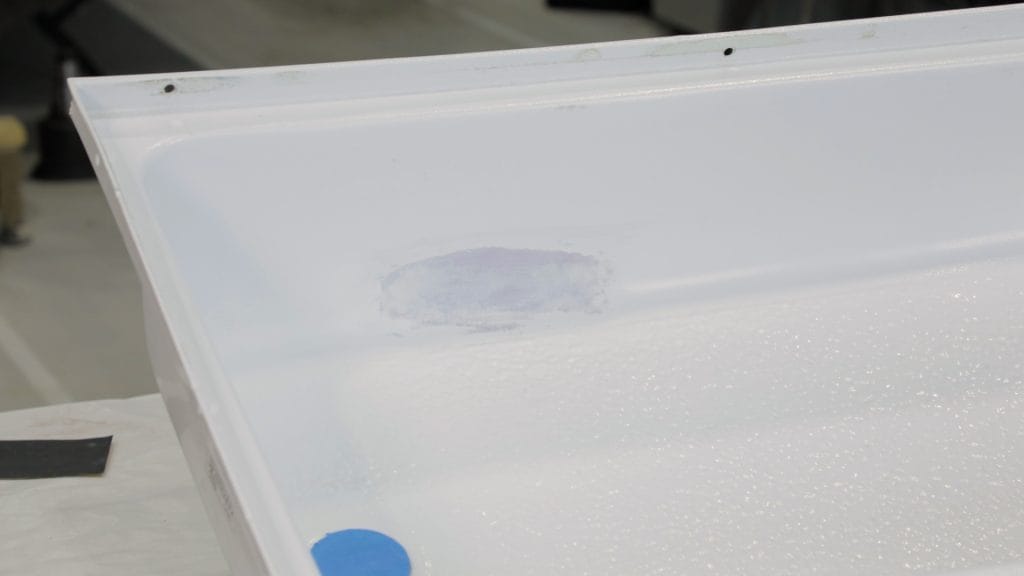
I removed the tape from the perimeter of the repair area to avoid a tape line in the paint and to create a better feathered edge. After a few test sprays on a piece of cardboard, I applied nice, even, thin coats of primer. I used a primer that bonds to many different materials, most importantly to plastics. Since the 407 Low-Density Filler is a dark red-brown color, I needed two coats of primer to block the color of the repair area. Then I applied two coats of spray paint, which was also compatible with plastics. Once everything was said and done, the repair looked amazing!
With a little bit of supporting structure under the shower pan during the reinstallation, this repair will hold up for many more years to come.
By understanding what caused the damage, which materials to use, and how to carry out the repair, we were able to repair this shower pan as good as new. Following this same process makes repairing a shower or bathtub very approachable for any DIYer to tackle in their home, RV, or boat.


 Listen Now
 Add to Playlist