


 Listen Now
  Add to Playlist


By Mike Lenemen
My idea for this thickened epoxy application method was borrowed from my grandfather, a notable oil painter. What I remember the most about him is how he painted. He used standard oil paints but did not use a brush. Instead, he painted with cake decorating cones and his fingers.
One day, when I was working on applying some thickened WEST SYSTEM® Epoxy, I had an epiphany: my grandfather used cake-decorating cones to “draw” with oil paints and he was very accurate with them… maybe that would work with thickened epoxy. It has about the same consistency (viscosity) as oil paints.
I had never really decorated a cake before, but I remembered how he made his cones. I’ve borrowed his approach as an economical and neat way to apply thickened epoxy.
First, you find some paper that the epoxy won’t bleed through. I prefer to use high-quality, coated paper from magazines or brochures. I get a lot of junk mail and am happy to “recirculate” the slick paper stock this way.
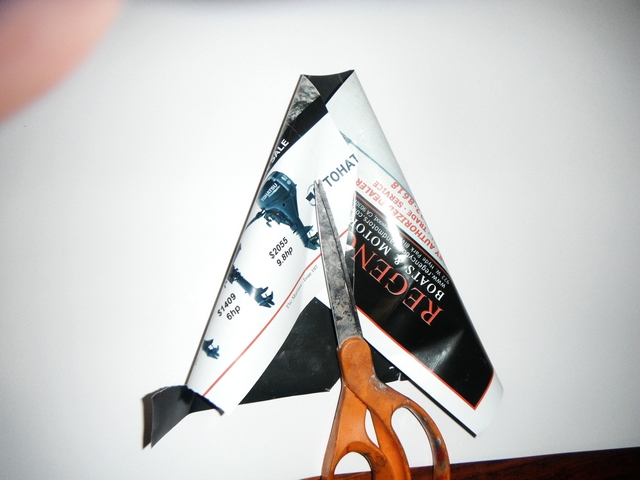
Starting in the middle of the page, roll the sheet into a cone. Keep the cone rolled into a conical shape by taping it closed.
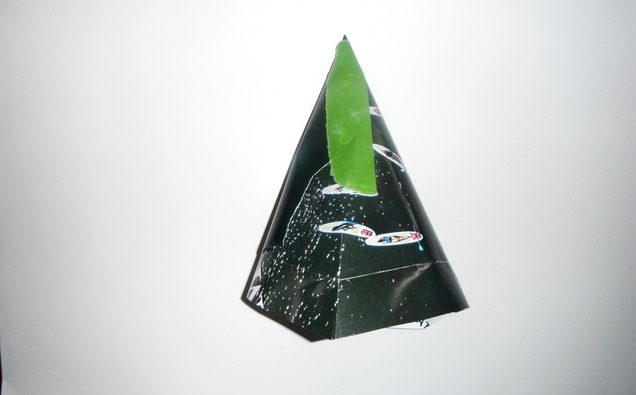
Cut the flared end of the cone into a straight line and voila; you are ready to fill the cone with thickened epoxy.
The thickened epoxy should be the consistency of smooth peanut butter. After you have filled the cone (never to capacity), you can fold over the flared end and squeeze it like a toothpaste tube.
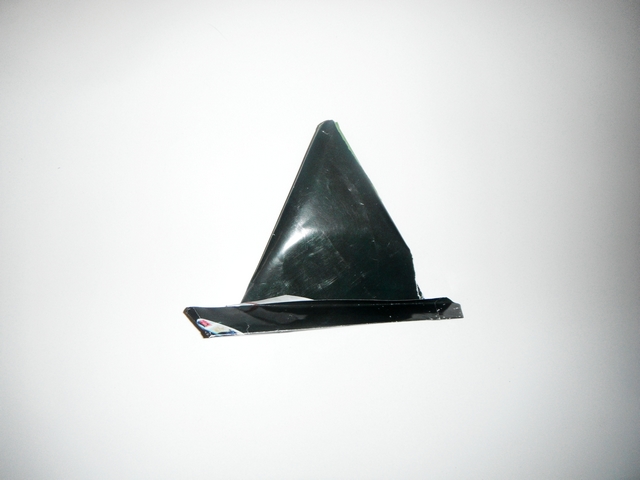
Snip off the pointed end to get the desired opening or nozzle.
Squeeze the epoxy out. When more epoxy is needed, simply start rolling up the flared (closed) end of the tube as you would with a tube of toothpaste. To make a nice fillet, squeeze a bead into the joint and then smooth the fillet with your gloved thumb or the rounded end of an epoxy mixing stick. When all the epoxy has been squeezed out, simply throw away the paper tube.