You’ve Got Rot. Now What?
November 13,
2026

GET STARTED
FREE PRINT & DIGITAL EDITIONS
November 13,
2026
Wondering how to stop wood rot? You’ve come to the right place. Effectively stopping wood rot isn’t difficult as long as you’re armed with the right knowledge. The WEST SYSTEM® Wood Rot Repair Kit is a great solution for reconsolidating wood compromised due to rot and rebuilding missing areas, however it does not kill the rot on its own. When pairing the repair kit with a fungicide like sodium borate, the repair becomes much more effective and longer lasting.
First, we need to understand how rot works in order to effectively combat it. There are many types of fungus that cause wood rot, but they often fall into two categories: dry rot (Serpula Lacrymans) and wet rot (Coniophora Puteana). There is also wet rot that has dried out and is mistaken for dry rot. Does that really matter? Rot is rot, right? Maybe not.
For the wood rot (fungus) to live, it needs oxygen and a food source, in this case wood. It has an ideal temperature range of 50°F-115°F (10°C-46°C). Moisture is also a factor, and this is where the types of rot differ from each other.
Wet rot can start in wood with as little as 30% moisture content, but it is most commonly found around 50%. Drying the wood out to 12% moisture content will make the rot go dormant. As long as the wood stays dry, the rot will remain inactive, however if it gets wet again, the rot can continue growing. Drying rot out for long enough, or exposing it to excessive heat, may kill it.
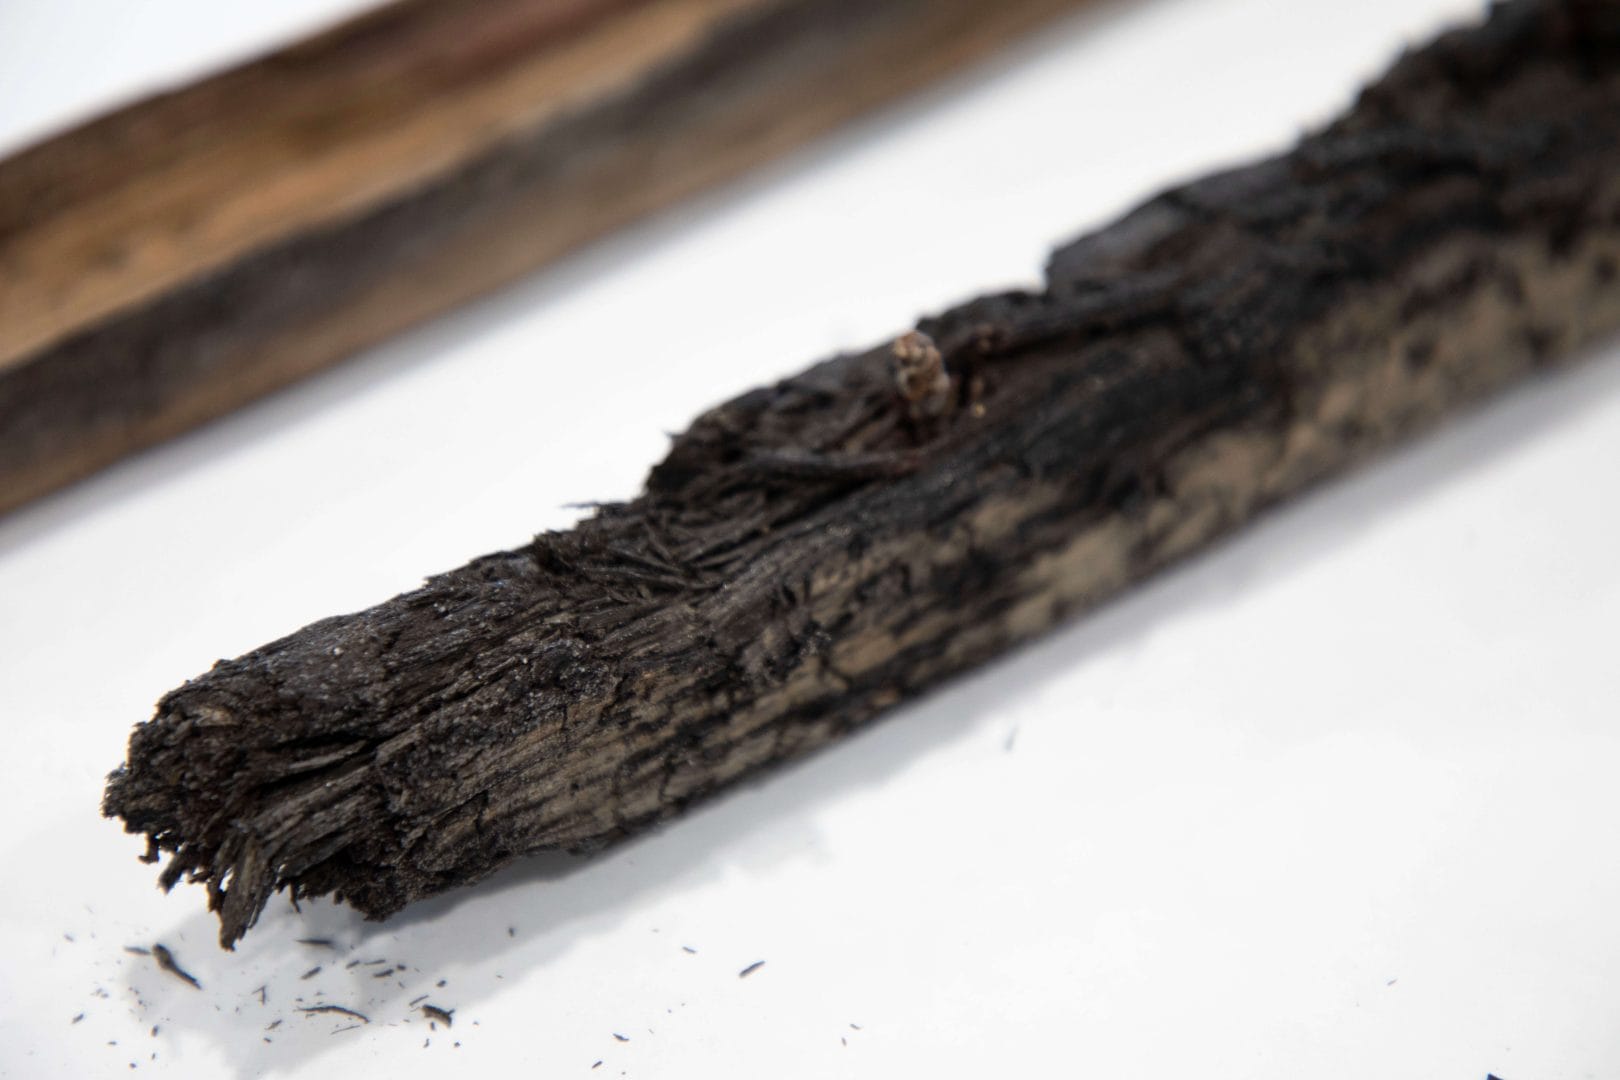
Wet rot that has dried out is recognizable because it has no distinctive pattern. The severity of the rot can also impact how it looks. Less severe rot may cause the wood to feel soft or punky while severely degraded wood may crumble to dust.
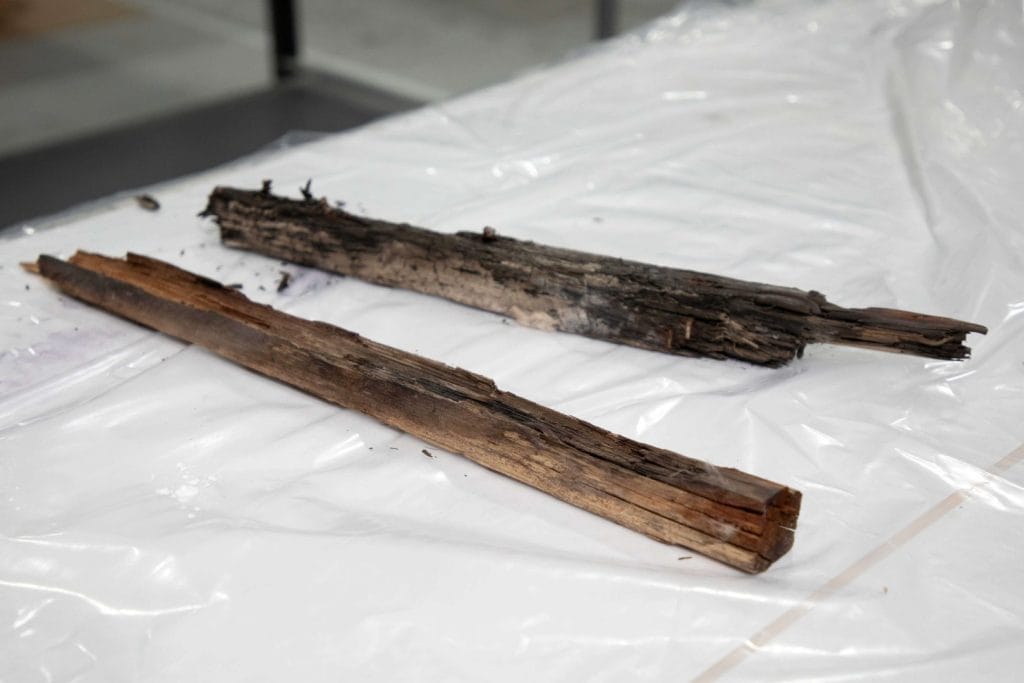
Dry rot is the special forces of the wood rot world. Dry rot still needs moisture, but it is able to start with as little as 20% moisture. It is faster moving than wet rot and can spread across dry areas, reaching beyond its initial moisture source.
The fungus’ spores use hyphae (fine, white strands) like roots to move water from a moisture source to feed the wood rot living on dry wood. As these hyphae grow, they combine and become mycelium, which may look like cotton or spiderwebs on the wood. Dry rot often has a cubic pattern in the rotted wood. Dry rot’s ability to spread into dry areas makes it a much more difficult problem to solve.
If you have dry rot, you’ll likely need to completely remove the damaged wood and surrounding areas for an effective repair.
The first step to stop wood rot is to stop the introduction of moisture. Yes, even dry rot needs moisture, but because of its hyphae, it may not be evident at first and may take a little more work to find.
Sometimes the moisture source is obvious like a dripping water pipe or a leaking hatch. Other times, it might be an occasional moisture source like a seasonal air conditioning drain line or condensation from a poorly insulated cold air duct or window. Moisture is introduced, allowing rot to grow and eat the wood; when the moisture source dries up, the rot goes dormant until the cycle begins again the following year. Either way, you need to address the moisture issue first for a successful, lasting repair.
The next step for wet rot is to remove loose decayed wood from the area. A wood chisel, scraper, or a wire brush could all be effective options. Depending on the extent of damage and the timber’s structural integrity, cutting the damage out and replacing it may be necessary.
Any remaining wood should be dried to 12% moisture content or less. This does several things: it cuts off the moisture rot needs to keep growing, it helps stabilize movement in the remaining wood, and by removing much of the moisture from the pores, it makes the wood more receptive to treatment and repair. Using a heat gun speeds up the drying process. Drilling holes into the repair area can help dry the wood faster by providing extra surface area for air circulation (especially when the rot is deep in the wood).
Dry rot is another issue. Often, much of the wood is already dried below the 12% moisture content. Because dry rot spores can travel onto nearby dry wood, the rot is likely still active. I have read recommendations to remove up to 2′ (.6 m) of solid timber beyond any decayed wood to ensure dry-rot spores have been removed. In some cases, removing large areas is not practical. That’s when the use of fungicide becomes very beneficial.
There are several different fungicides on the market that will poison wood rot fungus. We recommend sodium borate salt because it is compatible with WEST SYSTEM Epoxy. Our tensile adhesion testing shows no loss of adhesion to treated wood (after the wood dries) as compared to untreated wood. Avoid fungicides that are suspended in petroleum carriers, because they can interfere with adhesion. Additionally, the sodium borate treatments are odorless, do not affect the color of the wood, and do not corrode metal fasteners.
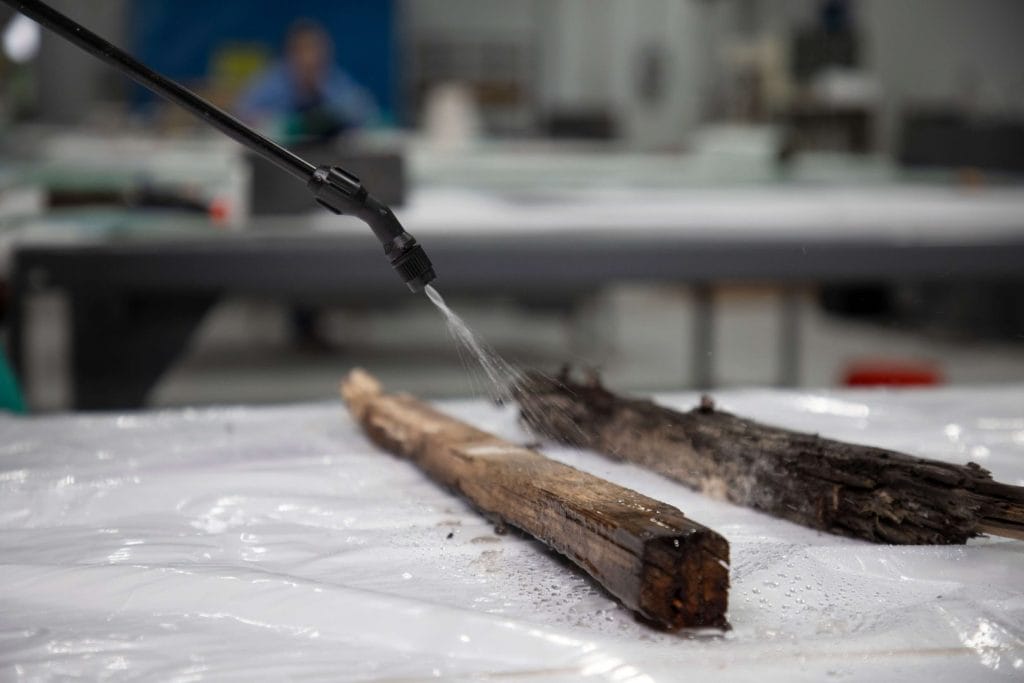
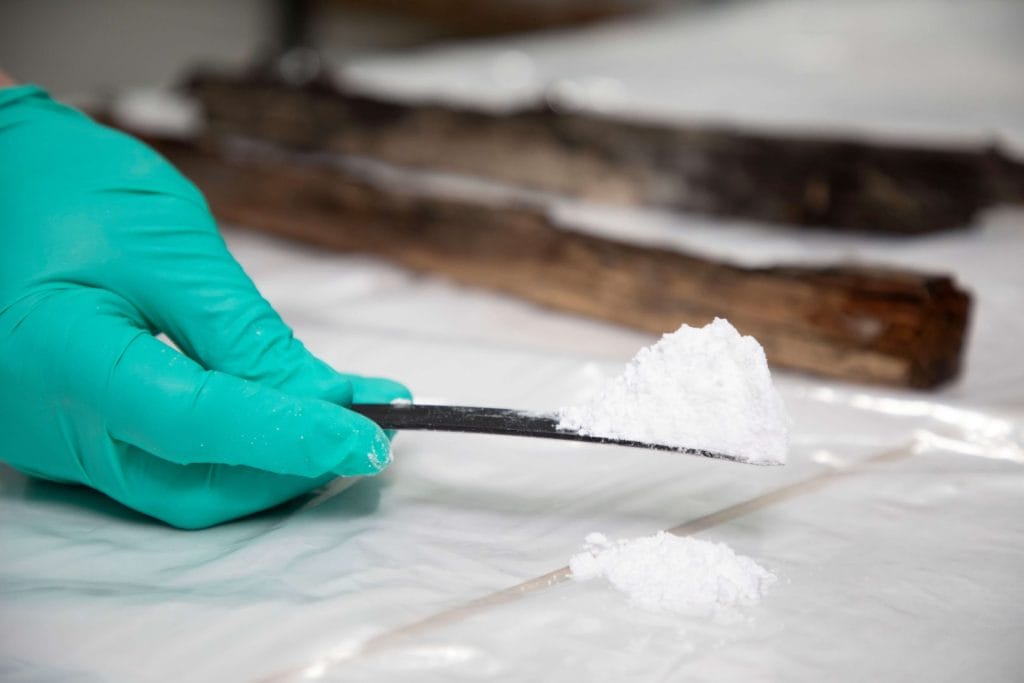
The wood needs to be dry before treating so it can absorb the borate salt solution. Warming the wood maximizes absorption because, as it cools, it draws the solution deeper into the wood. Dissolve the sodium borate salt in warm water (1 cup of salt per gallon of water).
A pressurized deck sprayer or brush works well for evenly distributing the solution. Wet rot areas only need the affected area treated. Dry rot, on the other hand, should be treated 2’+ (.6 m+) around the affected area. Since dry rot can live in materials other than wood, we recommend treating any other materials within that 2’+ (.6 m+) area as well.
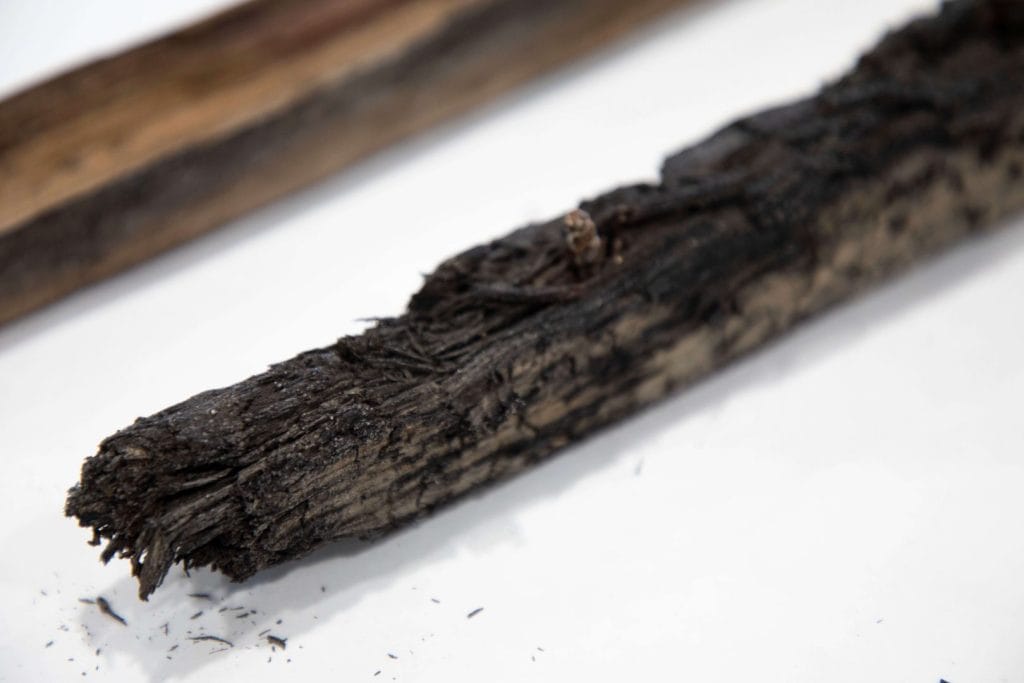
Saturate the area with the solution and allow it to soak in. Usually, two treatments applied within 4 to 24 hours of each other are effective. The sodium borate begins killing the rot immediately and continues for several days. All the rot may not be killed during the initial treatment process, but any remaining rot that ingests treated wood will die as well.
Let the wood dry completely. You can speed up drying with a heat gun, but let the solution soak for at least an hour before force-drying to allow it to penetrate deep into the wood.
With the rot addressed, we can consolidate and rebuild the rotted area with the WEST SYSTEM Wood Rot Repair Kit. The low viscosity and slow cure speed of this penetrating epoxy system allow it to penetrate deeply into the wood and consolidate compromised fibers. Applying the epoxy after a sodium borate treatment can also help trap the sodium borate in the wood, where it can continue to protect against rot.
Wood Rot Repair Epoxy is designed to be more flexible than the 105 System. This allows the epoxy to flex with the wood’s natural movement for a more secure bond. Because of this flexibility, it is not ideally suited for areas that will experience higher loads. In that case, we recommend following the same repair process but using the 105 Epoxy Resin System instead. We also recommend using the 105 System for any repairs that will be submerged.
The Wood Rot Repair Kits come with the resin, hardener, mixing bottle, and detailed instructions. This makes it very easy for first time epoxy users.
Mix the epoxy and generously apply it to the surface of the repair. The previous step of letting the borate application dry completely is important at this stage. While the epoxy will cure with moisture present in the wood, it cannot displace the moisture. Starting with dry wood improves penetration and, therefore, consolidation. Continue applying repeatedly until the wood becomes so saturated that the epoxy no longer soaks in. Allow the epoxy to tack up or cure before moving on to rebuilding missing areas.
If you choose to rebuild missing areas due to rot damage, you will need to pair Wood Rot Repair Epoxy (or 105 System) with a filler to increase viscosity. Since this is a wood repair, we recommend either the 407 Low-Density Fairing Filler or 406 Colloidal Silica Adhesive Filler. The 407 Low-Density Filler is going to be a little easier to sand and will have similar properties to most woods, while the 406 Colloidal Silica is stronger, but a little more difficult to sand.
The nice thing about using separate filler, rather than a pre-thickened repair system, is that you can tailor the epoxy’s viscosity to your specific project. If you’re working on a windowsill where you want the epoxy to flow and level, you can add a little filler until it reaches a catsup consistency you can pour into the repair area. If you are working on a vertical surface like a door frame, you can thicken the epoxy to a peanut butter consistency so it stays securely in place. It gives the repairer much greater control.
Whether you use the Wood Rot Repair Epoxy or the 105 System, the cured repair is sandable and paintable, making for a seamless repair.
Effective wood rot repair depends on identifying the type of rot and treating it appropriately. Do this by keeping the area dry to prevent further damage and, if needed, treating it with a fungicide like sodium borate. The other key is to use WEST SYSTEM Wood Rot Repair Epoxy to penetrate deep into damaged areas, consolidate them, and rebuild them for a seamless repair.


 Listen Now
 Add to Playlist