

 Listen Now
  Add to Playlist

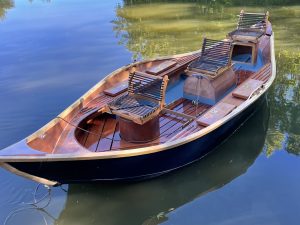
by Randy Zajac
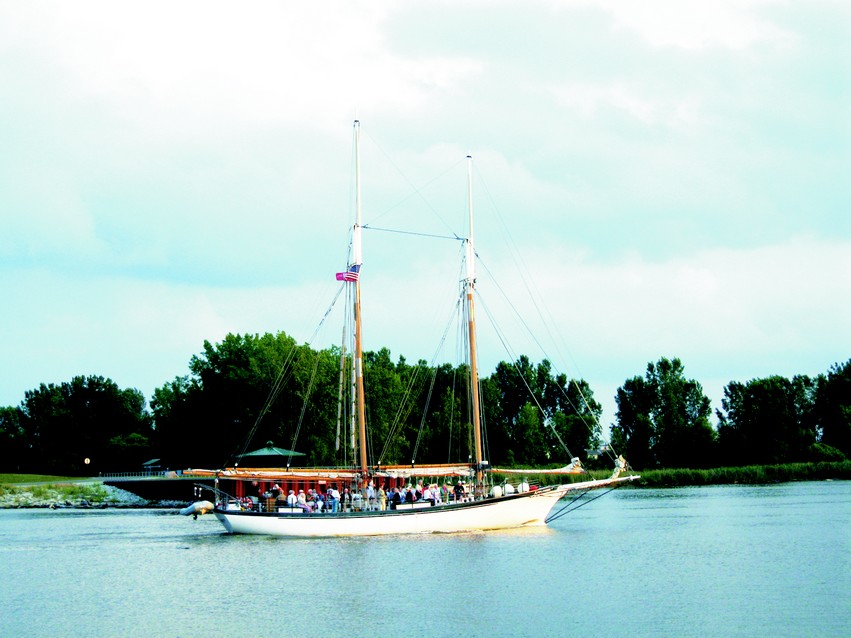
Above: Appledore IV makes her way upriver after a cruise on the Saginaw Bay with her repaired topmasts in place.
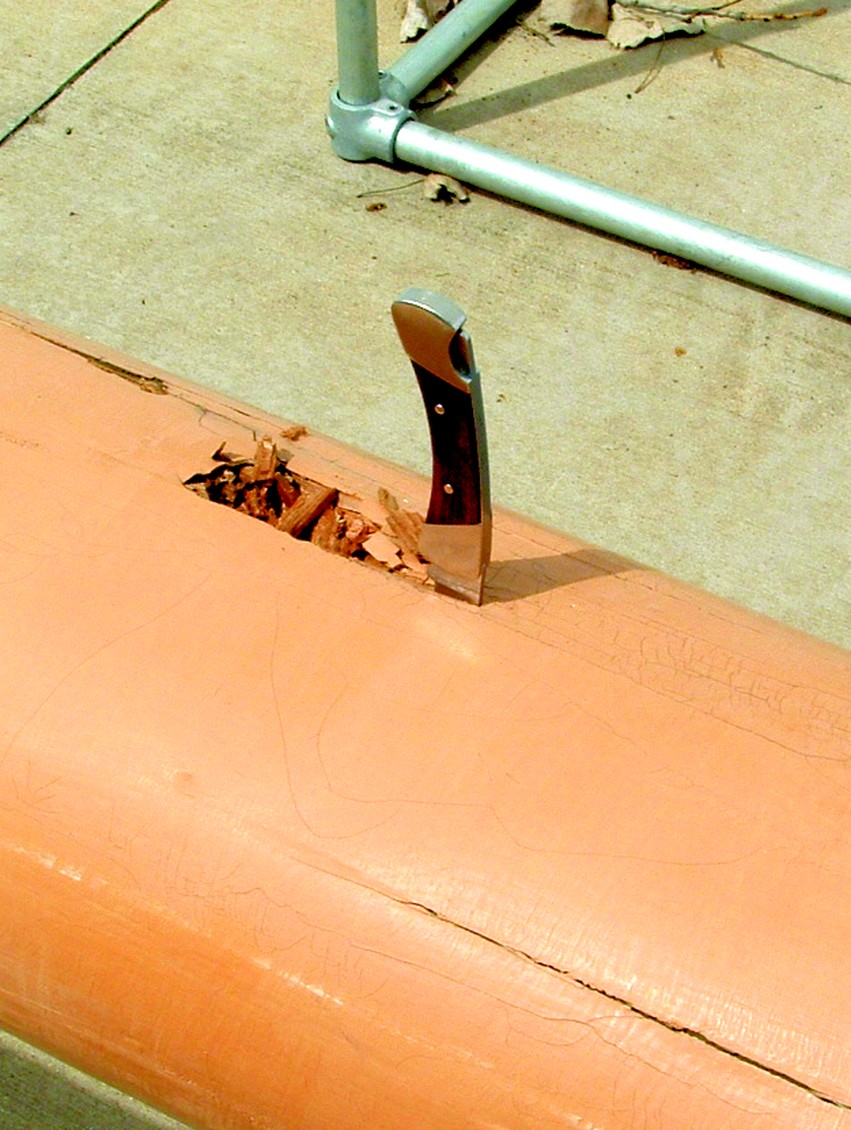
The Appledore IV is an 85′ LOA topsail schooner owned by the non-profit organization BaySail, based here in Bay City, Michigan. She is licensed to carry 52, including a captain and crew of three, on educational tours of the Saginaw Bay and Lake Huron. The main topmast and the fore topmast on Appledore IV were found to have rotted wood when they were inspected in the spring of 2006. Once the topmasts were taken down from the boat, they were brought into the Gougeon boat shop for paint removal and further inspection.
The main topmast had a bad section of rot near the bottom that would need to be replaced with solid wood. The fore topmast was much worse. It had an entire board in the middle that was rotted and would have to be cut apart to be repaired.
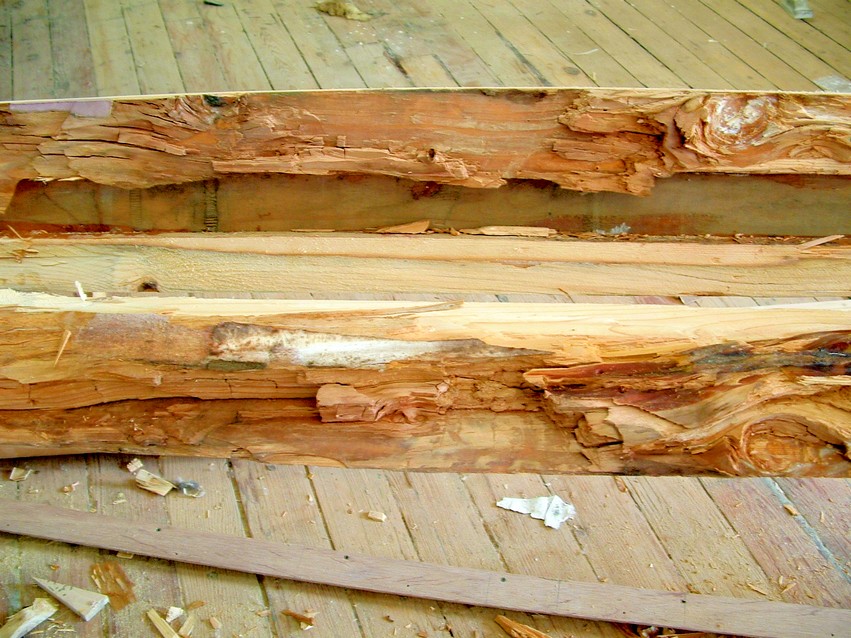
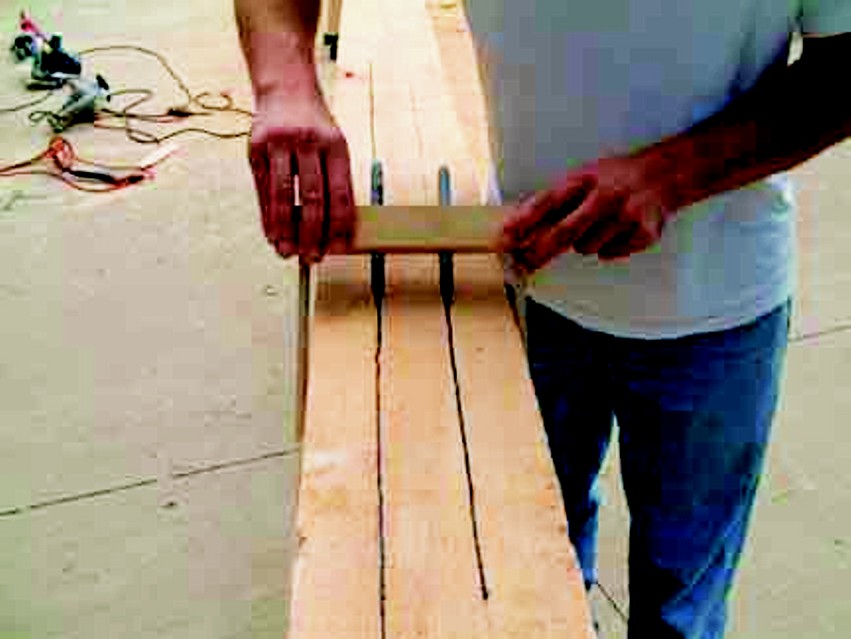
The splitting of the fore topmast involved several procedures. The first step was to use a circular saw along a batten that was nailed in place to make four cuts (two on either side of the topmast) at full depth to get the split started. A handsaw and a Sawzall™ were used to cut a bit deeper with the circular saw cuts as a guide. Wedges were then used to force any wood that was still intact apart (Figure 2).
Once the mast was split open, we decided that it would be better to scrap the smaller of the halves and build up the larger side. A power planer was used to get what was left of the mast down to a flat surface.
The next step was to cut the pieces of Sitka spruce that were going to build the topmast back to its original shape. The mast needed to remain hollow so the first layer was two pieces of 2½”×1″×24′ glued along the edges (Figure 3). All repairs were done with WEST SYSTEM® 105/206 and 404 High-Density Filler.
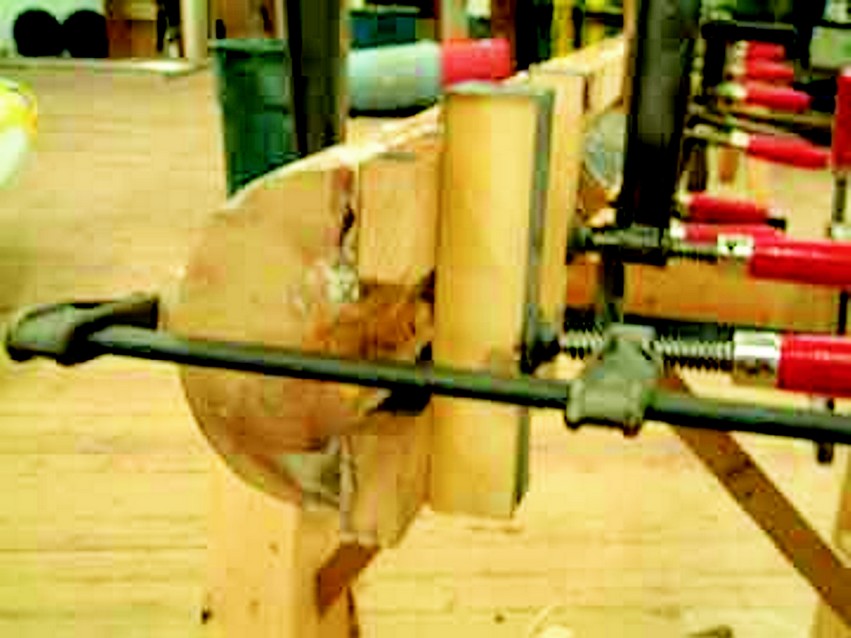
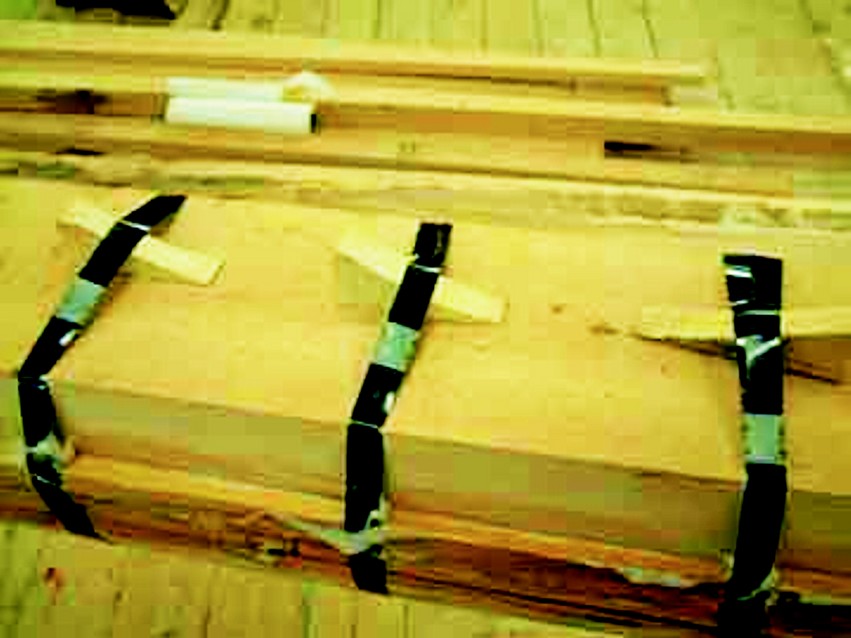
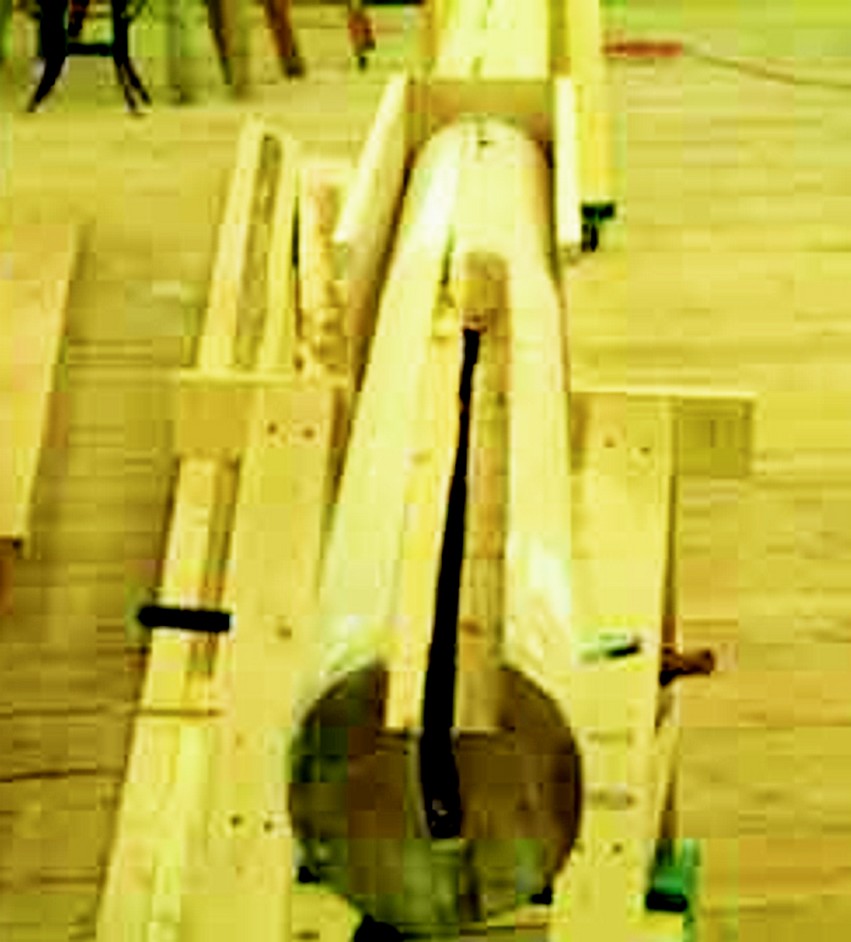
The second layer was a 2″×8″×24′ board that was glued on as a cap. It was held in place with metal banding and tightened with wedges driven under the banding (Figure 4).
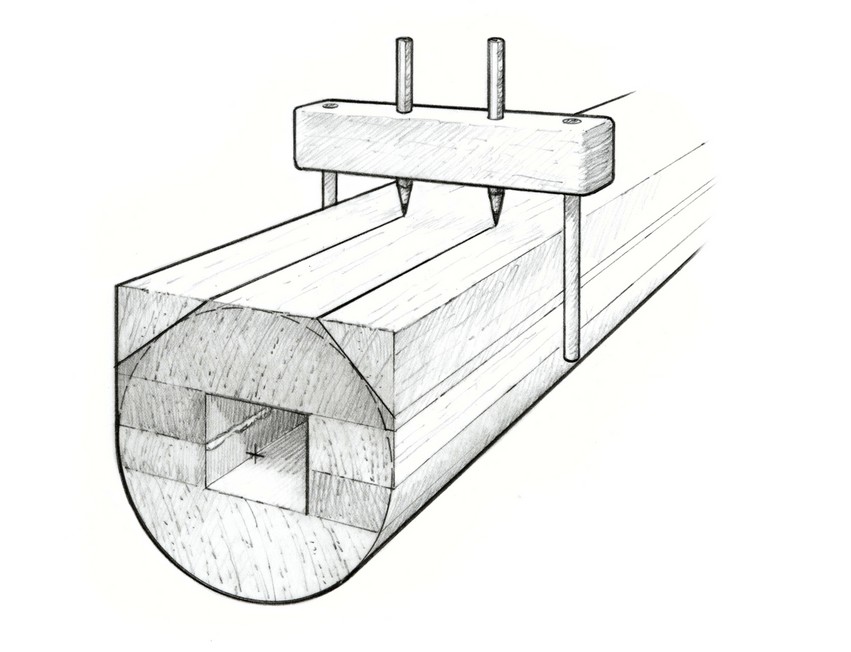
Once the epoxy was cured and the clamps were removed, the repair area was cut down with a power planer to match the original taper of the topmast. A spar-making jig was used to layout the flats of an octagon on the squared portion of the topmast (Figure 5).
These lines were used as guides for planing off excess stock.
There are two dowels on the jig that drag along the outside of the spar. Two pencils are spaced on the jig to mark the edges of an octagon flat. As the jig moves down the tapered spar, the jig is turned so that both dowels stay in contact with the sides. The spacing of the guidelines gets narrower in proportion with the narrowing width of the spar. To make a spar-making jig, space the dowels at the biggest diameter of the spar. To find your pencil spacing, multiply the largest radius of the spar by .8284 (radius × .8284) (Figure 6).
After the repaired half was planed to have octagon flats, it was planed again to remove the peaks and get it closer to round. From here on out, a belt sander was used to finish the shaping process by blending all of the sides together.
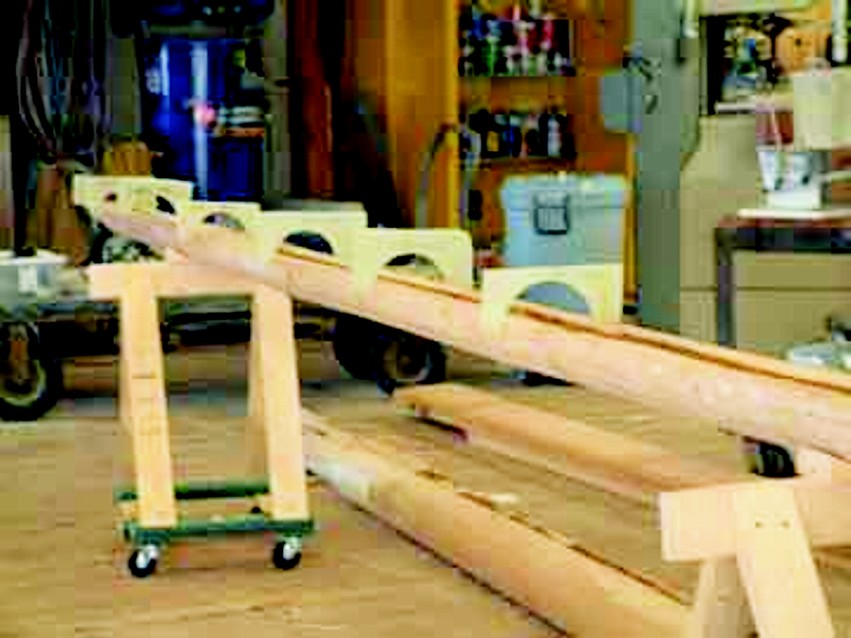
Templates were used to make sure the spar followed the taper (Figure 7)
The rot in Appledore IV’s main topmast was excavated with a circular saw, chisels, and a rabbet plane. A jig was made to cut the taper into the mast for the repair. It functioned as a ramp to raise the saw blade out of the wood as it went down the line. A piece of Sitka spruce was made to fit into the cavity (Figure 8) and epoxied in place.
Any cracks, knots, or small sections of rot were cut out and filled with thickened epoxy.
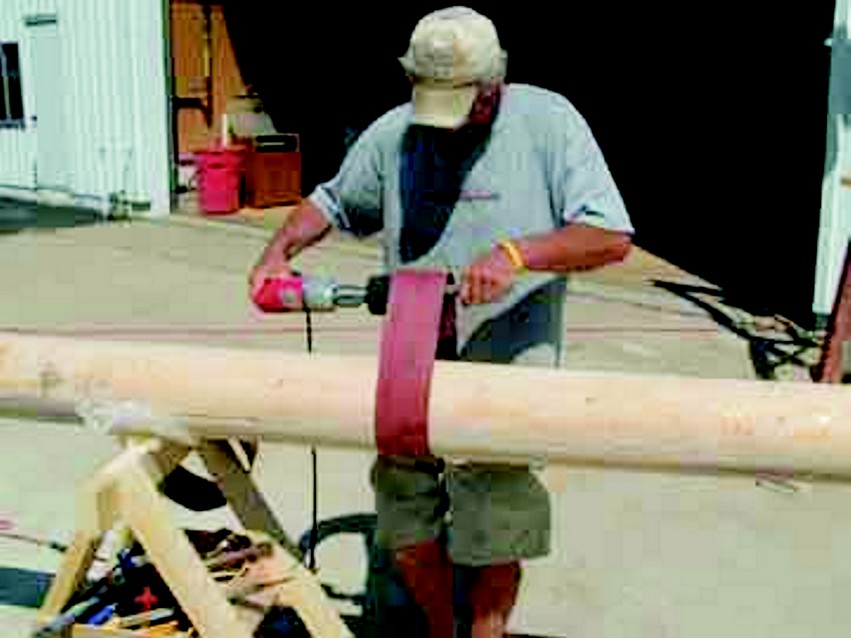
A belt sander was then used to knock down any high spots. To get the final rounding, a sanding belt was placed on a drill with a rubber drum (Figure 9).
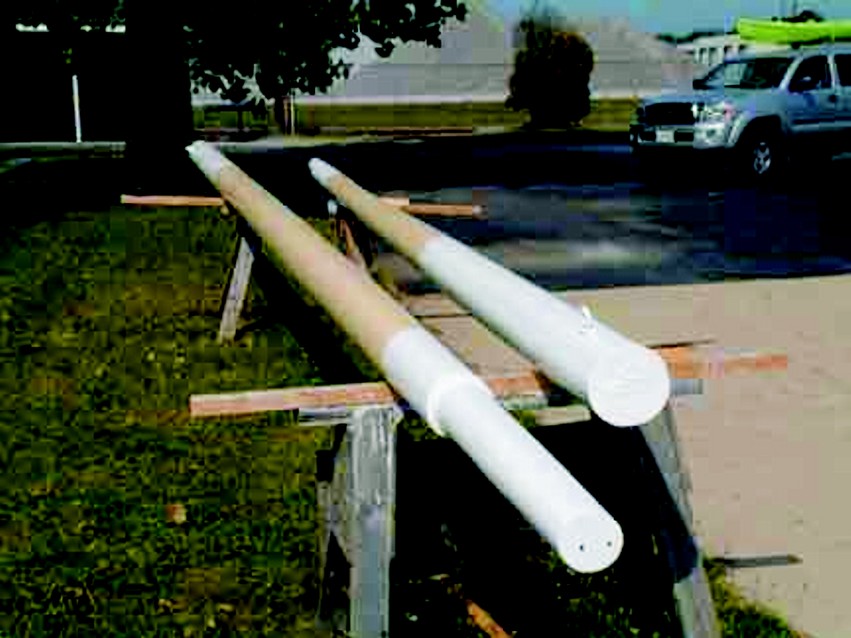
Once everything was fair, the topmast received 2 coats of 105/206 before being painted with a marine enamel. (Figure 10).